How to Put a Foot on a Singer Sewing Machine
Singer sewing machines are some of the most popular on the market, with a range of styles from the classic mechanical machines to advanced, computer-controlled machines. Using any of a Singer machine correctly requires you to put a foot on the machine properly. To do so, you’ll need to understand the different parts of the machine and the foot so you can attach them securely. Once you get the hang of it, putting a foot on a Singer sewing machine should be a relatively simple task, even for beginners.
Parts of a Singer Sewing Machine
Before attaching the foot to your Singer sewing machine, it’s important to understand the parts of the machine. Most Singer machines have a throat plate, which is the flat metal piece that covers the feed dogs and the shuttle race. The throat plate also houses the needle, which is controlled by the hand wheel. To the right of the hand wheel is the presser foot lever. The presser foot lever raises and lowers the presser foot, which is the piece of metal or plastic that presses the fabric down while you sew.
On the left side of the Singer sewing machine is the bobbin winder. This is the small wheel that winds the thread around the bobbin. The bobbin is a small round piece that holds the thread you’ll use for stitching. There is also a reverse lever, which is used to sew backward for reinforcement or for attaching trims.
Parts of a Presser Foot
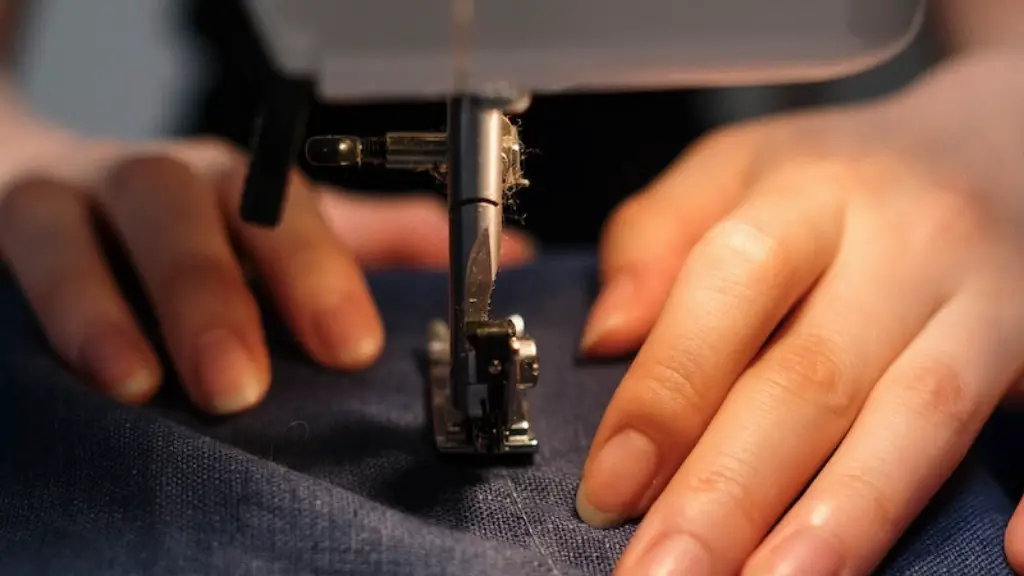
The foot is the part of the Singer sewing machine that actually does the stitching. It is connected to the presser foot lever and is made of metal or plastic. It comes in many different shapes, sizes and styles, depending on the type of fabric you’re sewing. The most basic foot is the snap-on foot, which snaps onto the shank of the presser foot lever. Other feet, such as the walking foot and the free-motion foot, are attached using a screw.
The most important part of the presser foot is the toe. This is the part of the foot that goes over the fabric and guides it through the machine. The sole of the foot is rounded or flat and is the part of the foot that goes against the fabric while you sew. The heel is the part of the foot that rests against the throat plate. The heel helps you guide the fabric while you stitch.
Attaching the Foot to the Machine
Once you have the correct presser foot for the project, the next step is to attach it to the machine. The first step is to raise the presser foot lever so that it is pointing up. Then, you will need to slide the shank of the foot into the slot on the presser foot lever. Once the shank is in place, you can lower the presser foot lever so that it locks into place. Once the foot is attached, make sure it is secure by tugging it gently.
You may need to adjust the position of the presser foot if you are using a specific type of foot. The presser foot needs to be in the correct place so that it can press against the fabric and guide it through the machine. To adjust the position, you can use the screw on the side of the presser foot lever.
Cleaning the Foot
The regular use of a Singer sewing machine can cause the foot to become clogged with lint and thread particles. To keep your machine running smoothly, it’s important to keep the foot clean. To do this, use a brush to remove lint and debris. You can also use a vacuum to clean the foot and remove any particles that are stuck in hard-to-reach areas.
If your foot is stained or dull, you can use a commercial brand of foot cleaner to restore its shine and make it look like new. Make sure to follow the manufacturer’s instructions for best results.
Checking the Tension
Before you begin sewing, you should check the tension of the thread. This is done by loosening the hand wheel and sliding the bobbin case out. You should then manually pull the thread and check the tension. If the tension is too tight, it will cause issues with the stitching. If it’s too loose, the stitching will be too loose as well. The correct tension should be tight enough to hold the thread in place, but loose enough to slide easily along the fabric.
You can also check the tension by sewing a few stitches on a scrap piece of fabric. If the stitches look even and tidy, the tension is probably correct. If your stitches look tangled or uneven, you may need to adjust the tension.
Changing the Needle
It’s important to check the needle on a regular basis to make sure it is sharp and in good condition. A dull or worn-out needle can cause all kinds of problems with the stitching, so it’s important to replace it before you start sewing. To change the needle, you should unscrew the needle clamp, remove the old needle and insert the new needle. Make sure that the needle is firmly seated in the needle clamp before you begin sewing.
Checking the Stitch Length
Setting the correct stitch length is important for getting the best results with your sewing. The stitch length is usually measured in millimeters and can be adjusted using the stitch length dial. Most fabric will require a stitch length of between 2 and 3 millimeters, but this may vary depending on the fabric and the type of stitch you’re using. It’s important to test the stitch length on a scrap piece of fabric before sewing on the main project.
Threading the Machine
Threading the machine is an important step in putting a foot on a Singer sewing machine. You should begin by winding a bobbin and threading it through the thread tension adjuster. Next, thread the machine by pushing the thread through the eye of the needle and threading it through the tension discs. Make sure to tie a knot at the end of the thread to prevent it from coming undone.
Starting to Sew
Once you have the correct foot on your Singer sewing machine, the correct thread tension and the correct stitch length, you are ready to start sewing. Place the fabric under the presser foot, turn the hand wheel and hold onto the thread tails as you begin stitching. Always remember to backstitch at the beginning and end of your stitching for a secure seam.
