Sewing machines are complex pieces of equipment that many people use to create beautiful projects. However, in order to keep them working properly, it is important to understand how to properly clean and maintain them. Cleaning and lubricating your sewing machine regularly is essential to keeping it in good working order. Here is a step by step process to help you take proper care of your sewing machine and keep it in top condition.
The first step is to remove the bobbin case, thread take-up lever and needle plate. Depending on the type of sewing machine you have, there may be screws or buttons holding these parts in. Once these pieces have been removed, you will lightly clean them without using any liquid cleaner or soap. You may choose to use a soft brush or compressed air to blow out any debris from the parts.
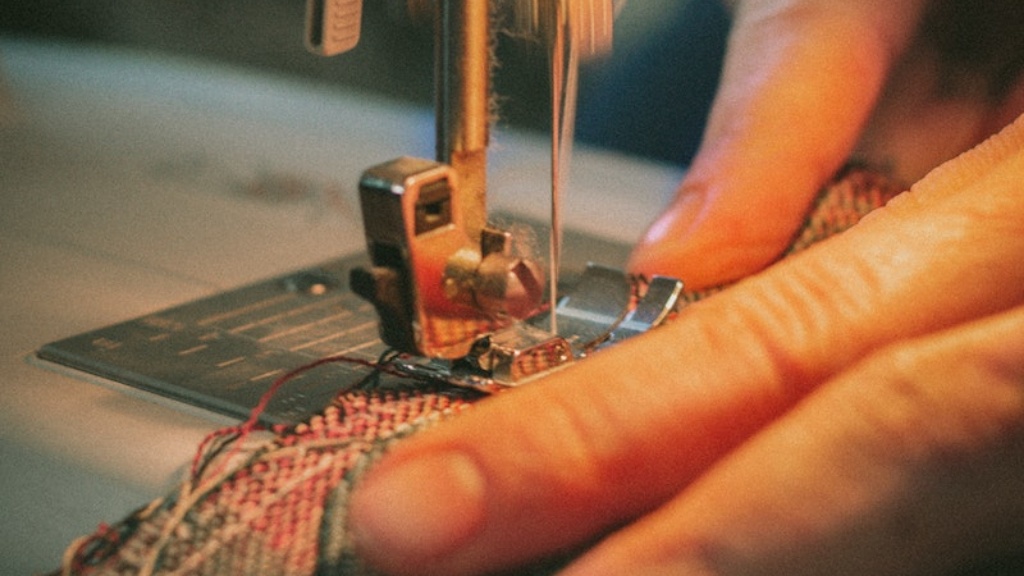
The next step is to clean the needle plate and feed dog. Make sure to use a dry, lint-free cloth to gently wipe down the surface. Be gentle, as you do not want to scratch the needle plate. Be sure to then thread the needle and use a bottle brush to clean out the inside of the machine. If your model has a self-cleaning needle slot, then you can use that to help dislodge any material built up in the needle bar.
The last part of cleaning your sewing machine is to lubricate the parts. For most machines, a drop or two of sewing machine oil should do the trick. Refer to your operating manual for other details specific to your type of machine. A drop or two of sewing machine oil should be put into each area that rotates, such as the bobbin case, thread take-up lever, and shuttle hook. If you feel that these parts need more lubrication, then use a small, clean brush to apply a thin coat of oil to all the moving parts.
It is also a good idea to check the bobbin tension. Too much tension can result in uneven stitches and skipped stitches, while too little tension can cause loops on the underside of the fabric. The tension can usually be adjusted by turning the tiny screw on the bobbin case. Again, refer to your operating manual for specific instructions.
Cleaning and lubricating your machine is an essential part of maintaining it and avoiding major repair issues. The process should be carried out regularly, and should not take more than thirty minutes. Regularly cleaning and lubricating your sewing machine will ensure that it continues to serve you for years.
Clean the Bed Plate of the Sewing Machine
The bed plate is the flat metal surface that you sew on; it is important to keep it clean to avoid any particles getting onto your sewing projects. First, remove any pieces or parts that are attached to the bed plate. Use a dry, lint-free cloth to wipe away any particles or buildup from the surface. Do not use solvent-based cleaners, as these can damage the surface of the plate. Once the plate is dry, it is advisable to apply a light coat of machine oil to the moving parts and the underside of the bed plate to prevent the metal from becoming too dry.
Cleaning the Presser Feet, Needles and Bobbins
The presser feet, needles and bobbins should all be inspected on a regular basis. These parts can become clogged with thread or lint, and should be cleaned out with a soft brush. Replace the presser feet, needles and bobbins as necessary. It is best to stick to the same brand of needles, as different brands can vary in their quality. Sewing machine needles should be replaced every few months, or sooner if you find them breaking or skipping stitches.
How to Clean the Exterior of the Sewing Machine
The exterior parts of the sewing machine should be cleaned using a dry, lint-free cloth. It is a good idea to use a vacuum cleaner to remove any dust from the exterior parts. If there are any stubborn marks or debris, use a damp cloth to carefully wipe away any buildup without using any commercial cleaners, which could damage the finish of the machine.
Check and Change the Belt and Pulleys
The belt and pulleys on a sewing machine should be checked every few months to make sure they are functioning correctly. The belt should be in good condition and not cracked or frayed. If the belt is in poor condition, it is best to replace it. The pulleys should also be inspected to make sure they are not stuck or blocked.
Lubricate The Parts
Once the sewing machine has been cleaned and inspected, the next step is to lubricate the parts. Sewing machine oil should be applied to all the moving parts of the machine using a small, clean brush. This will help to keep the parts in good working order and prevent wear and tear. It is best to avoid using any liquid cleaners on your sewing machine as these can damage the delicate parts.
Check the Electrical and Wiring
The wiring and electrical components of the sewing machine should also be inspected periodically. Check the power and foot pedal cords for any damage, and make sure the plugs are securely connected. If necessary, they should be replaced so that the machine operates safely. Again, refer to the machine’s manual for specific instructions on maintaining the electrical components.
Check and Adjust the Stitch Length and Tension
The stitch length and tension should be checked frequently, as these can affect the quality of your stitching. The tension should not be too tight or too loose, and can be adjusted by turning the knob on the side of the machine. The stitch length should also be adjusted according to the type of fabric you are sewing, as different fabrics require different lengths. Once the settings are correct, test them out with a piece of scrap fabric before beginning a project.


