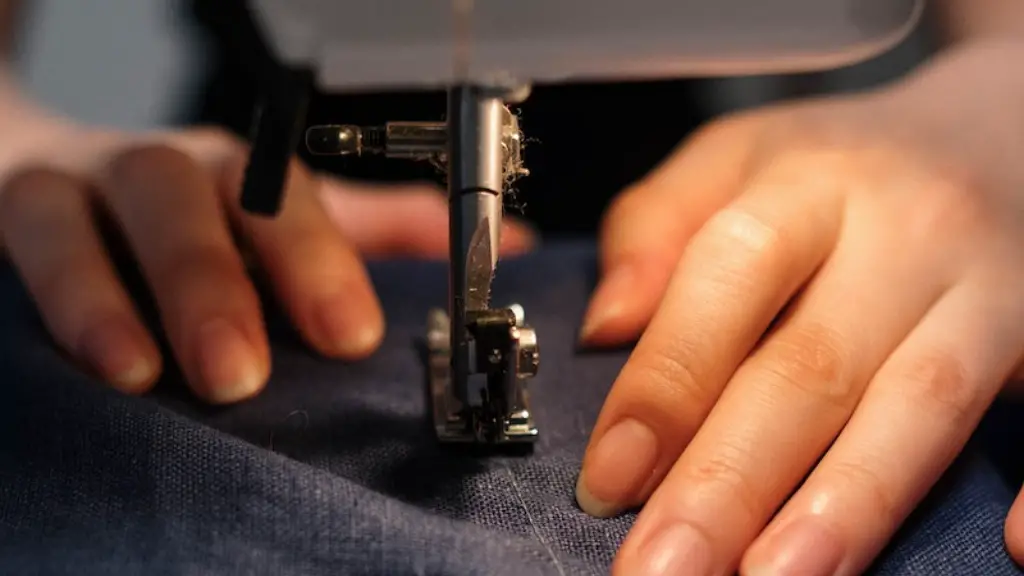
The tension of your sewing machine’s thread is one of the most important factors when stitching a project. Without the right tension, you could be left with unsatisfactory results that include uneven stitches, skipped stitches and busted threads. For this reason, it pays to know how to correct the thread tension on a sewing machine.
Examine the Machine’s Threading
Before you can begin troubleshooting the tension of your sewing machine, it’s essential to make sure that the machine has been threaded properly. Poor threading is often the cause for tension issues and other common problems with your machine. To check the threading of your machine, unthread it and then look at the manual guide for a step-by-step guide on how to thread the machine correctly.
Adjust the Tension Discs
If a thorough examination of the threading process did not solve the tension issue, the next step would be to adjust the disks. The first step is to loosen the tension discs. You can find these disks on the right side of the sewing machine’s throat plate. And you can usually find a numbers dial above them where you can turn to make adjustments.
When you turn the dial, this in turn affects the internal tension discs. Generally speaking, adjustment marks from 1-5 on the dial correspond to lighter tensions, while the higher settings from 6-9 correspond to heavier tensions. So, if the tension is tighter than what you need, you may need to lower the setting a notch or two. Conversely, if the tension is too loose, then you’ll need to raise the settings.
Check the Bobbin Thread
The tension of your bobbin thread is just as important as that of the upper thread. To double-check your bobbin thread, just take out the bobbin and pull out a few inches of thread. If there’s too much tension coming from the bobbin, then it can cause the threads from the upper thread to pull too tightly from the bobbin, thus creating an overall tighter tension.
If the tension on the bobbin is too tight, you should be able to loosen it by turning the tension screw. This screw is usually located at the bottom of the case where the bobbin is stored.
Regular Maintenance
The last step to take when correcting tension issues is to make sure that your machine is regularly serviced. In most cases, you should bring your sewing machine to a professional once a year for servicing. This will help to ensure that the tension on your machine is properly adjusted and that all of the internal parts are working correctly.
By following the above steps and regularly maintaining your sewing machine, you should be able to troubleshoot and correct any tension problems with ease. Just remember to take your time and be mindful of all the settings and adjustments, as this can help to avoid any future issues.
How Thread Amount Affects Tension
The amount of thread you use when sewing a project can also greatly influence the tension of your machine. To ensure that the tension is balanced, make sure to always use a lot of thread, in both the top and bobbin – this means more than the recommended amount based on your machine’s manual. Though this may seem counterintuitive, the extra thread acts helps to keep the tension level even and avoid any possible hitches.
Using the Right Thread Type and Weight
Another factor that affects the tension of the machine is the type and weight of the thread you use. The wrong thread could easily lead to skipped stitches or uncomfortable tensioning. For this reason, it’s essential to always use thread that’s made for your particular sewing machine, and that is suitable for the kind of fabric you’re working with.
Testing with Different Threads
Whenever you’re working with a new thread or fabric on your sewing machine, it’s best to test it on some scrap fabric beforehand. This is a great way to test different thread weights and materials to find the best direction to go with your project. Just pull the fabric lightly and check for any sign of the threads pulling and bunching up. If the thread remains even and there’s no pulling, then you’ve got the right balance.
Check The Needle
Another overlooked factor of tension is the needle. If you’re using an old or blunt needle, then chances are that the tension will be uneven. Always make sure to use the right size and type of needle for your project, and make sure that the needle is brand-new and in its original packaging. This will help ensure that the tension remains even and that the needle doesn’t get damaged too quickly.
Use a Seam Ripper to Entangle Threads
Sometimes, when the tension is too tight, it can cause the threads to become tangled and bunched up. In these cases, using a seam ripper can help to cut the material back away from the threads and separate the fabrics. With practice, you should be able to separate the threads without having to snip the fabric itself.
Stitch Length
Adjusting the stitch length on your sewing machine is a great way to fine-tune the tension of the top thread. Longer stitches use more thread, which can exert more tension on the fabric. So, if the thread tension is too tight, try slightly decreasing the length of the stitches. This should give enough leeway to ease up the tension a bit. Conversely, if the tension is too loose, try increasing the stitch length slightly.


