For anyone interested in maintenance and repair of the Brother Sewing Machine, it is important to understand that disassembling the machine has to be done properly. The following guide provides instructions on how to safely and effectively disassemble the Brother Sewing Machine.
Safety Measures
Before starting the disassembly process, it is important to take some safety measures. Any electrical cord should always be disconnected from the machine before disassembling. The foot control pedal should also be disconnected and the machine should be positioned on a stable and easy-to-reach surface. Additional tools that might be necessary for the repair such as wrenches, screwdrivers or pliers should be organized and ready for use.
Getting Rid of the Housing
The first step of disassembling a Brother Sewing Machine is to get rid of the housing and the case protector. Care should be taken when dealing with plastic and metal parts as damage can easily occur. The access panel, which normally covers the circuit board, should be unscrewed and separated. After that, the circuit board must be located and taken out carefully.
Removing the Gearbox and Motor
The gearbox, which houses the motor, can be accessed via the top of the machine. The gearbox and motor should be firmly and carefully unscrewed. Special care should be taken when handling the plastic parts, to avoid damage. Before removing the gearbox and motor, it is advisable to mark the exact positions of all interior parts.
The Feed Cover
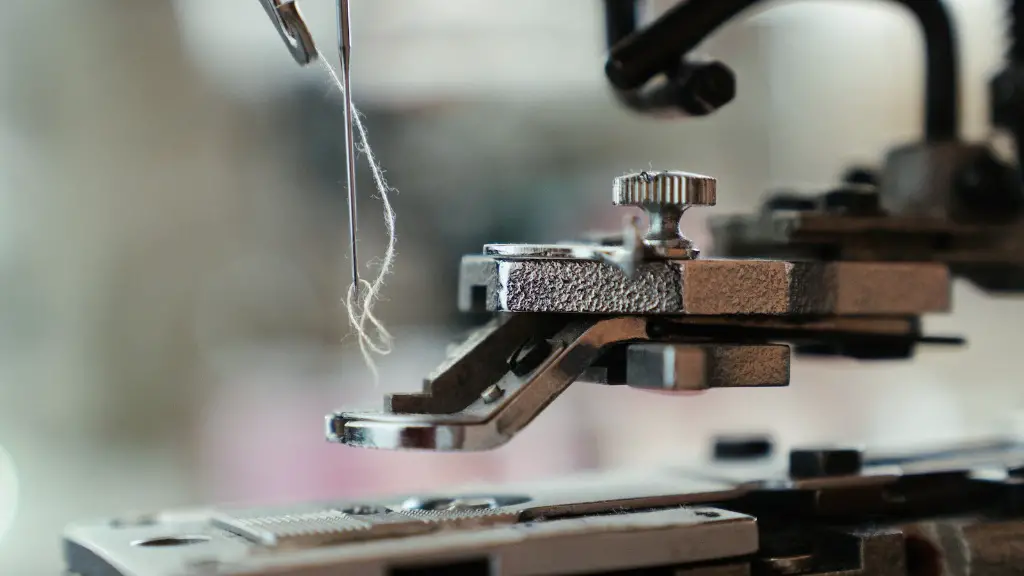
The Feed Cover of a Brother Sewing Machine is found at the bottom right-hand side of the machine. It should be unscrewed, as it hides a few screws, nuts and washers that play an important role in the sewing machine’s assembly. Once unscrewed, the washers, nuts and screws can easily be seen, removed and organized.
Removing the Drive Shaft
The drive shaft installation needs to be carefully removed. The drive shaft consists of several pieces and can easily be damaged if not handled properly. Special attention should be given to the needle driver and the drive shaft components, to make sure all parts are kept safe and secure.
Disconnecting the Gears
All of the gears should be removed from the machine. With a pair of pliers, the gears and small screws can safely be taken out of the assembly. Proper care and attention should be taken to make sure no damage is done to any of the pieces.
Disassembling the Thread Guide
To finish the process of disassembling the Brother Sewing Machine, the thread guide should be removed. The thread guide usually consists of several parts, including the thread spool, the stitch regulator and the thread guide spring. All of these components must be carefully taken out.
Test the Parts
Before reassembling the Brother Sewing Machine, it is important to make sure all of the separated parts are properly tested. It is advised to check the electrical circuits and make sure they are functioning correctly. The tension springs, the needle and the feed dog should also be tested to make sure they are working properly.
Replace the Necessary Parts
When reassembling the machine after the disassembly process, old parts should be replaced with new ones if necessary. Parts such as the needle, the bobbin case, the presser foot or the feed cover should be changed for new ones to make sure the machine works properly.
Clean the Parts
Before reassembling the the Brother Sewing Machine, all the separated parts should be properly cleaned. Parts such as the bobbin case and the feed dog should be carefully wiped down with a damp cloth and some mild soap. Special attention should be given when cleaning the components to make sure no damage is done.
Reassembly
When reassembling the Brother Sewing Machine, the disassembly steps should be followed in reverse. All the previously organized parts should be put back in their original positions. Any electronic components should be handled with proper safety measures to prevent any kind of shock. It is also important to use the correct screws and bolts when putting all the pieces back together.
Check for Leaks
Leakage of oil or lubricants can cause serious damage to the Brother Sewing Machine. Therefore, it is advisable to check for any and all possible leaks before turning the machine on. If any leaks are found, immediate action should be taken to resolve the issue.
Test the Machine
After completing the reassembly process, the machine should be tested to make sure it functions correctly. A trial run should be made, in order to make sure all the parts are working properly and that all the connections are established correctly. The motor, the foot pedal and all the other electrical components should be tested to ensure the machine is ready for use.
Additional Tools
Some machines might require additional tools and items when performing maintenance, such as oil can, screwdriver set, or small spanners. Furthermore, when reassembling the machine, it is important to make sure all the screws and bolts are properly tightened.
Additional Maintenance
To keep the machine functioning properly, additional maintenance should be done on a regular basis. The cleaning and oiling of the machine’s parts should be done every few months, depending on how much the machine is used. It is also important to make sure all the cords, wires and electronic components are functioning correctly and that all the safety measures are taken into account.
