How to do a Blind Stitch on a Sewing Machine
Blind stitching is a popular technique used to finish fabrics when creating items such as cushions, garments, quilts and bags. This technique of sewing gives a neat and clean look and eliminates the need for hand sewing. It can be used on a variety of fabrics, such as cotton and linen, and is a must-know skill for any avid sewist.
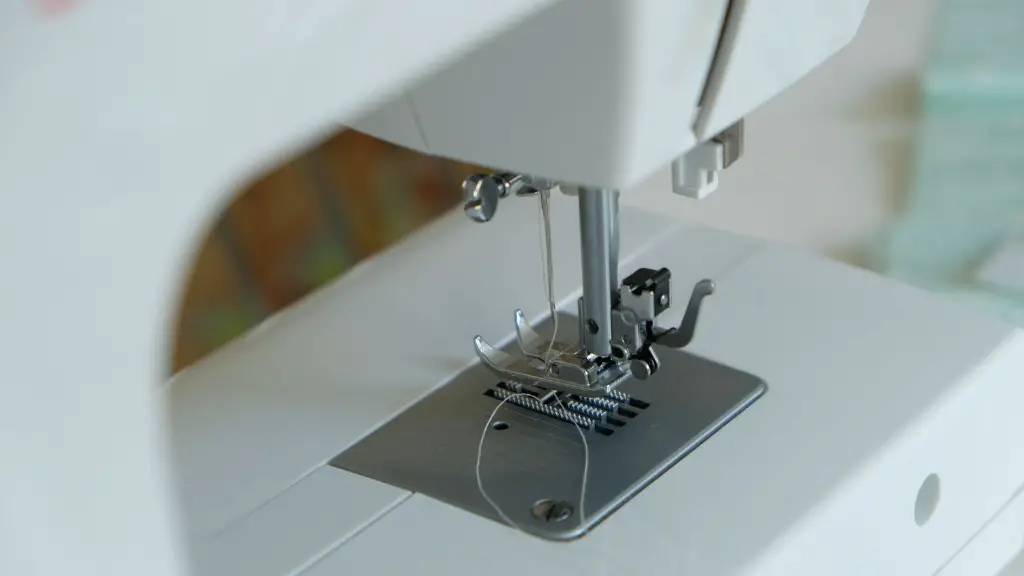
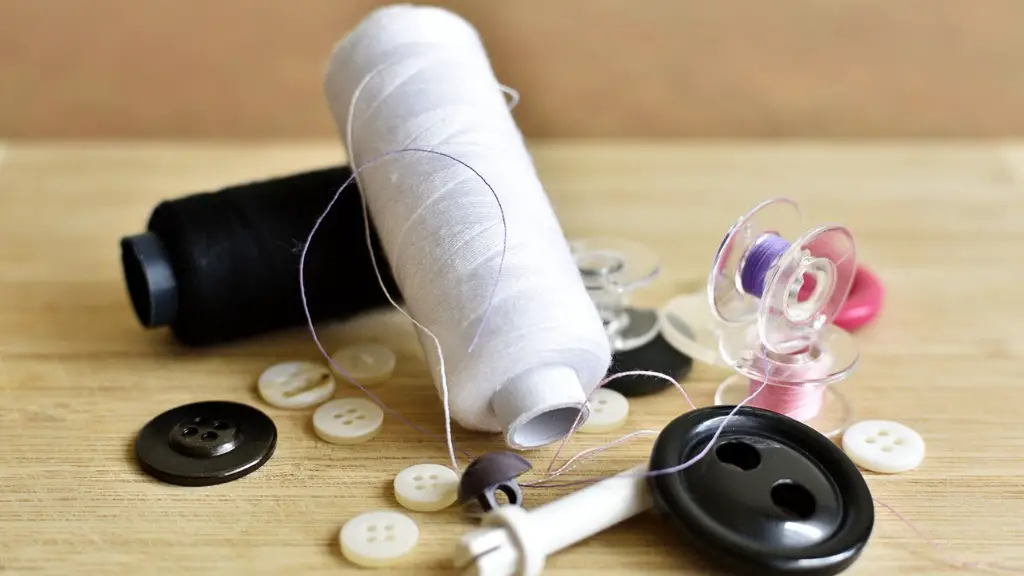
To begin, select the right sewing machine tools and supplies. You’ll need a sewing machine, scissors, straight pins, fabric chalk, and a thread spool. Depending on the fabric you’re using, it may require special needles, such as a universal needle for cotton fabric. You may also need an edging foot for some machines, which will allow you to sew the blind stitch around the edges of your fabric.
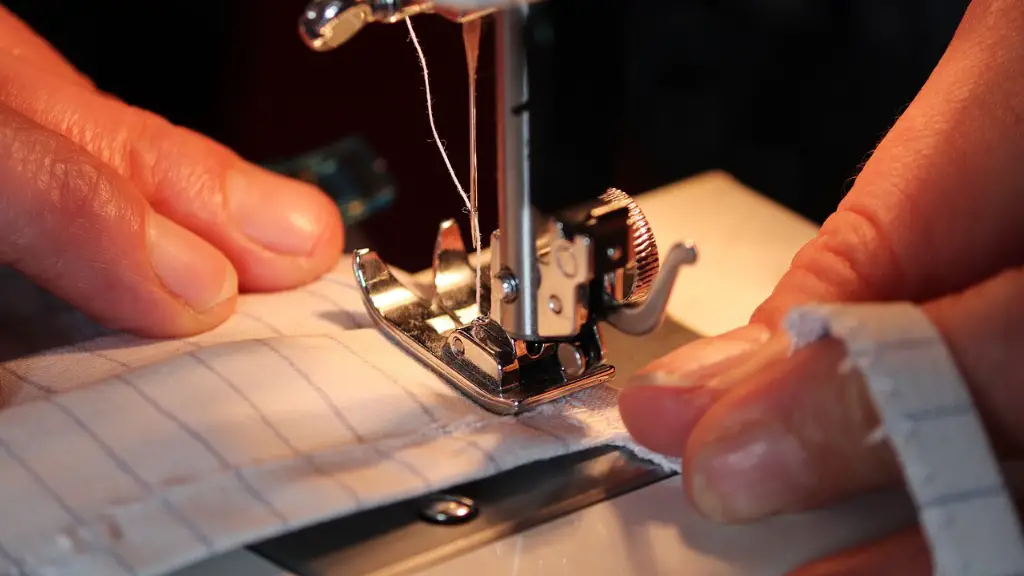
Once you have the necessary tools and supplies, you’re ready to start. First, pin the two fabric pieces together, and use the fabric chalk to draw a line from one edge of the fabric to the other. This line will be your guide for sewing the blind stitch. Next, adjust the zigzag width on your sewing machine and increase or decrease the width until it is roughly the same width as the line you just drew. Once you are satisfied with the setting, place the fabric under the presser foot and align it with the line.
Now you are ready to start sewing! To do the blind stitch, adjust the stitch length to the longest setting. Start stitching along the line, beginning at one end and ending at the other. Take your time and make sure the stitches neatly line up. Additionally, be sure to leave enough space between the stitches to allow for fabric movement. Once you are done, press the fabric lightly with an iron and trim any excess thread or fabric.
Sewing a blind stitch can seem daunting at first, but with practice and patience you can easily master the technique. There are many tutorials and videos online that provide helpful tips and tricks for sewing the perfect blind stitch. So, don’t hesitate to reach out for extra help and guidance!
The best part about learning to sew a blind stitch is that it’s a perfect finishing touch for any project. And, with careful technique and practice, it will add an extra layer of professionalism and neatness to any sewing project.
Tips and Tricks
For those who have just started out experimenting with the blind stitch technique, there are some helpful tips and tricks that can make the process easier. Here are a few to get you started:
1) Start with a wide enough zigzag setting so that the stitches are neither too tight nor too loose.
2) Make sure to leave enough space between each stitch to allow for fabric movement.
3) For a clean look, try to keep your stitches as straight as possible.
4) If your fabric is thick or delicate, you may need to use a different needle.
Sewing a blind stitch may take a bit of trial and error at first. However, with these tips and a little patience, you’ll be able to achieve a professional finish that looks and feels amazing!
Material Types
When engaging in blind stitching, it’s important to consider the type of material being used. The most popular material in blind stitching is cotton, as its texture and thickness is ideal for the blind stitch technique. But there are other fabrics that can also be used with great success, such as linen, satin or silk. It’s important to take into account the stiffness and texture of the fabric, as this will help determine the type of needle and thread you need to use.
In some cases, a special “edging” foot may be needed for some machines, which will help in creating a finished look. It is also important to pay particular attention to which fabric chalk to utilize when drawing the line to be stitched. A water soluble chalk is ideal when working with delicate fabrics, while a wax chalk is usually recommended for more robust fabrics.
Finally, when working with a patterned fabric such as quilting, it’s best to keep the same pattern in line with the seam when stitching to avoid any awkward break points. With a few extra considerations and knowledge of the material you’re working with, you can easily create a perfect finish and achieve a neat and professional look.
The Challenges
No sewing technique is without its challenges. As with any craft, mistakes are bound to happen, especially for those who are just starting out. Common mistakes when doing a blind stitch include uneven stitches, broken threads, misaligned seams, and fabric puckering. To overcome these, you will need to be aware of the mistakes as you are sewing, and make corrections if necessary.
In addition, it may be difficult to tell how well your blind stitch looks from the back of the fabric. To get an overall view, try turning the fabric over to the right side to double-check the alignment and neatness of the stitch. Even an experienced sewist can make mistakes, so double-checking is always a good practice.
Finally, if you’re feeling frustrated, take a break and try again later. Take time to observe other sewists’ work and ask for advice, and with practice and patience you will overcome the challenges and become a pro at blind stitching!
Advanced Techniques
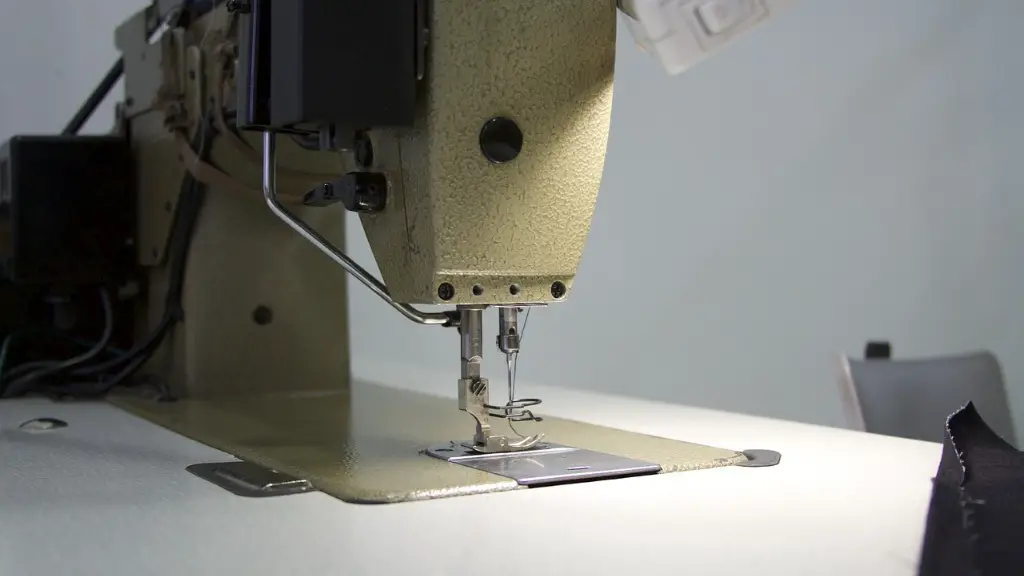
Once you’ve achieved the basics of blind stitching and understand the process, it’s time to take it to the next level. There are advanced techniques and tools that can help you create a professional-looking finish, including blind stitching machines and presser feet. These tools can make a huge difference, as they make it easier to carry out the stitches accurately and precisely. Additionally, they help to make the process faster.
For more adventurous sewists that have a good handle on the basics, there are more intricate techniques you can try, such as making freehand blind stitches. This type of stitch requires more skill and practice, and is often used to create an applique or pattern on fabric. Additionally, you can also create a stitch that looks embroidered, by using a madeira thread with a dropped needle technique.
Having mastered the basics and experimented with advanced techniques, you’ll be able to confidently sew a variety of projects and create professional-looking pieces that any sewist — novice or experienced — can be proud of!
Practice Makes Perfect
No matter the technique or level of skill, practice will always be key when perfecting the blind stitch technique. With regular practice, mistakes can be easily identified and corrected, and before long the process will become second nature.
Additionally, you may find that it gets easier to tell the difference between quality and mediocre stitching. This is a useful skill to have, especially if you are planning to take on more complicated projects or make garments for others. Knowing what a quality blind stitch looks like will undoubtedly help you in delivering professional results.
If you’re on a tight budget, you can practice blind stitching on scrap fabric or old clothes. This way, you have nothing to lose and will be able to make the most of available resources to practice the technique. There are some great free resources online with helpful tutorials and tips to help you hone your skills.
Summary
Blind stitching is a great technique for any sewist, as it gives a neat, professional finish to any project. With the right tools and supplies, this technique can be mastered with little effort and quickly lead to creating beautiful pieces! Even if you make mistakes at first, with practice and patience your skills will soon be improved and your projects will have a professional finish.
