Understanding the Overlock Stitch
The overlock stitch is a popular stitch for machine sewing projects that involve forming hems, seams and other types of fabric edging. It’s a very useful stitch for garment makers and dressmakers, as it not only creates a decorative edge to your project but can also reinforce the stitches. An overlock stitch is created by using a number of threads to form the stitch, usually a combination of the needle thread, the bobbin thread and a thicker thread called the looper thread.
The Benefits of the Overlock Stitch
The overlock stitch has a number of benefits compared to traditional sewing techniques. Firstly, it’s much quicker as it can be completed in one step. Secondly, it prevents the fabric from fraying, which is a common problem with regular stitches. Lastly, the results of an overlock stitch are much neater and look more professional, which is why it’s favoured by dressmakers and garment makers.
Key Considerations When Doing an Overlock Stitch
Before beginning the task of doing an overlock stitch, there are a few basics that need to be taken into consideration. Firstly, it’s important to choose the appropriate type of thread for the project. Generally, it’s best to use a strong thread as this will produce a robust and durable stitch. Secondly, be sure to use the correct needle size for the particular fabric. Finally, it’s important to use the right tension so that the threads don’t become too loose or too tight.
The Steps Involved
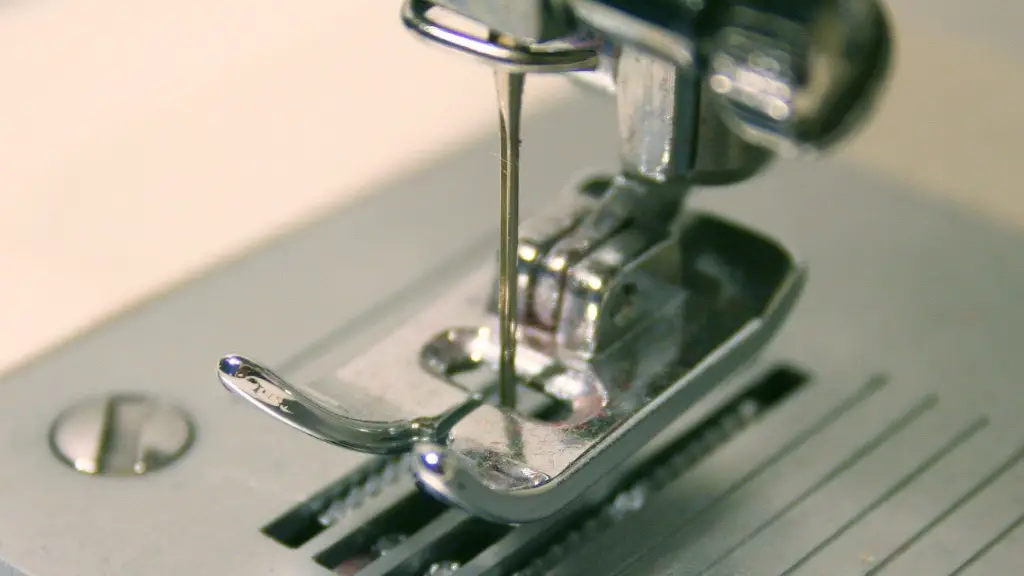
The process of completing an overlock stitch on a sewing machine is relatively simple and straightforward. Firstly, it’s important to make sure that the machine is set up correctly. This means adjusting the needles and tensions as well as ensuring that the looper threads are threaded correctly. Once the machine is ready, the fabric can be placed under the presser foot and the stitching can begin. As the machine works, it will knit together the needle thread, the bobbin thread and the looper thread to form a secure and decorative edge.
Using Different Types of Overlock Stitching
It’s also possible to use different types of overlock stitching depending on the project and desired outcome. The most common types of overlock stitching are 3-thread, 4-thread and 5-thread. The 3-thread version is the fastest to complete and is best suited to less bulky fabrics. The 4-thread version is slightly more durable as it has a tighter stitch and is often used on heavier fabrics. The 5-thread version is the strongest of the three and is suitable for the most heavily woven fabrics.
Tips for Perfect Results
For perfect results when completing an overlock stitch, it’s important to understand the basics and follow some simple tips. Experts suggest that for the best outcome, the stitch should be done on a flat surface, the presser foot should be tightened firmly and the tension should be adjusted as needed. Additionally, the fabric should be pulled gently as the machine works to ensure an even tension and the stitches should be checked often to ensure they are secure.
Cutting and Trimming
Cutting and trimming often comes after overlock stitching and can give the project a professional finish. Typically, this involves using a sharp pair of scissors to trim away the excess fabric afterwards. To reduce the risk of fraying, the edges should be cut carefully and with precision. If the project involves fabric that could be prone to fraying, it can be finished off with a zigzag stitch. This technique involves stitching a zigzag line at the fabric edge and can help secure the material and reduce the risk of further fraying.
Finishing Touches
When an overlock stitch is complete, there are a few finishing touches that can help make the project look more professional. Firstly, the ends of the fabric should be secured. This can be done by taping the ends of the fabric with thread or with a dab of fabric glue. Secondly, to achieve a neat and even edge, some top-stitching can be added to the fabric edge. This involves stitching close to the edge of the fabric on the hem or seam in order to reinforce the stitch. It can also make the whole project look more attractive and finished.
Testing and Troubleshooting
Even the most experienced sewers can experience problems with the overlock stitching at times. If the stitches fail to form correctly or begin to come undone, it’s important to troubleshoot the problem and identify the cause. If the stitch is not forming properly, it could be due to an incorrect tension setting or incorrect threading. Additionally, the needle could be blunt or the fabric could be too thick. If the stitches are coming undone, the fabric could be too weak or the looper thread could be too light. Generally, the issue can be fixed by testing the stitch on scrap fabric before proceeding and making any corrections as necessary.


