Threading the bobbin
Knowing how to thread a Brother Sewing machine bobbin is a vital skill when learning how to sew. It’s first important to note that it’s a different process for different models and brands. For Brother Sewing machines, the threading of the bobbin is actually simpler than many think.
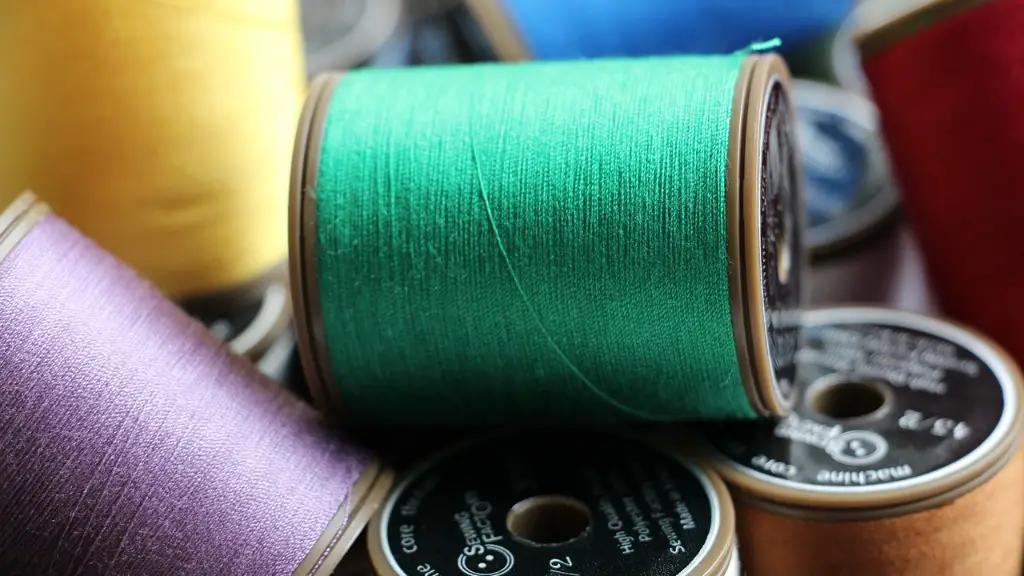
To start, open the bobbin cover and take out your bobbin. Take your sewing thread and put it through the front thread guide. From there it goes around the bobbin in a clockwise direction. Make sure that you pull up the thread tail before you close the bobbin cover so that the thread won’t get tangled before you’re ready to sew.
Once you have wound the bobbin with the thread, place it into the bobbin case. Match up the flat side of the bobbin with the flat side of the bobbin case. Fit the bobbin and bobbin case into the machine and push until it clicks into place.
Pull up the needle thread and press down on the bobbin winding spindle towards the back of the machine. This will stop the spindle from turning automatically and will make the bobbin wind. Hit the start button and the bobbin should start to wind on. Once it is fully wound, the machine will automatically stop.
Now that your bobbin is threaded, you’re ready to start sewing! Make sure to snip the thread before you get to the end so that the machine stops. After snipping, pull both the needle thread and bobbin thread tails up to the top of your sewing piece just to make sure the thread is not tangled before performing any stitches. Clear the bobbin cover plate, and you’re good to go!
With a little practice, knowing how to thread a Brother Sewing machine bobbin can be a fairly easy process. Once you get confident with the process, you can move forward with more complex sewing and quilting work.
Inserting the needle
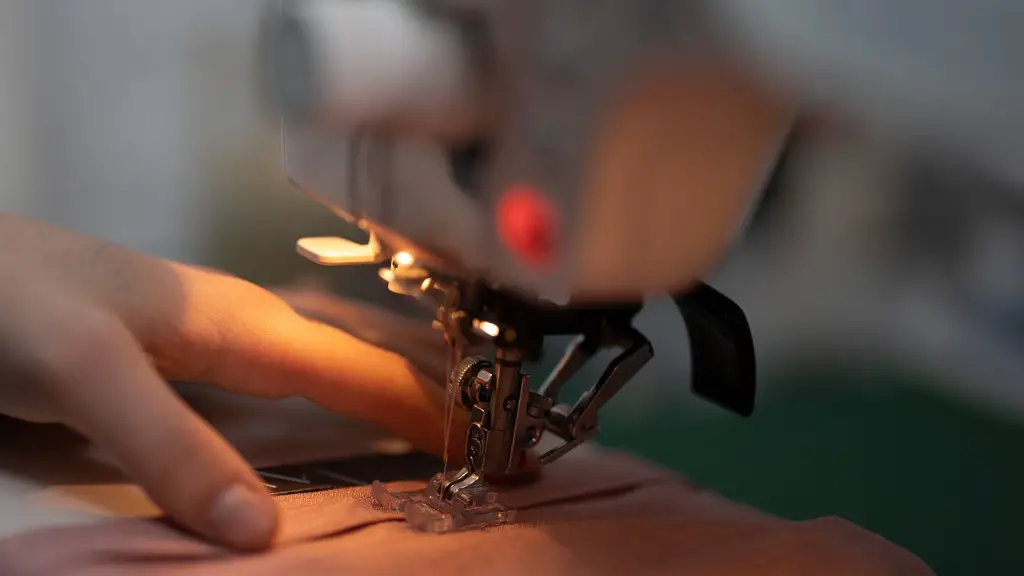
Once you have threaded the bobbin, the next step is to insert the needle into the Brother Sewing machine. Begin by taking out the original needle that comes with the machine. Replace it with a new needle – size 15 or 16. Point the needle up, and press it on the needle clamp. Rotate the needle to make sure it is tightly secured.
For most needles, the flat side should go in the back or left side of the needle. This will ensure the stitch will be balanced with the Bobbin side. Also make sure that the needle is pushed all the way up as far it can go. Ensure the needle is secured with a little press.
From here, you’ll need to select the proper size of the needle. It’s important to make sure that the needle corresponds to the size of the thread you plan to use. Use the Top Stitch or Universal needles for all-purpose sewing like construction and decorative stitching, while the Embroidery Needles are best for Denim sewing projects. The Quilting needle is best for lightweight fabric, while the Leather Needle is best for heavyweight leather.
Depending on what kind of stitch you’re working on, you may need to adjust the needle position on the machine. Make sure that the needle does not hit any hard surfaces and that it is aligned with the needle bar for proper thread tension.
Now comes the most important part – testing the thread. Make sure the needle is properly inserted, and the thread is correctly placed into the needle. Once you’ve confirmed the needle is inserted correctly and the thread is properly placed, you’re ready to start sewing!
Stitch selection
Before you can get started on any stitching project, you need to select the right stitch. On Brother Sewing machines, there are many options to choose from. Each of these options has a different purpose, so it’s important to choose the right stitch for your project.
For basic sewing tasks, such as mending torn fabric or creating garments, straight stitches are the most commonly used. The length of the stitch can be adjusted depending on the specification of a sewing project – longer stitches are ideal for gathering and basting, while shorter stitches are more suited for securing seams. Furthermore, there are a variety of decorative stitches that can be used to embellish fabric and make it look more interesting.
When stitching on a hard-to-reach area, a zigzag stitch may be required. It’s perfect for tackling thicker fabric such as denim or canvas. The stitch is highly versatile and the user can select from a wide range of widths and lengths. It can also be used for keeping edges from fraying, or for appliqué projects.
As for buttonholing, the Brother Sewing machine offers a range of sizes and shapes, including the classic round buttonhole. Each option can be used for a range of applications – use an eyelet buttonhole for thin fabrics, while round buttonholes are best for thicker fabrics. Additionally, a small keyhole buttonhole can be used for heavier fabrics, such as canvas.
By familiarizing yourself with these options, you will be able to make the right stitch selection for your projects.
Tension adjustment
Achieving the right tension is vital in order to prevent your stitching from becoming jammed or broken. Depending on the fabric, the thread tension can vary, so it’s important to know how to adjust it accordingly.
With Brother Sewing machines, adjusting the tension of the thread is really easy. Firstly, locate the tension control. It is on the top, right-hand side of the machine. Set the dial to the recommended tension for the given fabric, which can be found in the user manual.
You can test the tension on a scrap of the fabric you’re sewing with. Sew a few test stitches and examine the back of the fabric – if the tension is correct, the upper thread should be slightly visible on the fabric. If it’s not, adjust the tension setting until it is.
When using decorative or specialty threads, or when sewing with a serger, it’s best to test the tension on a special fabric. This will ensure the thread tension is perfectly set for the fabric you’re working with.
Take some time to become comfortable with this process so you can confidently adjust the tension for any sewing project.
Controls and functions
Getting to know the controls and functions of your Brother Sewing machine is essential when it comes to successful stitching. Understanding how to set up the machine and to complete certain tasks, such as threading a needle, is essential.
By getting to grips with the machine, you’ll be able to work with it more efficiently. This will also allow you to tackle more advanced projects. Familiarize yourself with the different buttons and dials and practice threading the needle, changing the speed and stitching length, and thread tensioning.
Learn how to use the automatic thread cutter and the stitch selector, use the machine on the reverse settings, and make the most of any extra accessories bundled with your machine. Drive feet and extension tables can be used for ease of use, while additional feet can help with tricky areas such as buttonholing.
Additionally, your Brother Sewing machine may offer some bonus settings which may be difficult to use at first. You might want to try these out on some fabric scraps or practice with an instructional DVD before using them on any larger sewing project. This way, you’ll be able to sew with the machine with ease.
Maintenance
In order to guarantee good results when sewing, it is important to keep your Brother Sewing machine in good condition. Regularly check the presser foot and lint filters, and clean any surface lint regularly. Ensure that the machine is free from dust as this can affect its performance.
Replace the needle regularly, usually after several hours of stitching. Following the recommended guidelines for needle replacement will help to avoid any issues. Additionally, regularly oil the machine as this will help to keep the moving parts clean.
Keep an eye out for any signs of wear and tear, such as threads or needles becoming loose or fraying. If this happens, it could affect the tension or stitching quality and may need further maintenance.
Likewise, keep the machine covered when not in use. Make sure to switch off the power before doing any cleaning or maintenance. Lastly, clean the machine at least once a month depending on how much it is used, and always refer to the user manual for any specific machine maintenance.
Troubleshooting
Knowing how to troubleshoot your Brother Sewing machine is vital when it comes to finding and fixing any possible issues. If you ever happen to experience any snags while working on a project, there are a few simple things you can do to get it back in action.
First, check the tension setting. If the thread tension is too tight or too loose, it can cause the stitching to break, or produce unsatisfactory results. If the tension is off, try adjusting it until the stitch is nice and even.
Next, check the needle. If the needle is inserted the wrong way, it could produce unreliable stitching. Make sure that the needle is the right size for the fabric and is inserted correctly. Make sure you consider the angle of the needle as well – if it’s askew or too low, try readjusting it.
Finally, make sure that you’re using the correct settings for the fabric you’re using. Look at your user manual for advice on stitch length and width and make sure that the feed dogs are the right size for the fabric.
If these measures do not work, consider contacting your Brother Sewing machine customer service for assistance.
