Background of How to Do Buttonholes on Brother Sewing Machine
When it comes to making the perfect buttonhole on a Brother sewing machine, the most important thing to consider is the type of buttonhole stitch your machine has. There are two types of buttonholes that can be created with a Brother sewing machine: a standard buttonhole with 2 repeating stitches and a decorative buttonhole with several differently-shaped loops of stitches. Depending on your needs, you may need to configure your machine to use either type of buttonhole. Additionally, you will need to purchase a specific type of presser foot, depending on the type of buttonhole stitch that you select.
What the Beginner Needs to Know
The selection of the buttonhole stitch and the specific presser foot required for that stich can be intimidating to newcomers to Brother machines. Fortunately, the buttonhole stitch and presser foot selection process can be made simpler by following a few general steps. The first step is consulting the manual for your machine. Here you will find clear instructions about the type of buttonhole stitch you should be using and what type of presser foot it requires. It is important to note that some machines may require two separate presser feet in order to create buttonholes of preferable shapes.
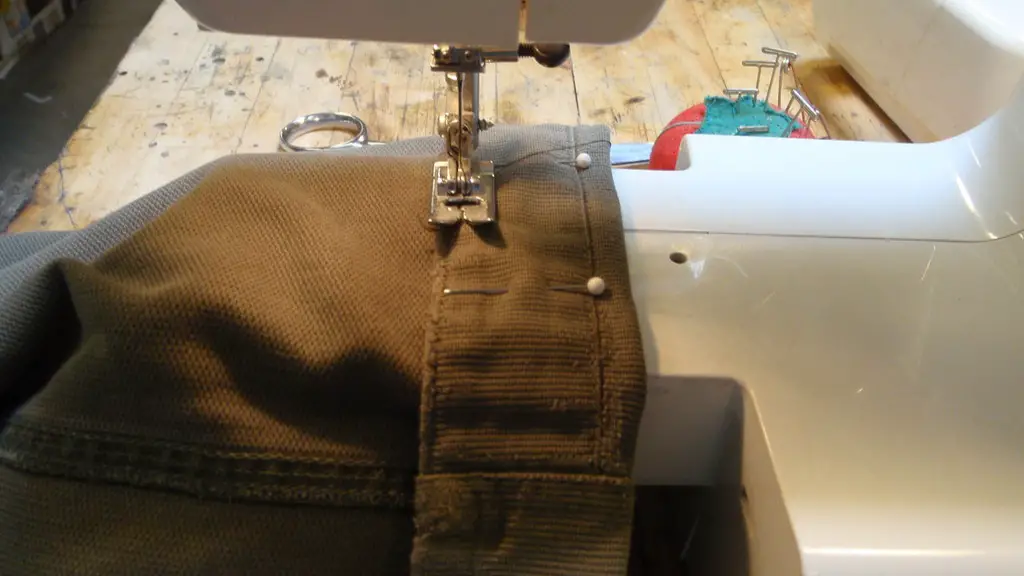
Assuming you have read the manual and you now know which presser foot and stitch you should use, you will then need to affix the foot to the presser foot holder of your machine. Most models of Brother machines come with presser feet that attach the same way, making the process remarkably easy. Once that is done, you can begin the process of creating a buttonhole on your machine.
Setting Up the Setting for Buttonhole Stitch
In order to get a well-executed buttonhole, you will need to adjust certain settings on your machine. Depending on the model of your Brother machine, these settings are accessible via the LCD display on the body of the machine or on the handwheel below the needle. Most of these machines will require specific selections of stitch type, stitch width, length and the buttonhole size. It can be helpful to consult your machine’s manual here, as it will provide detailed instructions about how to adjust the stitches to achieve the desired effect.
Using the Buttonhole Stitch
Once you have all of the settings adjusted properly, you can begin the buttonhole stitch. It is very important to remember that depending on the type of buttonhole stitch you have chosen and the fabric that you are using, you may have to adjust the number of stitches in order to achieve a more pleasing result. Additionally, for most machines, the buttonhole stitch will not begin until you press the start button, so make sure to check your manual if that is the case.
How to Finish and Sew the Buttonhole
Once you have completed the buttonhole stitch, there are a few steps that you need to take in order to finish and securely sew the buttonhole. First, you will need to slide the fabric away from the presser foot so that the entire buttonhole is visible. Next, you will need to back stitch right and left at the beginning and end of the buttonhole. This step is essential, and failure to do it will likely result in a poorly secured buttonhole that pulls apart easily.
Finally, you will want to cut open the buttonhole with a seam ripper or sharp point scissors. Make sure not to go too deep here, as you may end up with a hole that is too large for the button. Once the buttonhole is cut open, you can slip the button through the hole, and then finish by either hand sewing or using the sewing machine to make a final tack—ensuring that your button is fully secure.
Buttonhole Troubleshooting Tips
Even after following all of the instructions for creating a buttonhole on a Brother machine, one may still run into certain issues. Some of the common trouble areas include buttons that are sewn too loosely, buttons that don’t fit properly in the buttonholes, or buttonholes that pull apart easily. If any of these issues occur, the first and most important step to take is to double-check that you followed the instructions for each step of the buttonhole process. In most cases, the problem can be easily corrected by making sure that each step has been done perfectly.
Buttonhole With Decorative Stitches
For those looking to add a bit of extra flair to their buttonholes, Brother sewing machines provide the option to create decorative buttonholes of varying shapes. As was mentioned before, these buttonholes usually involve several differently-shaped loop stitches, which can be used to add a unique and fascinating dimension to the buttonhole. Generally, these decorative buttonholes require a buttonhole presser foot that can be purchased separately from the machine.
Buttonhole Accessory Kits
Most Brother machines can be purchased with a buttonhole accessory kit, containing all of the necessary items for making a professional buttonhole. This not only makes sure that you have the parts you need for making a buttonhole, but also serves as an excellent resource for a better understanding of the process. The kits are often relatively inexpensive, making them a great way for beginners to have all of the necessary items for making a buttonhole.
Practice Makes Perfect
Just like with any skill, creating buttonholes on a Brother sewing machine takes time and practice. It can be difficult to get the hang of at first, but with enough practice and repetition, one can quickly get comfortable with the process. Additionally, because the materials used to make the buttonholes can vary widely, it is important to be familiar with the different types of fabrics that are available, so that one can be sure to use the best possible settings for the particular type of fabric you are working with.
Expert Advice for Buttonholes
When it comes to making buttonholes on a Brother sewing machine, it is always best to consult with a sewing expert or experienced seamstress. They can provide insight and advice on proper settings, as well precise measurements needed to create the buttonholes of the highest quality. It can also be useful to watch online tutorials or instructional videos when looking for guidance on how to make buttonholes with a Brother machine.
Testing Out Buttonholes
Once you have gained a good understanding of how to make buttonholes on a Brother machine, it is always important to actually test out the buttonholes on a sample before proceeding with your project. This is particularly true when dealing with fabrics that require specific settings. It is better to attempt the process on a sample piece first, rather than risk ruining an entire project due to settings that are not optimal for the fabric.
Safety and Handling
When working on a project that involves buttonholes, it is important to always ensure that you are following safety protocols and that your machine is in the proper condition for operation. Take the time to examine and maintain the machine before and after each use, and make sure that the foot-control pedal and needle are both clean and free of debris. Additionally, make sure that you regularly replace the needles and check for any abnormalities with the machine, that could obstruct the buttonhole-making process.


