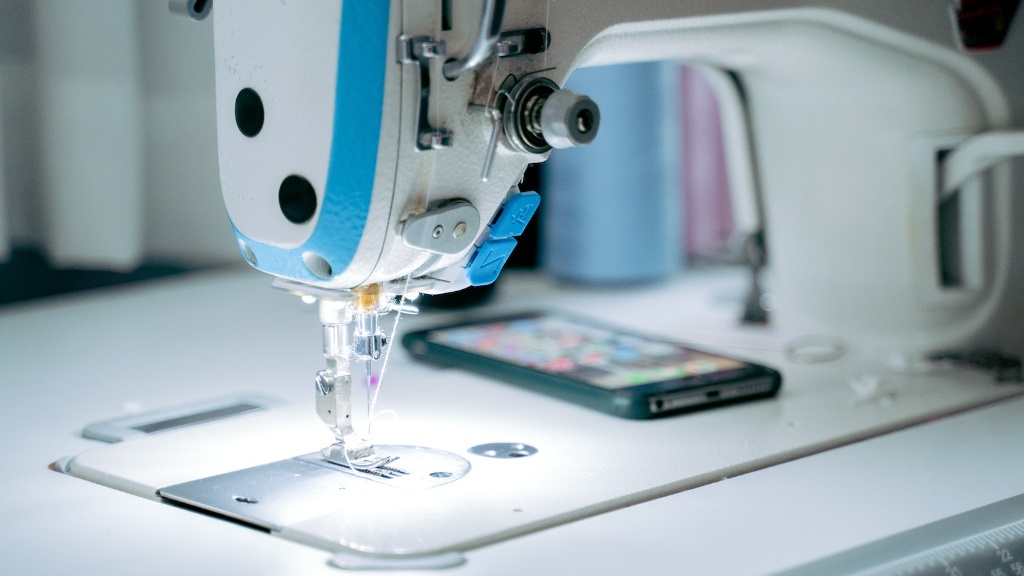
Moments when you’re working on a project and you want to finish a neat edge without any hassle, overlocking comes in handy. But then again, you might be asking if you need a specific machine for this type of operation. The answer is simple: using a sewing machine and the procedures are easy and practical.
If you have someone watch and guide you, it will be a much easier task. An overlock sewing machine is basically an industrial sewing machine with a few extra functions. The new and modern domestic machines have already eliminated the need of having an overlocker and in the same machine you can perform an overlock stitch.
With the technique of overlock stitching, you can create a professional finishing touch which helps in curbing fabric fraying. Before starting your project with an overlock stitch, hold the same belief that you need top quality fabric. The accuracy of the desired results relies mainly upon the fabric’s quality.
Next, you need to learn how to adjust the tensions of your machine. It is necessary to put the correct parameters for each thread in order for the stitches to look uniform and neat. Look for the spool caps, thread coverings and tension discs.
When you’re adjusting the tension for an overlock stitch, most of the tension discs should be open because a decrease in the tension will help in making the look more professional. Afterwards, you need to answer the other questions that you had before starting the whole procedure.
Depending on the combination of threads and fabric you have chosen, you will still have to make some changes regarding threading and tension. With numerous blends and fabric thicknesses, the ideal overlock stitch may vary. Once you feel satisfied with the process, then you can skip the other steps as well.
Keep in mind that overlocking carries a utilitarian purpose and it is not meant to be used as a decorative expression. The stitch should be fine, strong and unitary. In no time, you will be able to do this technique fluently, since it doesn’t take a lot of practice.
Thread Types and Quality
Much like needles, thread also has a significant role in the overlock process. It is advisable to use a combination of threads rather than a single one. It is also important to look for a durable thread, specially designed for this type of sewing because regular cotton thread is not ideal for this purpose.
For overlock machines, the basic demands for a quality thread are that it should be sturdy, break resistant and heat resistant up to a certain level. You even have the advantage of matching the exact colour of the fabric you’re working with.
Choose carefully the type of thread you need because different threads have different characteristics, some are strong and have good colourfastness while others are weak and have poor colour consistency. Choose and experiment few types of threads according to the fabric you are going to work with until you determine your final results.
In conclusion, with the right fabric and the right stitch, you will always have an amazing outcome. It is important to differ overlock stitches from decorative stitches because the ideal thread for a decorative stitch may differ from the ideal thread for an overlock stitch.
Using the Differential Feed Feature
The differential feed feature found in some of the more advanced machines, is the perfect tool for making uniform seams. It is actually a handy feature to have in any stitch because it will provide the fabric with an optimal stretching power. This is particularly useful when you start working with light and stretchy fabrics and knitwear.
To work with this feature and overlock stitches, you need to choose the correct needle plate, matching the chosen stitch. Different plate for different stitch type and fabric type. If you’re wondering how to adjust the correct parameters for your differential feed, you should take a look at the diagram that every machine should have, displaying the two section knobs.
Once you figured out what you’re going to do, the procedure is simple. Start by loosening the two knobs and adjust them to the level preferred for the fabric you’re going to work with. Turn the knobs in the same direction for a stretchy look and the opposite direction if you need a tight all over look. You will quickly see the difference.
Once you’ve learnt how to use this feature, you can experiment with different looks and different textures. You will be able to create unique finished which every mishmash of fabric can produce, it all depends on the adjustments made before the sewing process.
Should You Use it for All Types of Work?
One would think that due to the many advantages of having an overlock machine and working with overlock stitches, this technique should be used in all types of projects. Although, unfortunately, this is not true.
There are a few places which are more suitable for an overlock stitch: collars, sleeves, cuffs and edges. On the other side, if you want to be more creative, this stitch does look amazing when combined with any hole embroidery for an emphatic and informal finish.
Overall, avoid using this stitches in pleats and permanent gathers because the tension of the stitch along with the edges of the fabric won’t be inline and moreover, it will ruin the whole look of the fabric. What you need to remember is that it suits light fabrics more while heavier fabrics will encounter a sewing disaster.
Sometimes you might even come across light fabrics that don’t need an overlock stitch or any stitch at all, because sometimes the light fabric gives in to the given tension and limits the need of closing the seams. For example, this technique is very popular when working with chiffon, crape, knitwear or any other soft fabric.
The Necessary Equipment
In addition to a sewing machine, a few extra pieces of equipment come in very handy, especially when you’re thinking about perfecting the ideal overlock stitch. A pair of scissors, some pins, and a seam ripper are amongst the basics that you should have by your side.
When you’re working with fabrics and threads, you need to have a creamy white wax that is ideal for keeping the threads from fraying and curling. It is important to keep the wax close to your workspace to quickly cover up any unfinished seams in case you need to.
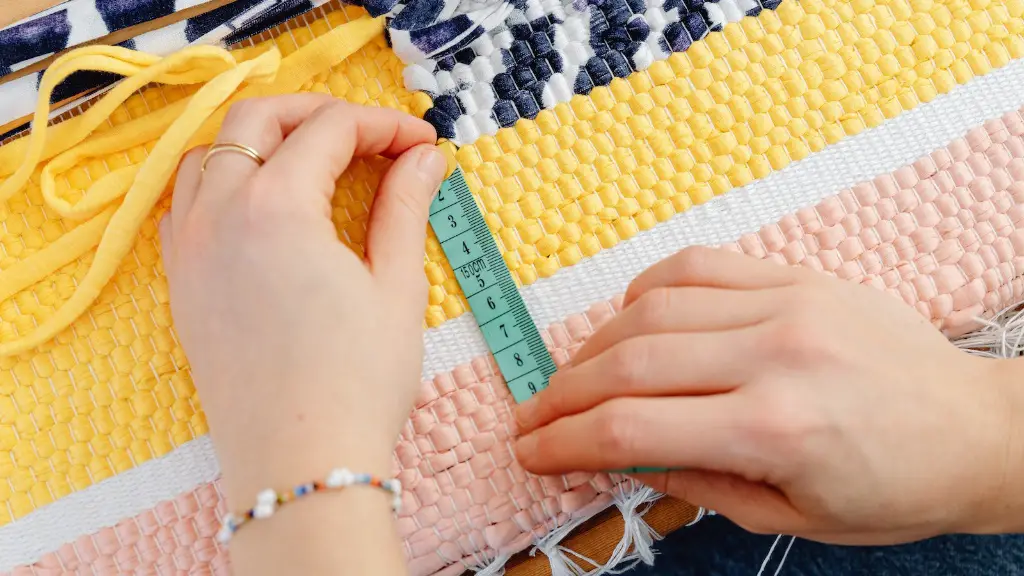
A sturdy and plastic needle threader is necessary for passing the multiple threads where the needle eye is placed, especially if you’re doing the operation by hand. Furthermore, it is important to have a measuring tape by your side, so to monitor the tension of the fabric and make sure it is firm and safe.
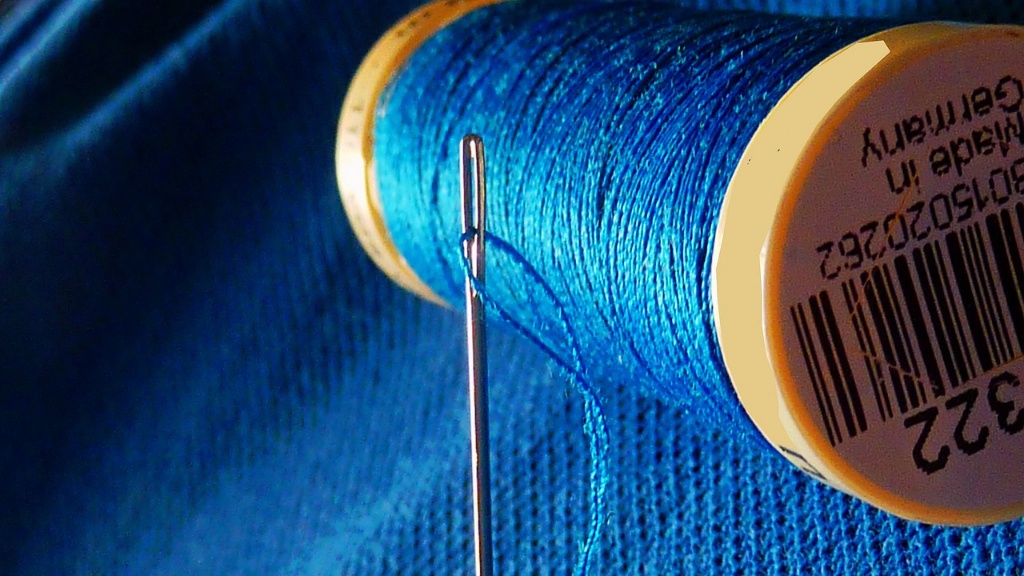
Finally, the last but not least requirement is the notion of threading the needle. When dealing with fabrics and threads, it can be quite difficult to thread the needle with thick threads, especially when you’re just starting. Therefore, having a needle threader handy is a necessity.
Workspace and Other Safety Measures
When you’re using a machine for sewing, it is important to keep the workspace tidy and functional because a cluttered workspace is the worst enemy for a seamstress. Firstly, a clean environment should be classified as a priority, because it gives a healthy and motivating atmosphere whilst enveloping the desired quality for well-made seams.
Secondly, keep in mind that an overlock machine is usually quite heavy so make sure to keep it in a safe place, secured from possible falls. Additionally, check often if your machine has oil leaks or it produces any sort of noises, otherwise call a technician immediately.
Furthermore, you need to be extra careful when your overlocking because the needle can possibly hit your fingers. Keep your skin away from the needle and presser foot as much as possible.
In conclusion, an efficient and perfect overlock stitch requires proper knowledge about the specific machine you’re using, the fabric combinations and threads. If you’re applying the basics correctly and paying attention to the important details, you will quickly become an expert.
Relationship with Other Sewing Stitches
Despite the specific purpose of an overlock stitch, it is important to understand it’s relationship with the rest of the sewing stitches. On the one side, it helps in having clean finished trenches and it can replace any other stitches as long as the fabric is light and flexible. On the other side, it acts as an accomplice to other stitches.
If you take your time to learn and practice, you will be able to make combinations that look extraordinary between overlock and other stitching techniques. For example, use an overlock stitch for a few circles and make a flowery pattern around the edges using a straight stitch.
You might even combine a zigzag stitch for something creative and make sure to adjust the tension of the thread for a perfect outcome. Moreover, combine the overlock technique along with some topstitching and make your seams look neat and more sturdy.
Bear in mind that overlock stitches can help you fix any kind of mess and a combination of it with a basic stitching technique will bring you to the desired results. Experiment with overlock and other stitching techniques to always come up with an impressive pattern.
Frequent Troubleshooting Issues
It is important to take good care of your machine and the fabric you’re going to use. Always keep the working environment clean and organized and when you adjust the tension of your machine, make sure you do it correctly in order to avoid any trouble.
Besides the troubleshooting prevention, there are a few issues that arise frequently when it comes to troubleshooting an overlock stitch. The most popular among them is when the machine jams if there is too much tension. If this is the case, reduce the tension, check for unwanted parts of the fabric like buttons and other protrusions and restart the machine.
Another common trouble is when the fabric puckers, this usually happens because there is not enough tension applied to both sides of the fabric. Again, check the tension of the threads, ensure the fabric is placed correctly in place and proceed with caution.
Occasionally, you may encounter troubles when the thread gets tangled. Take the time to go around the fabric, check the tension and verify if everything is in the right spot. If the machine acts funny, even if the threading is correct, take a few minutes to assess your equipment and keep the overall process under control.
In conclusion, all these troubleshooting issues can be automatically addressed by being cautious and patient. Especially when dealing with light fabrics, make sure that the tension is evenly distributed and adjusted in order to decrease the chance of puckering or damage. Give your machine some time to rest, assess the
