Threading Basics
Most sewing machines require the user to thread their machine before use. Threading your sewing machine is a simple process, but one that can seem very daunting as a beginner. When threading a sewing machine, you need to pass the thread through different components to secure it and run along the pathway on your machine. To begin, you should power off the machine and make sure that the bobbin thread is securely tightened in the correct spot.
Raise the Needle
Once done, the next step is to raise the needle. You can do this by turning a large wheel typically located in the back of the machine or by pressing the up arrow. This will raise the needle to the highest point, making it easier to thread. Depending on the exact model, you’ll notice some kind of tiny wire that comes out of the machine. Look for the wire above the needle and you will note that it is connected to the mechanism at the top of the presser foot. This is called the take-up lever.
Thread the Take-Up Lever
The take-up lever is the next step in threading your sewing machine. You will find one small hole at the top of the lever that allows thread to pass through. Make sure to turn or rotate the flywheel so that you can pass the thread through this hole. Make sure to do this a few times while pushing the thread gently until it is firmly in place.
Thread Through the Eye of the Needle
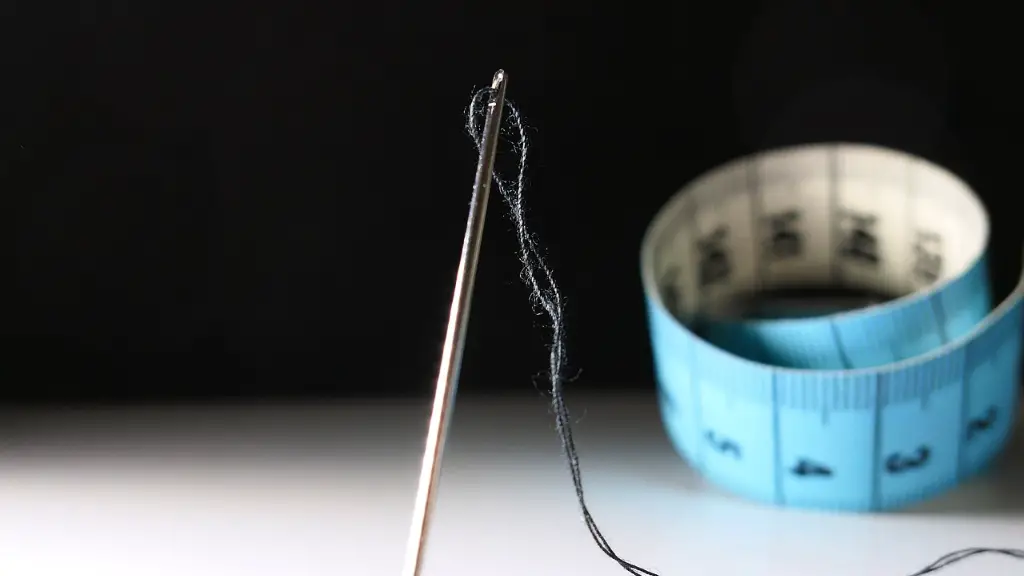
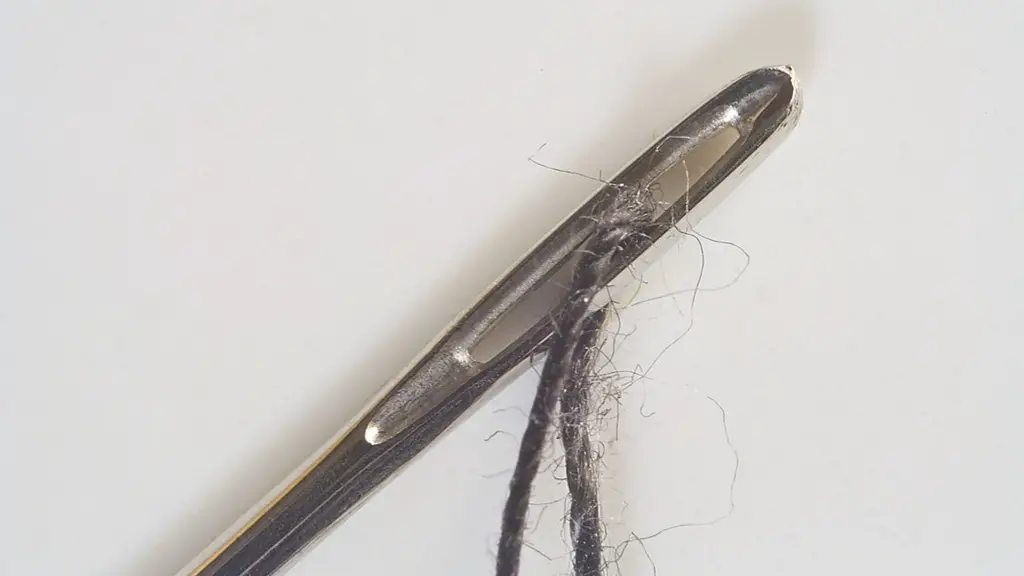
Once the thread has gone through the take-up lever, the next step is to thread through the eye of the needle. To do this, make sure to locate the hole at the top of the needle. Then use the thread to pass it through the eye of the needle. Move the thread in a clockwise direction, especially when there is a steep adjustment. This should be done until the thread reaches the other side of the needle.
Bring the Thread to the Bobbin
After the thread has been passed through the eye of the needle, the next step is to bring the thread to the bobbin. To do this, you need to look for the small threading tube on the arm of the sewing machine. This is usually a short white tube. Then make sure that the bobbin is in the correct slot and the thread is going the right way. Use the thread to pass the bobbin to bring the thread to the other side of the bobbin.
Check Tension Settings
One of the most important steps to threading a sewing machine is making sure that the tension settings are correct. To do this, you need to examine the top part of the machine to locate the tension wheel. This wheel is typically located to the right of the needle and most models require the wheel to be set to a medium tension setting.
Test It Out
Once everything is threaded correctly and tension settings are set correctly, you can now take some extra fabric and practice sewing a few stitches. If everything looks okay, you can go ahead and thread a piece of fabric that you plan to use for a project.
Understanding Thread Weights
Thread weight is the thickness of your thread, which plays an important role in how your project looked. There are different types of thread weights to choose from. Regular or all-purpose thread is usually labeled as 50wt while thinner threads are labeled as 80wt. If you are using a heavier fabric, higher thread weights such as 100wt should be used.
Types of Thread
When you decide to thread a sewing machine, the type of thread you use is an important factor to consider. Generally, if you are working on a light weight fabric such as linen or cotton, use all-purpose thread. For heavier fabrics such as denim or velvet, use heavier thread such as 50wt or 100wt.
Threading Sequence
When threading a machine, it is important to remember the sequence of how the thread should pass through the different components. The thread should go from the spool to the take-up lever to the eye of the needle to the bobbin and then back up the thread tension wheel. This sequence should be followed in the same order every time you are threading your machine.
Choosing Correct Needles
When it comes to threading your machine, the right needle plays a big role in how your sewing projects will end up. Always make sure to use the correct type of needle for each project. If you are working on a particular fabric, make sure to read the label on the package to check which type of needle is suitable.
Winding a Bobbin
Most sewing machines come with a bobbin winder, which will allow you to wind your bobbins quickly and easily. To do this, all you need to do is remove the bobbin from the machine and then follow the manufacturer’s instructions for winding your bobbin. Once the bobbin is wound correctly, it can then be inserted into the machine and you will be ready to start sewing.
Maintenance Tips
Finally, it is important to remember that to keep your sewing machine in tip-top shape, regular maintenance and cleaning is essential. This includes regularly cleaning the wheel, lubricating seams and ensuring that the machine is always kept in a dust-free area. By properly maintaining your machine, you can ensure that it will last you a long time and give you satisfactory performance.


