How to Make Shirts with a Sewing Machine
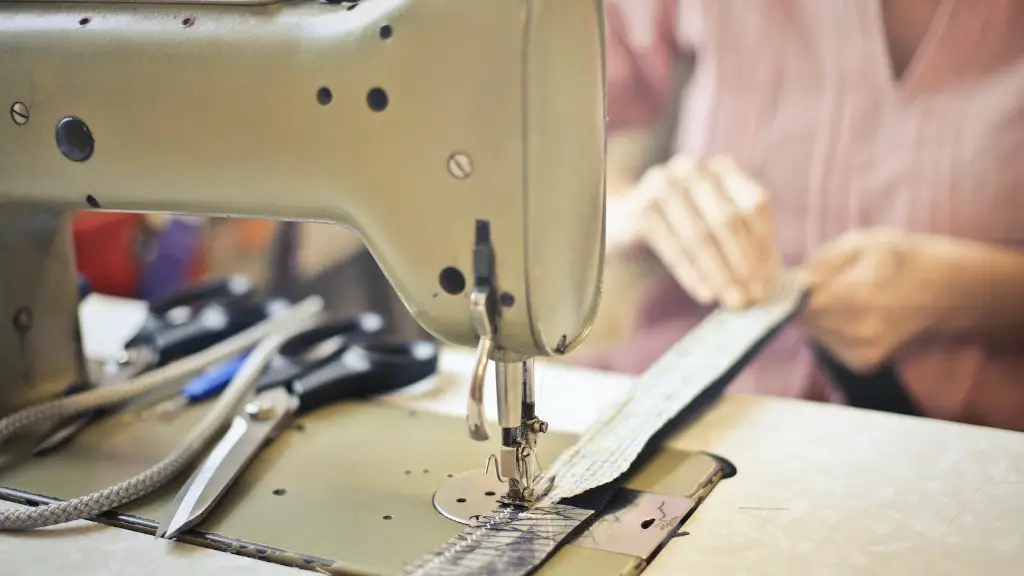
Making a shirt with a sewing machine is a great way to express yourself and show off your creative talents. It can be challenging, but with practice and patience, anyone can learn the basics. Here’s what you need to know to get started.
Choosing the Right Fabric
The fabric you choose will determine how difficult the shirt is to make and how it will wear over time. Consider the end goal—if you want something more formal, opt for a thicker, more luxurious fabric, like cotton or linen. Thinner fabrics, such as chambray, will produce a more casual look. Also, think about how much wash and wear the fabric will need. Natural fabrics tend to require more maintenance than synthetics.
The adage “measure twice, cut once” is especially true when selecting fabric for a shirt. Cut out a paper pattern first or, if you are buying the fabric ready-made, check if there is a size chart on the back. This will give you a better idea of how much fabric you need and if it will match the pattern you are using.
Getting to Know Your Sewing Machine
Different sewing machines will have unique features and come with a range of attachments that give lots of different effects. Get familiar with all the settings and capabilities of your machine to discover which stitches and techniques work best for you.
It is useful to practice on a scrap fabric before starting your shirt. Experiment with a range of stitches, such as zigzags, running, overcasting, reinforcing, and decorative stitching. By trying different machines and tools you can discover which ones work best for you and the project.
It’s also great to check if your machine has a speed control or stitch length setting. Adjusting these can help you keep your stitches consistent – an essential ingredient for a professional-looking shirt.
Achieving Professional Results
Anyone who wants to make a shirt with a sewing machine should take their time—slow and steady wins the race. Precision is key for giving a professional finish. Pretty seams, straight stitching, and an accurate crease are the hallmarks of a well-made shirt.
Before starting out, make sure you have all the tools and materials you need. A reliable pair of scissors, a tape measure, thread, fabric, pins, and needles are all useful items to have to hand. Also, make sure you mark all pieces of the pattern with chalk and thread before cutting, just to give you a satisfactory sense of organization.
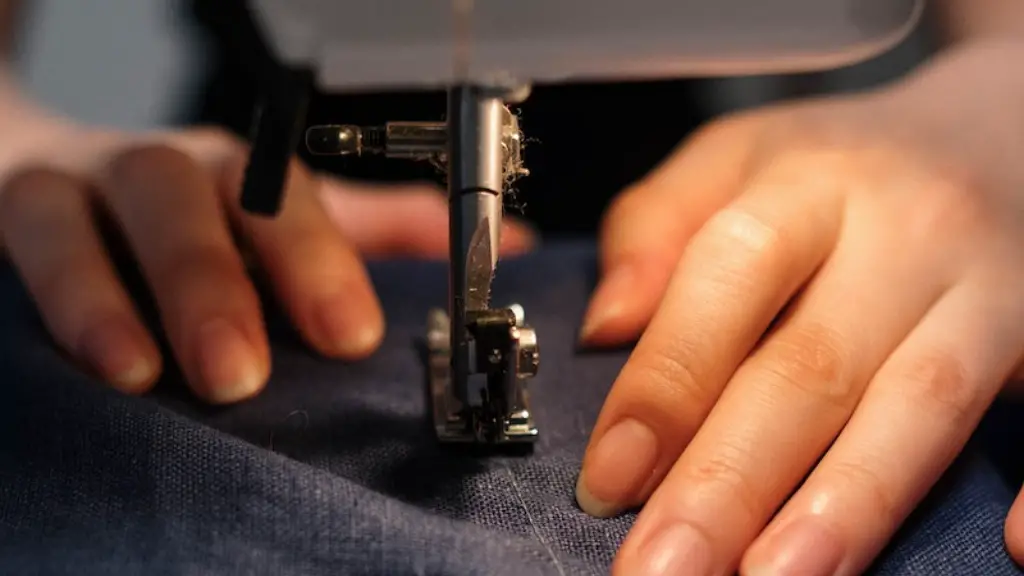
The key to achieving an impeccable finish is neat seams. This can be a challenge for beginners, but with a few helpful hints, you can soon master the technique. Start by pinning the two edges of fabric together. Then, keep the edges aligned while you sew.
To prevent fabric from bunching and creating bad seams, regularly stop the machine and re-check the stitching line. If you are using a foot pedal, use your toes to release some of the pressure and make your stitching accurate.
Finishing Touches
Press lightly over the seams with a warm iron to give your shirt a beautiful, professional finish. Then, sew on buttons and zippers as indicated in the pattern. If you are using a collar, it is best to attach that too before sewing the two sides of the shirt together.
Afterward, follow the pattern’s hemline. A serger is great for reaching those long hemlines, but make sure you leave a few inches for a finished look. Lastly, a tweezer is a useful tool for reaching tight corners, hard-to-reach seams, and snap-on buttons.
Tools and Accessories
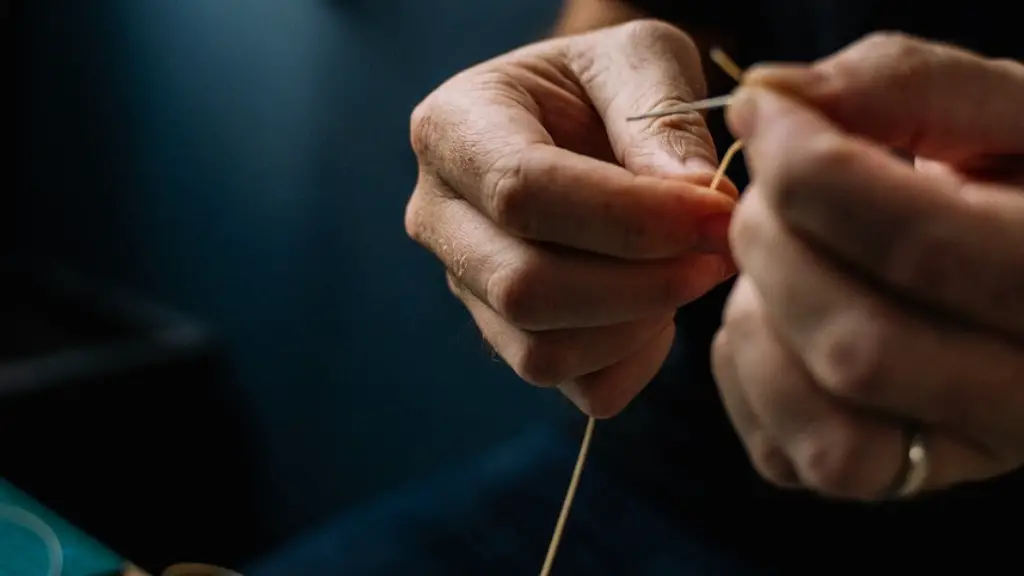
No sewing project would be complete without the right equipment. If you are serious about learning how to make a shirt with a sewing machine, then having the right tools and accessories can really make a difference. Look for an ergonomic needle with a large eye that can withstand multiple materials. Also, invest in a quality pair of scissors.
Accessories can bring something extra to a shirt. Patches, piping, decorative cuffs, and embroidery can all be tools you can use to customize the shirt. There are also many online stores that sell accessories such as fabric paints, beads, and ribbons — perfect for achieving an eye-catching effect.
Stuff You Need to Know Before Making the Shirt
The shirt-making process has some general principles that should be known before you begin the project. The most important is to always read the pattern instructions carefully and understand each step before you start. Don’t be shy to ask questions and speak to experts if you are unsure about something.
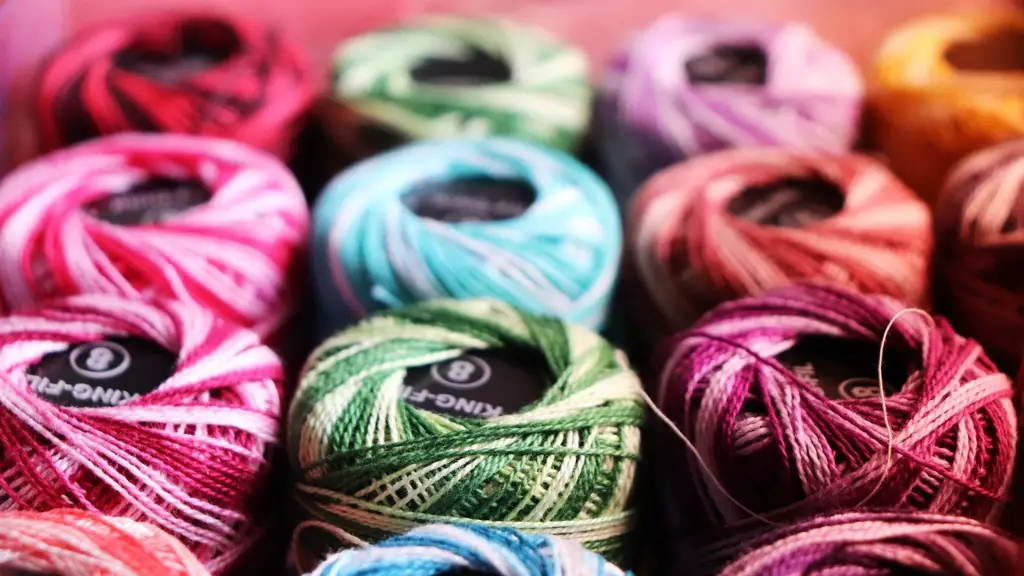
It is also helpful to use the same type of thread throughout the project. This will help to keep the stitching consistent and mistake minimal.
It’s also very important to make a muslin of your prototype. This gives you the chance to adjust the fit without cutting into your main fabric. Once you’re satisfied, use the muslin as a guide to cut out the real fabric.
Preparing and Ironing the Fabric
The very first step is to prepare the fabric for construction. This can include pre-washing, drying, and ironing. Pre-washing is important to make sure the fabric is as wrinkle-free as possible and pre-shrunk. It also sets the colour and reduces the risk of dye bleeding.
Ironing the fabric correctly can make the whole construction process a lot easier. Use a low-temperature setting and ensure the fabric is smooth before you start. The edges should also be precise for a crisp finish.
Sewing the Seams
After laying out the fabric, use pins or weights to keep the pattern pieces in place. This ensures the fabric will not move while you are cutting or stitching. Pay special attention to the shoulder seams, necklines, and armholes. Use a French seam for a professional look.
Also, after finishing a seam, make sure you clip off the excess thread. This will prevent loops or knots from occurring in the wrong places. Clipping the thread is also important when working with thicker fabrics.
Tools and Troubleshooting
Replacing your needle can help solve a number of problems. Dull needles can create inaccurate stitches and damage fabric, while too small or wide a needle can cause problems, too. Before beginning a new project, it is always a good idea to check your needle and thread are compatible.
It is also helpful to keep the presser foot free from lint and dust. If the foot sticks to the fabric when sewing, use a damp cloth to get rid of the remnants. Similarly, use a soft-bristled brush and cotton swabs to keep the bobbin area clear.
Finally, if you have difficulty understanding a stitch, try to watch online tutorials or join a sewing class. There is no better way to learn than to watch an experienced seamstress in action.
