Threading the Bernina Sewing Machine
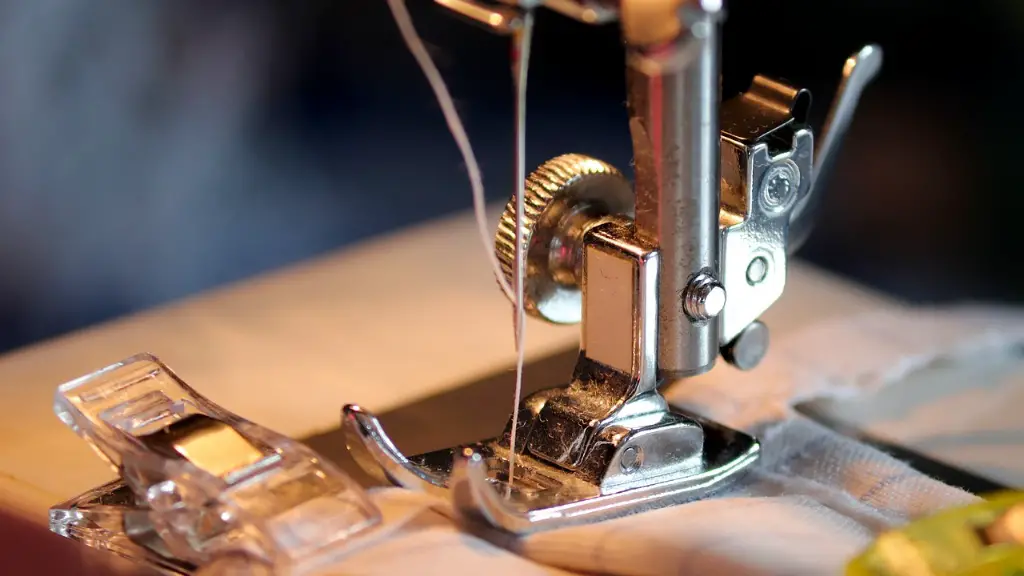
When using a Bernina sewing machine to make a buttonhole, the first step is to thread the machine properly. Threading a Bernina sewing machine is not difficult and just takes a few steps. First, turn the hand wheel at the side of the machine to the right to raise the needle. Then, take the spool of thread and place it on the spool pin, which is located above the needle. Carefully guide the thread diagonally over the tension discs and then lower the presser foot. Pull the thread through the tension discs until you reach the take-up lever arm and then pull the thread up and down the arm. Next, thread the needle from the front by passing the thread through the eye of the needle. Finally, pull the thread under the presser foot before engaging the lever so that the foot is able to hold the fabric in place.
Adjusting the Machine Settings
When making a buttonhole on a Bernina sewing machine, the machine must be adjusted accordingly. First, the correct stitch must be selected, which would be a zig zag stitch or a bartack stitch. Then, it is important to adjust the stitch width and length. It is advised to use a stitch width of 3.5 – 5.5 mm when making buttonholes. The size of the fabric used for the project should also be taken into account when adjusting the stitch length as this will determine the length of the buttonhole. To finish the setting changes, thread tension should be adjusted to ensure that the stitches hold and do not become loose over time.
Marking the Fabric
Once the machine is adjusted, the fabric needs to be marked. For most projects, the buttonhole should be placed approximately 5/8 of an inch away from seam allowances. To mark the location clearly and accurately, it is best to use a fabric marker or tailor’s chalk. The trick is to use a tool that will not damage the fabric and is easily erased afterwards without leaving any marks.
Placing the Buttonhole Foot
When the fabric is marked, the next step is to place the buttonhole foot on the sewing machine. To do this, remove the regular presser foot by pressing the lever located on the side and unthreading the presser foot holder. Then, take the buttonhole foot and slide it into the presser foot holder and secure in place by threading the holder. Finally, adjust the buttonhole foot and make sure that the spacing corresponds to the marking on the fabric.
Positioning the Fabric and Making the Buttonhole
Now that everything is set up and the fabric is marked, the actual buttonhole can finally be made. To do this, place the fabric under the presser foot and align the marking with the right side of the needle. Raise and lower the needle to the starting point and then stitch slowly and steady. The stitching may take several minutes to complete depending on the length of the buttonhole. When the stitching is finished, raise the needle and lift the presser foot before cutting off the fabric.
Buttonhole Finishing
The finishing touches to the buttonhole come in the form of cutting open the fabric to make the buttonhole. This can be done with a pair of small scissors or an opened seam ripper. Make sure to cut carefully along the sewing line to create an even and clean opening. To prevent fraying, it is also recommended to use fray check or a liquid stitch pen to seal the edges of the fabric. Once the buttonhole is finished, it is important to test whether it fits the button.
Caring for the Bernina Sewing Machine
Finally, when using a Bernina sewing machine, it is important to take good care of it. This includes cleaning it regularly and lubricating it according to instructions. It is also essential to regularly dust off the sewing surface with a soft brush or cloth. This will ensure that no dirt or debris accumulates in the machine and affects its performance. Furthermore, when storing the Bernina sewing machine, it is important not to leave it exposed to extreme temperatures, dust or moisture.
Sewing Over Interfacing
When working on buttonhole projects, it is often wise to add interfacing. Interfacing is a type of fabric used to give extra stability and support to the fabric. This will ensure that the buttonhole holds in place and does not stretch out over time. When sewing over interfacing, the most important thing to keep in mind is that it has to fit within the seam allowances of the garment. To avoid bulk, it is also advised not to use too much interfacing.
Using the Buttonholer Attachment
A Bernina sewing machine can be made even more efficient when using the buttonholer attachment. This is an optional accessory that easily attaches to the machine and is used to quickly create buttonholes in a few steps. The attachment also features built-in measuring and stitching settings as well as a foam pad which eliminates the need to mark the fabric beforehand. To make a buttonhole with the buttonholer attachment, simply place the fabric under the presser foot and stitch the buttonhole in one pass.
Creating Eyelets and Button Loops
Sewing machines such as the Bernina can also be used to create eyelets and button loops. Making button loops is often a great way to make garments more interesting but also provide extra security when closing the garment. To make a button loop, use a zig zag stitch and adjust the settings to the desired width and length. When creating eyelets, use a wider zig zag stitch to provide a firmer stitch. Doing this will also give the eyelet a neater and sharper look.
Customizing the Buttonhole
For the more adventurous sewists, it is possible to customize the buttonholes as well. For example, a buttonhole can be further decorated with stitching or embroidery. It is also possible to add decorative elements such as beads or sequins to the buttonhole. Additionally, the size of the buttonhole can be adjusted to fit larger or smaller buttons. This will ensure that the garment looks neat and professional when finished.
Reinforcing the Buttonhole
To ensure that the buttonhole holds over time, it is important to reinforce the stitching. This will give the buttonhole stability and make it less prone to ripping or tearing under stress. To reinforce a buttonhole, run a second line of stitches over it, which can be done in a contrasting color for a bit of visual interest. This simple step can significantly extend the lifespan of the buttonhole and make it less prone to damage.


