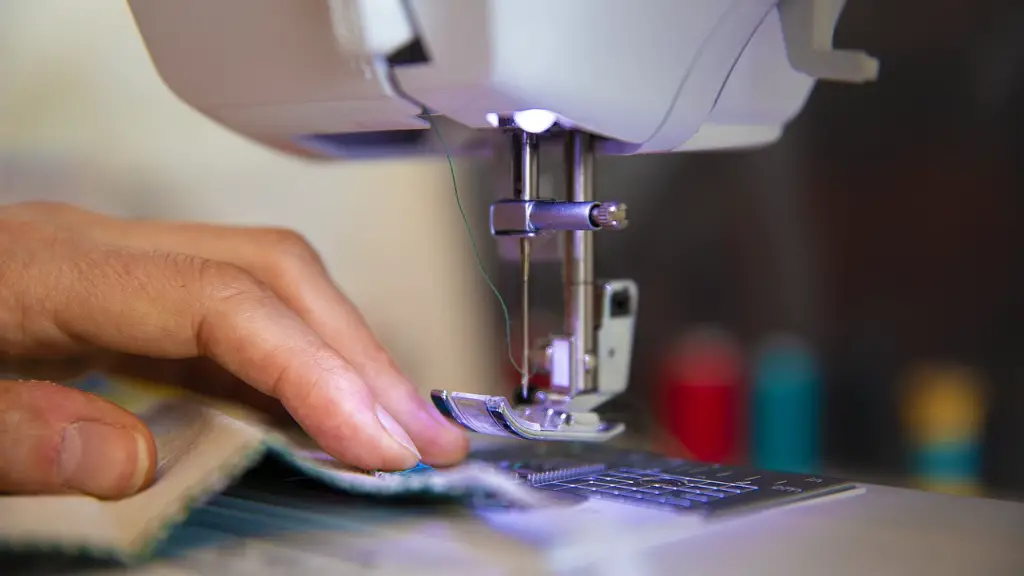
Changing your clothing to fit your own style can be an exciting activity. But, if you don’t have enough time or don’t know how to use a sewing machine, hemming a sleeve is usually something that needs to be done by professionals. Contrary to popular belief, you can still hem your sleeve with the help of a sewing machine, and it can be done easily at home.
Before starting the process, it’s important to practice some basic sewing machine steps first. Have an understanding of how a sewing machine works, basic stitches, and measurements.
After gathering all the necessary supplies, such as, thread, scissors, pins, an iron, measuring tape, and fabric, begin by cutting off the desired sleeve length. It’s important to keep in mind when cutting the sleeve length, there’s already an allowance of an extra inch to an inch and a half in the hem area which means when you cut the material, a little extra is already there.
Measure and pin the desired length at the end of the sleeve hem. Make it a bit more than where you want to position the hem in order to have control and make sure it will be even. Then pin it along the sleeve length and sew it down with a straight stitch.
Now, fold the material in half, matching up the pins, and the bottom of the sleeve which you’ve just sewn. Pin it up and start sewing. Remember to leave the extra bit of fabric from where you have pinned it, to avoid the hem from stretching out.
Finish the process by pressing the hem with an iron, and make sure to put a damp cloth over it, to avoid any possible burning. After that, your sleeve is hemmed.
Domestic Tips
When you’re starting your project, take measurements and mark the fabric with a vanish marker or seam ripper, which helps you to make a straight line when cutting, and in the following steps. This will make it easier to understand how much fabric you actually need when cutting and also helps position everything more accurately.
When using a sewing machine, as a general rule, it’s important to change to a thinner thread, as it’ll be easier to guide it through the fabrics. And use a zig zag stitch for a perfect finish.
For timing and effort saving, try pre-cutting the fabric before starting.Measure and mark the sleeve, then cut with scissors, and iron the edge before sewing.
Special Techniques
For those who want to use a special technique, it’s possible to use a bias, which is fabric that is cut on a 45 degree angle and it’s used to make a strong seam, giving a unique and clean look.
It can also be used to make a nice finish while avoiding any bulky seams, giving a unique and personalised look to the garments.
If you decide to use this technique, bear in mind it will require some extra steps and a bit of extra practice.
Follow a similar process to what was already mentioned, however take extra steps for properly preparing the fabric. Cut the material on the bias, iron it, and then fold the bias cut to the inside of the sleeve and pin it carefully.
Conclusion
Hemming sleeves of a garment is a process which requires focus and attention. It shouldn’t be underestimated, although it does require some extra time and practice.
By following the steps mentioned in this article, it’s possible to have a perfect finish by using a sewing machine at home.
More Techniques
Using a tailor’s ham is a great option to avoid puckers or added pressure. It’s a helpful tool to make curves or place extra pressure where needed. Place the fabric on the tailor’s ham, steam it to get desired shape and curve and then press it with an iron.
It’s also important to practice a great deal of patience to get the best results. Don’t be too eager to trim off excess fabric, until is properly fitted, as it’ll be much harder to undo the steps and make it fit after it’s been cut.
Patterns
Many people also use patterns for hemming their sleeves. It’s a great way to avoid making any mistakes and it makes sure that the item will fit exactly as desired. Place the pattern on the fabric and make sure to perfectly place it.
Once it’s placed and adjusted, start tracing the pattern with a vanishing marker or fabric pen. It’s important to make sure the pattern is perfectly placed. Trim off any excess fabric and start sewing.
Once this process is done it’s time to press it with an iron and make sure that everything is perfectly placed. If it’s not, use a tailor’s ham to adjust it and start the process all over again.
Sewing with a Jean Hem Foot
Another technique to avoid puckers is by using a special Jean Hem Presser foot. It’s usually easier and quick to attach this special presser foot and start sewing. It’ll keep the fabric in order and it´s an easy way to make a perfect hem.
Once it’s finished, press the hem with the iron and use a tailor’s ham to avoid any potential puckers. If a gap appears or there’s too much fabric left on one side, go back and adjust it with a seam picker or by sewing it over again.
Finally, make sure to sew the two ends together, and repeat the process on the other side.


