How to Set Up a Sunbeam Sewing Machine
Finding a perfect sewing machine can be an intimidating task. With so many models available, it’s easy to pick the wrong one. Before deciding to buy a Sunbeam sewing machine, make sure that you look into the features and operations. Sunbeam sewing machines are popular for their easy-to-use features, which make them ideal for both beginner and expert stitchers. Whether you are looking for basic but reliable model or something more advanced, a Sunbeam sewing machine can make the perfect choice for your crafting needs.
Once you have chosen your machine, you will need to learn how to properly set it up. Here are some of the most important steps you need to take in order to get your Sunbeam sewing machine up and running.
Check the Machine
Prior to setting up your new machine, it is important to make sure that the machine is in good working order. Check all the parts and make sure that everything is secured properly. If you discover any damage, contact the store immediately as there may be a warrantee that comes with the product. Make sure to read through the warranty carefully and thoroughly understand the terms.
Find the Right Location
It is important to find the right location for your machine. Choose a space that is free of clutter and easy to access. Sunbeam sewing machines are designed to be lightweight, but the size may vary depending on the model. Make sure to measure the dimensions of the machine before setting up to make sure that it will fit in the area you select.
Attach the Power Cord
Before plugging in the machine, it is essential to make sure to attach the power cord securely. Look at the diagrams on your machine to find the correct port. Be sure to not over-tighten the screws. Once everything is properly attached, you can then plug the cord into the outlet.
Threading the Machine
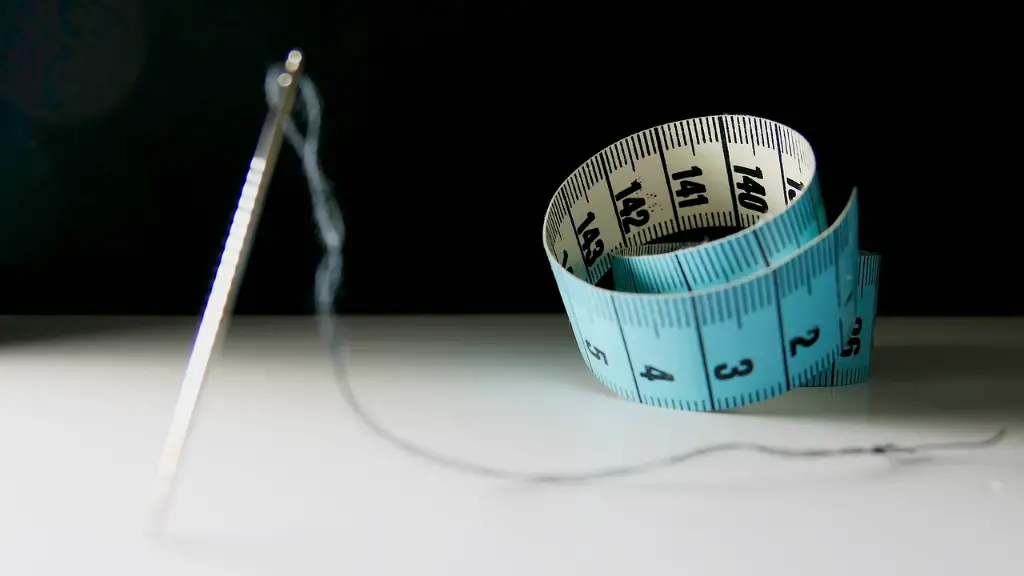
Threading is one of the most important things that you will have to learn when you set up your machine for the first time. The process is not difficult, but it can be daunting for beginners. Start by raising the presser foot and begin by threading the needle using the threading guide on the machine, followed by threading the bobbin. Also ensure that any tension settings are properly adjusted. Refer to the user manual for more details.
Tension Settings
Tension adjustments are important for setting up a sewing machine correctly. Your sewing machine has different tension settings to accommodate different types of fabrics. When selecting the correct tension, look at the manual to find out which settings are suited for the type of fabric you are working with. As you become more experienced, you may want to experiment with different fabrics to test out the different tension levels.
Run a Test Stitch
Once everything is set up and the threads are in place, run a test stitch to make sure that everything is functioning properly. This will ensure that the machine is properly threaded and the tension settings are set accordingly. After running a test stitch, make sure that the stitches are even and not too tight or too loose. Also, check to make sure that the threads do not bunch up.
Clean and Maintain
The last step to setting up your Sunbeam sewing machine is to make sure that it is clean and properly maintained. This means regular oiling and cleaning the parts. Refer to the user guide for more detailed instructions. Also, store the machine in a safe and secure place and away from humidity, dirt, and animals. Covering the machine is also a good idea when not in use to protect it from scratches.
Additional Considerations
When setting up a Sunbeam sewing machine, make sure to pay special attention to the tension settings, a correctly threaded machine, and the stability of the machine. With the help of these basic steps, you′ll be able to have your machine setup, running, and ready for you to start stitching.
Thread the Bobbin
Before you can thread the needle on your sewing machine, you need to thread the bobbin. Open the bobbin case and place the bobbin so that the thread runs in the correct direction. Fill the bobbin with thread and make sure that it is on straight as it will affect the quality of your stitches. Secure the end of the thread to the bobbin and then place the bobbin back in the case and close the latch. Refer to the user manual if you need assistance.
Adjust the Pressure on the Presser Foot
The presser foot is the part of the machine that holds the fabric in place while sewing. It is important to adjust the pressure on the presser foot accurately; if it is too tight, the fabric may crease. To adjust the pressure, loosen the thumbscrew that is located at the back of the machine and move the presser foot onto the desired setting. Re-tighten the thumbscrew and test the pressure to ensure that it is comfortable.
Choose the Right Needle Size
When setting up a Sunbeam sewing machine, it is essential to use the correct needle size. Different fabrics require different needle sizes; the wrong size can cause damage to the fabric or lead to skipped stitches. Check the type of needle being used in the machine before you start stitching. If it needs to be replaced, make sure to follow the manufacturer’s instructions to ensure that it is done correctly.
Test Your Settings
After setting up your Sunbeam sewing machine, it is important to test your settings before starting a project. Take a scrap piece of fabric that is similar to the fabric you intend to work with and test out different tension settings and stitch types. This will ensure that your machine is working correctly and will help to prevent any disasters when you start working on your project.
