What is a Presser Foot?
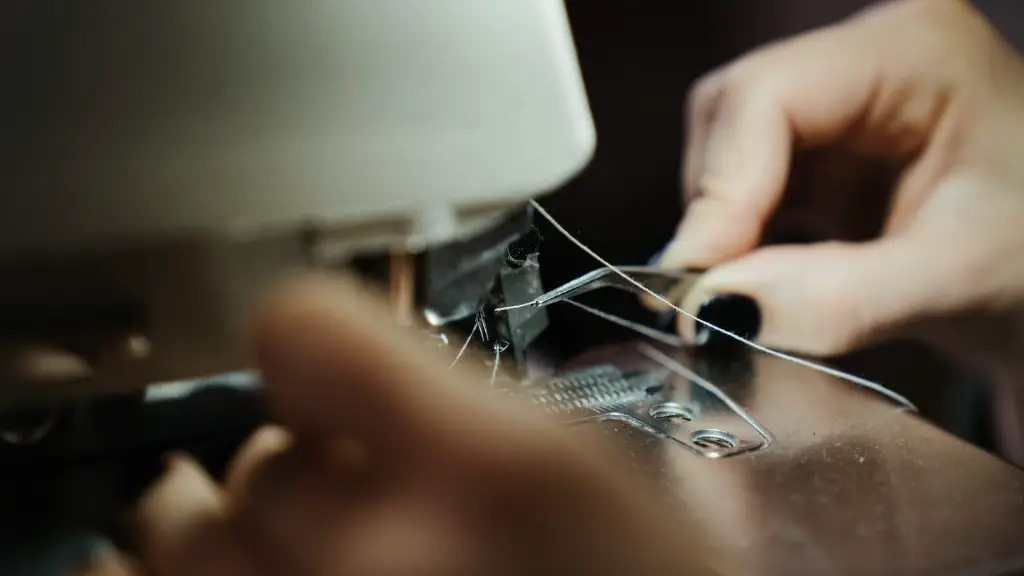
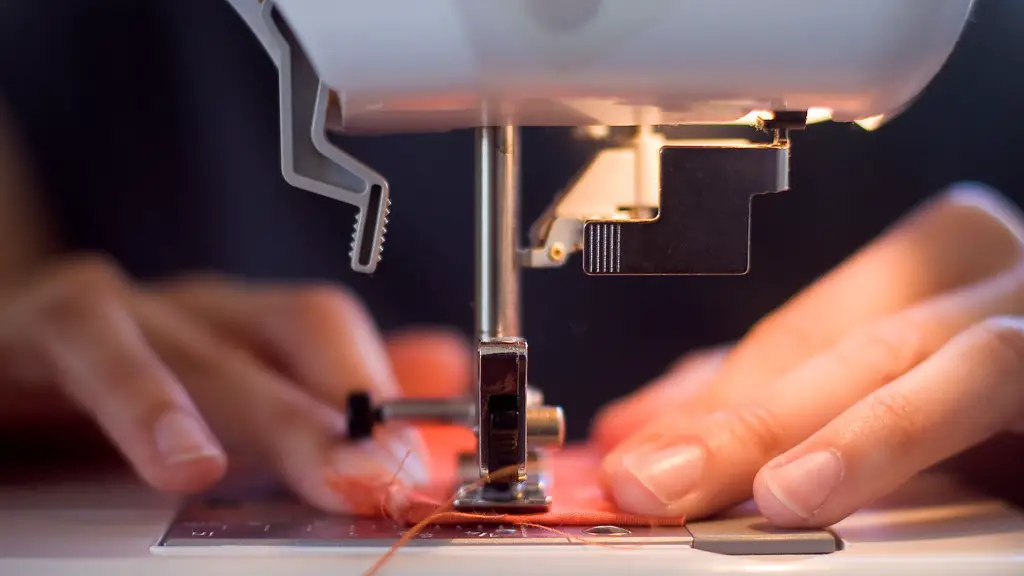
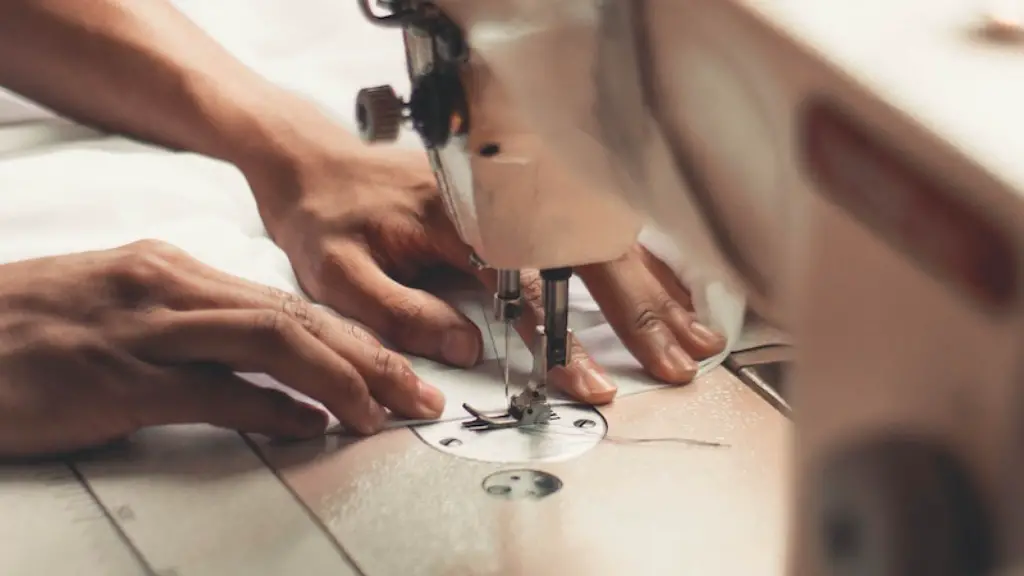
Presser feet are the tools attached to most sewing machines which guide fabric or leather whilst stitching or basting. They come in many different styles, including zig-zag, roller, edging, loopers, and even invisible seam presser feet. They’re an essential part of the sewing process, and can make the task of sewing much easier and faster.
What Does a Presser Foot Do?
Presser feet are designed to help keep the fabric or leather in place as it’s being fed through the sewing machine. They help ensure even stitching, and can also make it easier to follow the stitch pattern for more complicated projects such as quilting or embroidery. Some presser feet also have other specialized functions, such as differential feeding, which allows different types of fabrics to be stitched together smoothly and evenly.
Tools Needed to Attach Presser Foot
Most standard presser feet can be attached to the sewing machine without any special tools, however there may be other accessories that you may need depending on the type of presser foot. The most common tools are flathead screwdrivers, pliers, a ruler, and a presser foot attachment screwdriver.
How to Put Presser Foot on Sewing Machine
Once you have gathered your tools, it’s time to attach the presser foot. It’s important to remember that each sewing machine model may require a slightly different method of attachment so be sure to consult your machine’s manual before proceeding.
First make sure that the presser foot is the right size and fit for your machine. Once you have verified this, you will need to lower the presser bar using the lever or knob on your machine. This will allow you to attach the presser foot.
Next, slide the presser foot onto the bar, making sure that it is firmly seated. Then use the attachment screwdriver to hold the presser foot in place while you use the flathead screwdriver or pliers to tighten the screw. Finally, use the ruler to check the position of the presser foot and adjust if necessary to ensure proper stitching.
Troubleshooting
If you find that the presser foot is not seated properly it may cause the fabric to be misaligned when stitching. If this occurs, check the placement of the presser foot and make sure it is properly tightened. If you are having difficulty making sure the foot is firmly seated, you may need to adjust the presser bar adjustment lever on your sewing machine to make it fit better.
Using the Presser Foot
Now that you have successfully attached the presser foot to your machine, you are ready to begin using it. Make sure that the presser foot is sitting flat against the fabric before you begin stitching, and adjust your stitch length and width as needed. After each row of stitches, use the ruler to check that the fabric isn’t being pulled too much or too little, and if necessary make adjustments to the presser foot.
Different Types of Presser Feet
There are a wide range of presser feet, each with its own unique purpose. Some of the most common are:
Zig-Zag Presser Foot
The zig-zag presser foot is designed for sewing on fabrics that may stretch or warp when stitched, such as knits. The foot creates an even, zig-zag pattern stitch as it moves across the fabric.
Roller Presser Foot
The roller presser foot has a wide base designed to press the fabric down and hold it in place as the needle stitches it. This makes it ideal for stitching on lightweight and delicate fabrics.
Edging Presser Foot
The edging presser foot creates an edge stitch that is perfect for finishing a garment’s edges. It comes with different lengths of feet which are great for creating even and consistent edgings.
Loopers Presser Foot
The loopers presser foot is great for sewing in zippers, or creating intricate loops and designs. It can also be used to create invisible seams and hems in delicate fabrics.
Invisible Seam Presser Foot
The invisible seam presser foot creates a truly invisible seam by stitching two pieces of fabric together from the wrong side of the fabric. This makes it perfect for creating understated and subtle garment pieces.
Caring for the Presser Foot
Like any other machine part, presser feet require maintenance in order to function properly over time. After each use, it’s important to check the presser foot and make sure that it’s still firmly attached to the machine, and that the screw and other parts are in good condition.
It’s also important to make sure that the presser foot is cleaned and lubricated regularly. This will help to ensure that it operates smoothly and doesn’t wear out over time.
Finally, always make sure that you store your presser feet in a dry, safe place when they are not in use. This will help to protect them and extend their lifespan.
Conclusion
Attaching a presser foot to a sewing machine can seem daunting at first, but with a little practice and patience it is a relatively easy process. By following the steps outlined above, you should be able to attach your presser foot and ensure it is firmly secured before each use. With the right tools and knowledge, you’ll be able to complete your sewing projects in no time!


