Parts and Tools
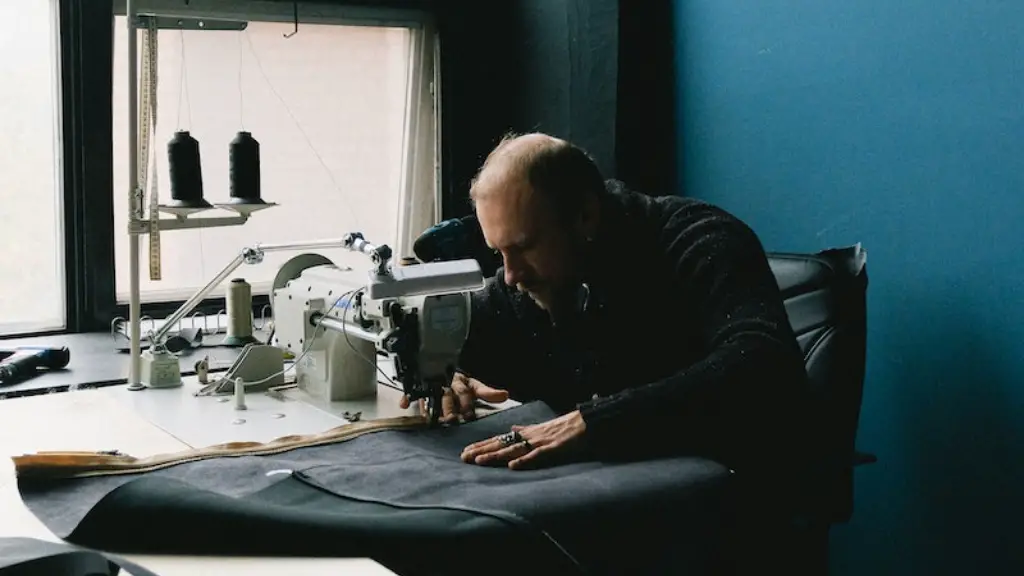
Ruffles can be easily added to a wide variety of clothing items, both for adults and children. To complete the task, the sewer must have a standard sewing machine with several basic parts such as a needle and thread, fabric scissors, straight pins, an iron, and plenty of fabric. Of special note is the fabric’s weight. Heavier fabrics tend to create a more even and robust ruffle, while light fabrics can create a more diaphanous ruffle. Professionals usually use a bias binding foot, which is the most commonly used ruffle foot. However, experienced sewers can also use a ruffle foot attachment.
Choose the Fabric
When selecting the fabric, sewers should consider their color, pattern and weight. If a plain look is desired, then a lightweight fabric works best. If a more textured look such as ruffles cascading down the length of a skirt are desired, then a heavier fabric works best. Sewers must make sure to press the fabric before cutting and remember to account for any shrinkage which may occur when washing the fabric in the future.
Layout and Cut the Fabric
Once the fabric is prepped and ready, sewers can begin to layout the fabric in an appropriate size for the desired ruffle. Important factors to consider before laying out the fabric are the size of the ruffle and the desired length of the finished product. Depending on the fabric type and the desired effect, some sewers may choose to use a rotary cutter, which allows for quicker and more uniform ruffle sizes. Once the fabric is cut, the pieces should be pressed flat with iron to create a uniform look.
Sew the Ruffles
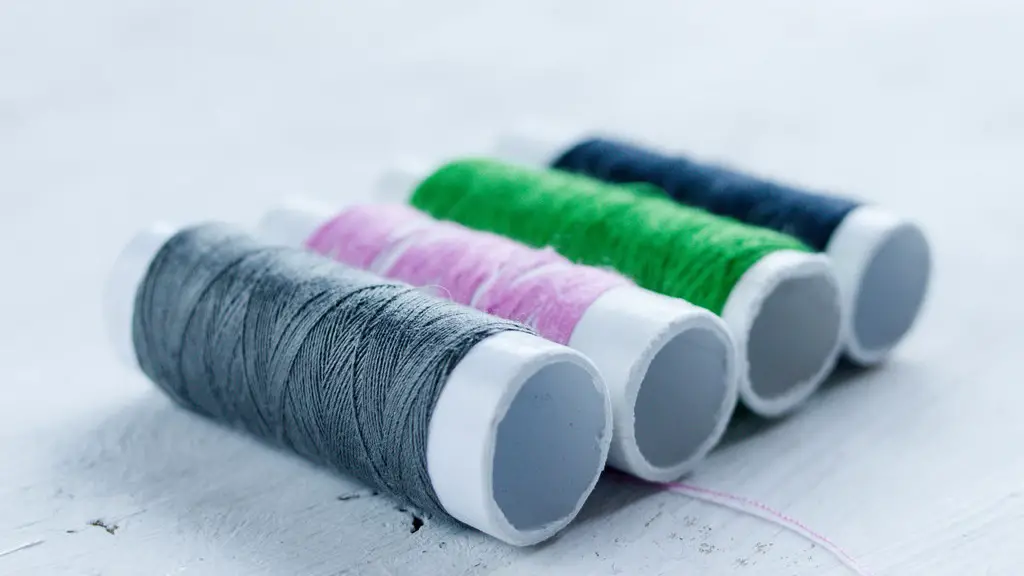
Before beginning to sew the ruffle pieces together, sewers should make sure the bobbin is filled with the same thread as the needle. Sewers can then use a zigzag stitch or a gathering stitch to create the ruffle. After the ruffle pieces are sewn together, the ruffle can be pressed and shaped with the iron. Finally, the ruffle can be attached to the item of clothing using a straight stitch or a zigzag stitch.
The Different Styles of Ruffles
One advantage of ruffles is the sheer number of different styles and looks which can be achieved. Depending on the fabric and the technique used, sewers can achieve a variety of looks such as vertical ruffles, horizontal ruffles, wide box pleat ruffles, gathered ruffles, and many more. Each type of ruffle requires a slightly different technique, so it is important for sewers to read and understand the instructions before beginning the process.
Shaping the Ruffle
The shape of the ruffle is determined by the type of stitch used and the tension setting of the machine. For wide ruffles, a gathering or pleating stitch should be used, and for more structured, narrow ruffles, a straight stitch should be used. In either case, it is important for sewers to experiment with the tension settings of the machine in order to get the desired results.
Ruffle Trim
Trim can be added to a ruffle for extra style and visual interest. Trims such as lace, ribbon, or rickrack can be used to create an even more unique look. Many of the same tools used to create the ruffle can be used to attach the trim, such as scissors, straight pins, and a sewing machine.
Adding Ruffles to Clothing
Adding ruffles to clothing requires careful preparation and planning. First, sewers should decide on the placement of the ruffle, then take into account the amount of fabric needed and the type of ruffle desired. Sewers should then cut and shape the fabric, sew the ruffle together, and attach the ruffle to the clothing. Finally, trim can be added for extra visual interest.
Creating a Pleated Ruffle
Pleated ruffles can give an extra element of detail and depth to clothing. To create a pleated ruffle, sewers should use a gathering or pleating foot along with a lightweight fabric. After the fabric is chosen, sewers must measure and cut the fabric to the desired size, press the fabric and shape it with the iron, decide on the placement of the pleats, and measure and pin the pleats. Sewers should then sew the pleats together, press the pleat and shape it with the iron, and finally attach the pleats to the item of clothing.
Using Different Widths of Fabric
Another trick to creating more interesting ruffles is to use different widths of fabrics. For sewers who desire a more dramatic, layered look, they can use multiple fabrics of varying widths which can be layered and sewn together. This is especially useful when creating a gathered ruffle. When sewing multiple layers of fabric together, sewers must be sure to use a heavier weight thread to ensure the layers remain secure.
Use of Interfacing for Support
When using lightweight fabrics, sewers may wish to back the ruffle with interfacing for added stability and support. Interfacing can help keep ruffles from becoming unruly and wrinkled over time or from stretching too much. The interfacing can be attached to the wrong side of the fabric with a basting stitch prior to stitching the ruffle pieces together.
Finishing the Ruffle
When the ruffle is complete and attached to the clothing, sewers should press the ruffle and make sure the threads are secure. To help keep the ruffle looking neat and wrinkle-free, sewers can use a press cloth or a damp cloth when pressing. Finally, to help keep the ruffle in place, sewers may wish to add a stay stitch to the hemline.


