Basics of Satin Stitch
Satin stitch, sometimes referred to as stem stitch, is a stitch used for fine embroidery. It is used to create a clean and even line, often seen as the outline of a flower or other embroidery design. Satin stitch is relatively easy to master with the right tips and techniques. Using a sewing machine instead of a hand stitching can provide a cleaner, more professional look and is the preferred method for most types of fine embroidery.
Getting Started
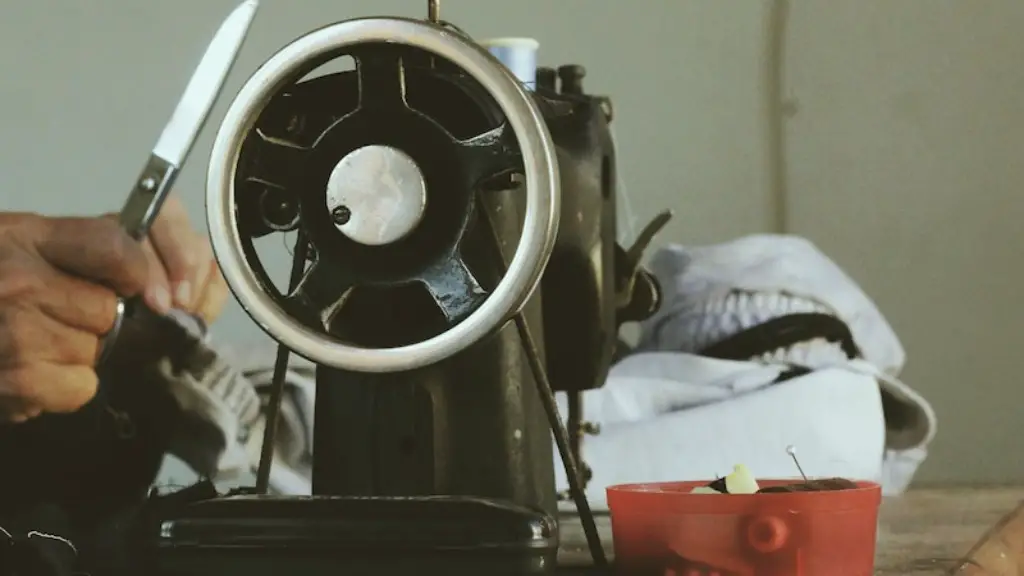
Before starting your satin stitch project on the sewing machine, it is important to set up the machine correctly. Make sure the presser foot pressure is set correctly and that the thread tension is not too tight or too loose. A too tight thread tension will cause the thread to pull and break, while a too loose thread tension will cause the thread to loop. Use matching thread and get the correct size needle for your fabric. Using too large a needle can cause the fabric to rip and fray.
Stitching
Before starting to stitch, draw a curved line with a removable marker to help guide you stitch the desired shape. Set the sewing machine to the straight stitch setting and the stitch length to 1.0, or the shortest stitch length available. Stitch in a back and forth motion, passing over the same area several times and making sure the stitches stay as close together as possible. Start from the center of the design, slowly working your way outward. Use the drawn line to guide you along the shape. Once you reach the end of the shape, stop the machine and knot the tail of the thread.
Experimenting
Be creative and experiment with different stitching patterns for interesting effects. Try adding texture to your satin stitch by using different thread colors, or varying the stitch length. Make sure to practice on a scrap piece of fabric before attempting a larger project.
Finishing
When you are finished stitching, snip off any threads that are sticking out. If the fabric has been puckered, press it lightly with an iron, being careful not to scorch the fabric. To give the project a polished look, set the iron on low heat and press the entire design, applying pressure to the back of the fabric with a pressing cloth.
Design Considerations
When planning your satin stitch designs, always keep the fabric material in mind. Avoid overly dense designs on lightweight fabrics as the fabric may not be able to support the weight of too much embroidery thread. For more complex designs, use heavier fabric and a stabilizer to keep the fabric stable. It is also important to choose the right type of thread for the project – use thicker, heavier thread for heavier fabrics, or finer thread for lightweight fabrics.
Types of Satin Stitch
The basic satin stitch is great for outlining shapes on any project, but there are other variations of it. Blanket stitch is an alternate form of satin stitch, used to create a different look. This stitch can be used to join two pieces of fabric together, or to add a decorative border. It is ideal for working on knit fabrics. Reverse satin stitch is a variation used to fill in a shape instead of outlining it. The lines are stitched in the opposite direction than regular satin stitch, resulting in a smoother and neater look.
Advantages of Using Satin Stitch
Satin stitch is a great way to add texture and dimension to a sewing project. It can be used to embellish quilts, pillows, clothing, and other fabrics. With practice, it can be mastered quickly, even with the help of a sewing machine. Satin stitching provides a neat and even look, setting off any project with intricate details and a pop of color.
Tips For Perfect Satin Stitch
To get the perfect satin stitch on any project, there are a few tips to keep in mind. Always be sure to use the correct tension and needle size for the fabric being used. If the fabric puckers while stitching, stop and iron the area lightly, then continue. Take care to not pull or tug the fabric when stitching, as this could cause gaps or uneven lines in the final product. Additionally, practice on scraps of fabric before beginning a larger project.
Changing Threads
When working with multiple colors of thread, it can be difficult to make the transition from one thread to another without leaving a lump or knot. To avoid this, start the next color of thread two to three stitches before where you want the color to change. This will allow the knot to get covered up as the new color starts to be stitched. Knot the thread off at the end of the stitches and trim the excess.
Continuous Satin Stitch
Continuous satin stitch, also known as buttonhole stitch, is a variation of the regular satin stitch. It is a dense and effective way to fill in a shape on a fabric. To create the stitch, place the needle and thread at the center point of the shape, then loop the thread around the needle in a continuous motion, as if making a buttonhole stitch. The thread should go over the needle and under the fabric to create the loops. This stitch should be done slowly and with attention to detail for best results.


