What is Embroidery?
Embroidery is the art of decorating fabric or other materials with designs and pictures, accomplished by sewing stitches through the fabric. It is a popular choice of decoration for clothes, table linens and other textiles, and can add a special touch of class and customization. Embroidering letters is a common technique in the art of embroidery, where letters such as a person’s initials can be stitched onto an item. But how do you go about embroidering letters with a regular sewing machine?
Tools and Materials
Before starting any type of embroidery project, it is important to make sure that you have all of the tools and materials needed for the job. For embroidering letters with a regular sewing machine, you will need embroidery thread, a stabilizer, an embroidery hoop, a regular sewing machine and the lettering of your choice. The stabilizer is a thin and stable material that is used to keep the fabric from pulling and allow the embroidery to remain in place.
Instructions
It is important to read the instructions that come with your embroidery machine as they may vary from machine to machine. However, most machines have the same basic instructions.
Begin by creating the lettering that you wish to embroider onto fabric. You can do this digitally, using an embroidery machine or software, or manually using a template or stencil. Once your lettering is chosen, gather and prepare all necessary materials. Iron the fabric and use the stabilizer to keep the fabric in place. Then, use the hoop to transfer the fabric onto the machine.
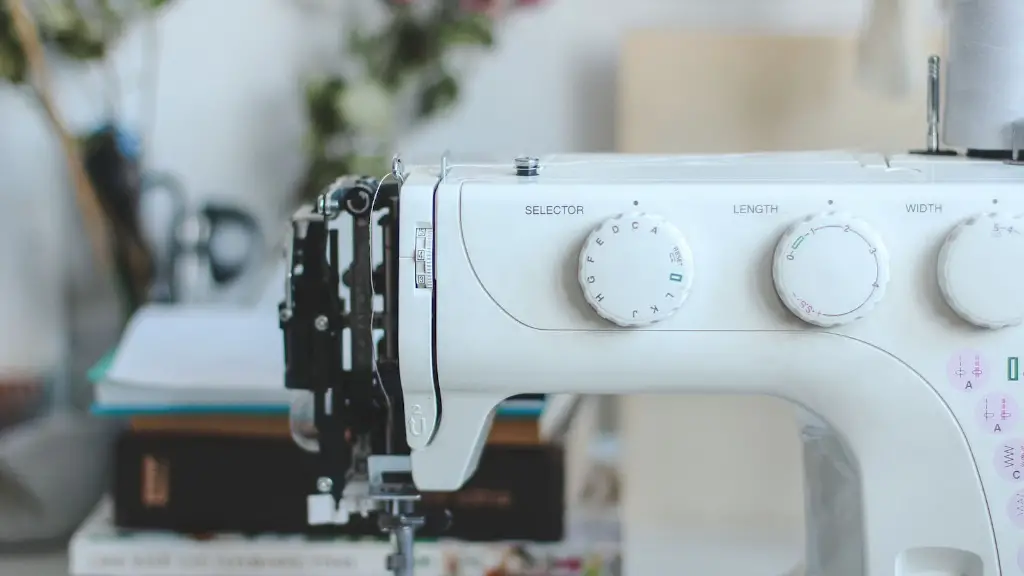
Setting up the machine is next. Most machines come with a basic guide for setting up the machine for embroidery. Be sure to read through the guide and set up the machine accordingly. If drawing letters by hand, you can draw them directly onto the fabric.
Once setup is complete, the machine can begin to embroider the letters. When embroidering, never pull or cut the thread as this may cause the fabric to become stretched. If this happens, it will be impossible to keep the lettering even and uniform.
Embroidering With Different Stitches
When embroidering, there are several types of stitches that will produce different effects. The most commonly used stitches are the satin stitch and the zigzag stitch.
The satin stitch is the most used stitch because it is long and thin and looks great on fabric. It provides uniform stitches that can cover the fabric quickly. The zigzag stitch is also a popular choice because it creates beautiful designs and patterns.
Finishing Steps
When the letters have been embroidered, the fabric must be removed from the machine and the hoop.Carefully remove the stabilizer from the fabric, and the excess pieces of thread. Inspect the lettering to make sure that it is complete and that there are no visible flaws. If needed, use the hand sewing needle to fix any mistakes.Finally, iron the fabric to set the stitches and make sure that the lettering looks perfect.
Choosing the Correct Thread
When embroidering, it is important to select the appropriate thread for the project. The type of fabric being used for the embroidery, the weight of the thread and the desired effect of the embroidery will all affect the type of thread that should be used. It is important to select thread that is suitable for the fabric to prevent it from becoming stretched or damaged.
Caring for Embroidery
After the embroidery is completed, it is important to properly care for the fabric. Hand wash the fabric in cool water using a mild detergent. Avoid using bleach or fabric softener as this can damage the fabric. When drying the fabric, lay it flat to ensure that the lettering does not become stretched or distorted.
Pros and Cons of Embroidering with a Regular Sewing Machine
Embroidering with a regular sewing machine has several pros and cons. On the pro side, it can be very affordable, it is easy to set up and it is not overly complicated. On the con side, it can be difficult to control the speed and tension of the machine, the fabric can be easily stretched or distorted, and the lettering may not have a professional or uniform look.
Tips for Successful Letter Embroidery
To ensure successful letter embroidery, use a good quality thread that won’t fray or break easily and select the correct needle for the fabric. Make sure to keep the tension even when stitching, as this will create a better looking project. Take care when removing the stabilizer, as this can easily pull the stitching and leave it looking messy. And finally, inspect the embroidery thoroughly before ironing, to make sure that all the stitches are securely in place.
Troubleshooting and Common Problems
When embroidering letters, common problems can arise. Thread breakage, skipped stitches, and uneven tension can all lead to issues with the lettering. It is important to inspect the lettering often and make sure to keep the thread tension even. If the fabric begins to stretch, use an iron to press the fabric flat again and fix any uneven stitching or distortion.
Maintenance and Cleaning Your Sewing Machine
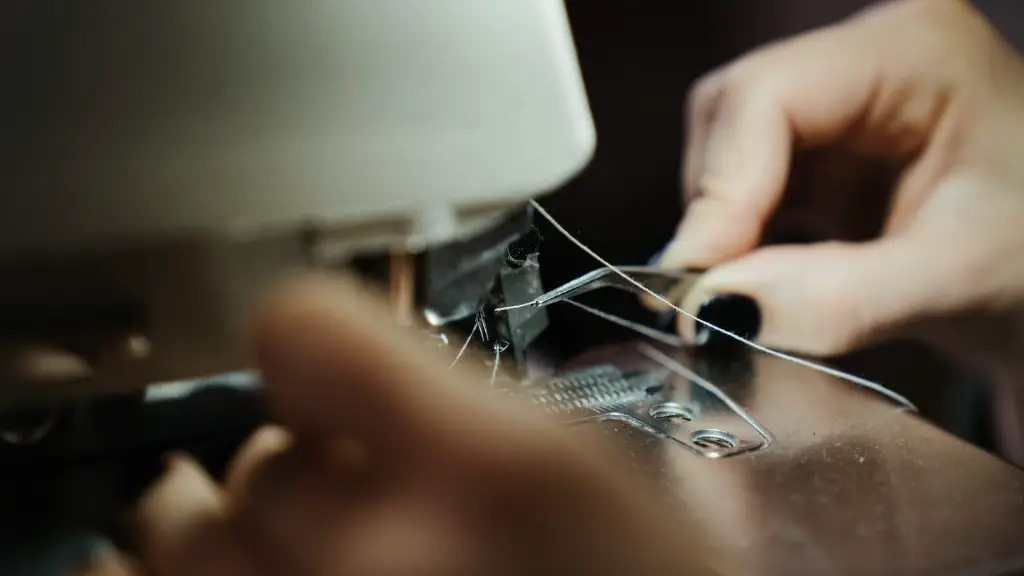
After completing an embroidery project, it is important to clean and maintain your sewing machine. Carefully remove any pieces of thread and fabric from the machine and oil the internal parts as instructed in the user manual. Additionally, you should always keep the machine covered when not in use to protect it from dust, dirt, and lint.


