Basic Stitches
Embroidering with a Singer Sewing Machine is a straightforward task, especially when it comes to lettering. The machine itself is able to perform several basic stitches that are helpful for this type of work. Among the essential stitches that it can do are running stitch, back stitch, stem stitch, satin stitch, and blanket stitch. Knowing these basic stitches is important to embroidering with a Singer Sewing Machine since they can be used to make various patterns and designs.
Preparing the Fabric
Preparing the fabric on which to embroider letters is the next step in the process. It is important to make sure that the fabric is properly stretched and fixed in place during the process. This will help prevent any wrinkles and ripples in the fabric that will affect the quality of the lettering. To achieve this, one can use an embroidery hoop or a simple frame to hold the fabric in place.
Designing the Letters
Designing the letters for embroidery is an important part of the process. This involves deciding on the size, font, and other details such as the colors of the letters. One can also choose to use iron-on transfers or create their own design. For those who are more experienced, it is possible to draw the letters onto the fabric itself and begin the embroidering process.
Setting up the Machine
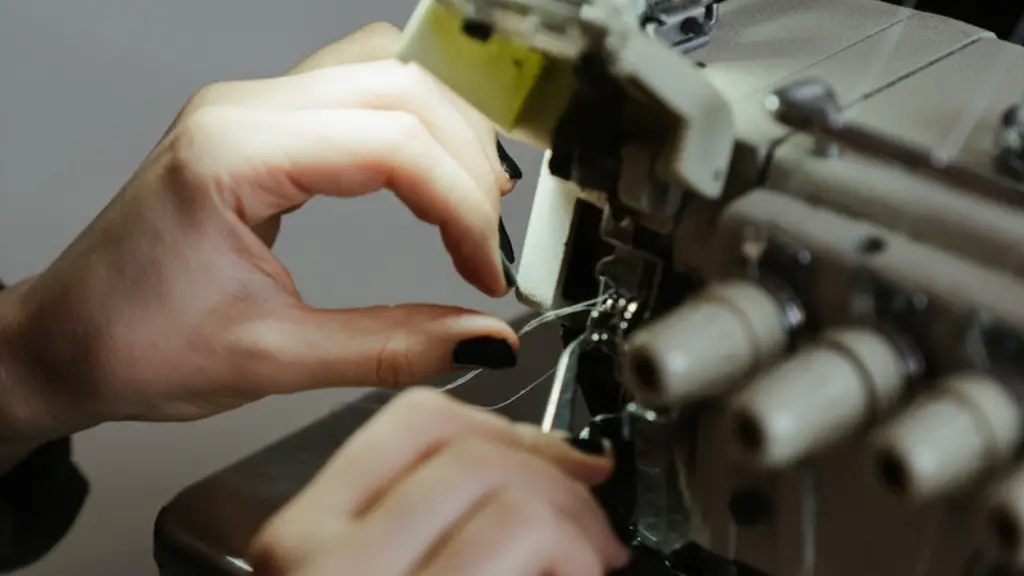
Before beginning the embroidery, the Singer Sewing Machine must be prepared. This includes ensuring that the needle and thread are in the right position, that the tension is at the right level, and that the presser foot is adjusted. To start, one must choose the right type of thread for the lettering. Different threads can produce a different look for the letters, so one should keep that in mind when selecting the thread.
Embroidering the Letters
Once the set up is complete, one can finally begin stitching the letters onto the fabric. It is important to remember to go slowly and to be patient while stitching, as it can take some time to create the desired effect. Additionally, all of the basic stitches mentioned earlier, should be used when embroidering letters on the fabric to create a more professional, even look.
Finishing the Letters
To finish the embroidered letters, it is important to cut away the excess fabric and thread. One should also take the time to add additional details to the letters, such as small buttons or other adornments. This is optional but can add a nice touch to the final product. After this, the embroidered letters can be attached to clothing, pillows, and other items.
Caring for the Embroidery
It is also important to take care of the embroidery once it is finished. The letters should be washed and dried according to the fabric type, and it is also a good idea to lightly press the embroidered area with an iron if necessary. Doing so will help ensure that the embroidery lasts for a long time and does not become damaged or faded over time.
Specialty Threads
In addition to the basic stitches that can be created with a Singer Sewing Machine, one can also use specialty threads to create their embroidery. Specialty threads, such as metallic or glitter threads, can add visual interest to the embroidery and provide a unique, eye-catching effect. It is important to take into consideration the type of fabric on which the embroidery is being done and the type of stitch used to ensure that the specialty thread is suitable for the project.
Innovative Techniques
Embroidering with a Singer Sewing Machine is not limited to the basic stitches. Experienced embroiderers can take their craft to the next level and explore innovative techniques such as free-motion embroidery and couching. This is done by manually manipulating the fabric with the machine’s needle, allowing one to explore more complex patterns and designs.
Design Elements
In addition to the basics of embroidering with a Singer Sewing Machine, one can also incorporate design elements into the letters. This includes adding beads, sequins, and other adornments to the letters to give them more character. Additionally, one can use different types of fabric, such as velvet, silk, and cotton, to create more interesting lettering.
Tools and Supplies
Finally, it is important to have the right tools and supplies when embroidering with a Singer Sewing Machine. This includes a sharp needle, scissors, and quality embroidery thread. Additionally, one should have a hoop or frame that can hold the fabric securely in place during the embroidery process. Having the right tools and supplies will help ensure that the lettering looks its best.

