Instructions
Loading a bobbin on a sewing machine is an important skill to learn if you plan to repair clothes or make alterations on a sewing machine. The steps below will show you how to properly load a bobbin so that your sewing machine is ready to go.
1. Start by preparing the bobbin by winding it with the thread of your choice. There should be a spool of thread set aside for this purpose. Additionally, the machine should be disengaged from stitching. This is easily done by flipping the stitch selector lever to the off position.
2. Place the bobbin onto the bobbin winder shaft so that the flat portion (or edge) of the bobbin is facing out. Push the shaft to the right until it is firmly in place. A clicking sound should be heard if this is done correctly.
3. Put the spool of thread onto the spool pin and make sure the end of the thread is passing through the eye of the bobbin winding arm. Then, press the bobbin winder arm onto the top portion of the needle bar.
4. Using your left hand, push the bobbin winder toward the right until it clicks. This will stop the bobbin winder from going any further. Then, press the foot switch on your machine to activate the winding of the bobbin.
5. Once the bobbin is full, the bobbin winder will click again. Then, press the foot switch once more to stop the winding action. Gently pull the bobbin out of the bobbin winder and disengage the bobbin winder from the top portion of the needle bar.
6. Now, it is time to insert the bobbin into the machine. To do this, you need to find the bobbin case. The bobbin case is located either in the top of the machine (by the spool pin) or on the side of the machine. Once the bobbin case has been located, open the cover plate and insert the bobbin.
7. Pull on the thread tail of the bobbin and ensure it passes through the tension spring and into the slot of the bobbin case. Then, close the cover plate and re-engage the stitch selector lever.
8. You can now test the bobbin to make sure there are no issues. Press the foot switch and turn the hand wheel to see if the needle moves up and down. If everything is working properly, the sewing machine is ready for use!
Threads
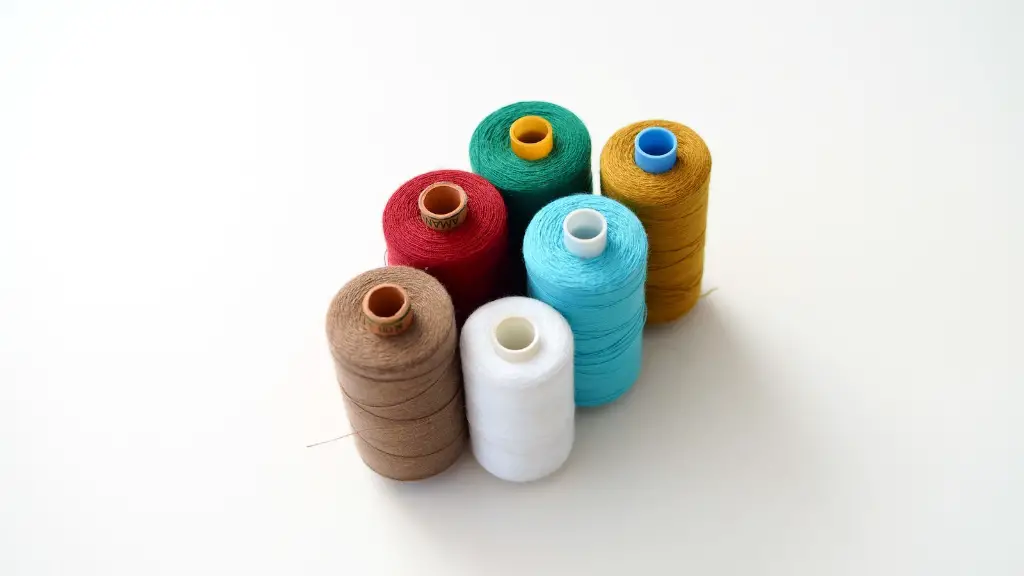
Thread is an essential part of loading a bobbin, as it is the material that will be used to sew. While there is no one-size-fits-all when it comes to choosing thread for sewing projects, it is important to pay attention to the type of fabric you are working with. Generally speaking, you should use thicker thread for heavier fabrics and thinner thread for lighter fabrics.
In addition to the weight of the fabric, you should also take into account the colour of the thread. If you are using a dark fabric, then you should opt for dark-coloured thread to ensure your stitches are not visible. On the other hand, if you are using a light-coloured fabric, then go for light-coloured thread as this will blend in more seamlessly.
When it comes to brands of threads, there is a wide variety on the market. An excellent option for those on a budget is to buy generic store brand thread. Alternatively, those looking for more quality may opt for higher-end brands such as Gütermann or Gutermann Sulky. Ultimately, only you can decide which thread will best suit your needs.
Needles
When loading a bobbin, it’s also important to consider the needle. Choosing the wrong needle can result in poor stitching and broken needles. Your needle should be selected based on the type of fabric you are working with and the type of thread you are using. Generally speaking, thicker threads require larger needle sizes and vice versa.
Needles have two key elements that must be taken into consideration when selecting the right one. The first is the needle size and the second is the needle type. Needle sizes are typically expressed in numbers, such as 70/10, 80/12, and 90/14. The larger the number, the larger the needle size. The second element is the needle type, which indicates the type of point the needle has. For example, a universal needle is suitable for most fabrics, while a stretch needle should be used for fabrics with Lycra or spandex.
When changing the needle, it is important to make sure the needle is properly secured onto the needle bar. If not, it could lead to poor stitching or breakages. To securely thread the needle, simply hold the needle with one hand and rotate the handwheel with the other. Once the needle is threaded, the handwheel should stop rotating.
Tension
Thread tension can make or break a sewing project. The thread tension settings tell the sewing machine how tight the stitches should be. Too loose and the stitches may become loose over time, while too tight and the stitches may be too compact. To help maintain the optimum tension setting, the machine should be serviced and the tension discs should be cleaned regularly.
To adjust the tension settings, the best place to start is with a test swatch. This will help you determine what the optimal tension setting should be for the project you have in mind. To create a swatch, simply sew a piece of scrap fabric using the same stitching, fabric and thread as your project. Once the stitching is complete, check to see if the stitches are evenly spaced and there are no loops on the back of the fabric. If there are, then the tension needs to be adjusted.
Adjusting the tension is relatively simple and involves turning the tension dial until the tension is correct. For example, if the tension is too loose, turn the dial clockwise until the stitches are even and there are no loops on the back of the fabric. If the tension is too tight, turn the dial counterclockwise until the stitches are even and there are no loops on the back of the fabric.
Stitch Length
Stitch length is another important factor to consider when loading a bobbin. The stitch length determines the size of the stitches, with shorter stitches resulting in tighter stitches and longer stitches resulting in looser stitching. The correct stitch length for a project should be determined based on the fabric and the type of stitch. For example, a tighter stitch is usually used for hems, while a longer stitch is often used for topstitching.
To adjust the stitch length, simply turn the stitch length dial on your machine until the desired settings are achieved. As a general rule, a stitch length of 2.5mm to 3mm is suitable for most fabrics. However, some fabrics such a denim may require a longer stitch length. To determine the correct stitch length for a particular project, it is best to experiment with a few different settings.
Stitch Width
Stitch width is another important setting to consider when loading a bobbin. The stitch width setting adjusts the width of the stitch and can be used to create a more interesting look on garments. The width of the stitch should be determined by the fabric, thread and type of stitch. Fabric such as knit and satin usually require a narrow stitch width, whereas fabrics such as denim may require a wider stitch width.
To adjust the stitch width, turn the stitch width dial until the desired settings are achieved. As a general rule, a stitch width of 3mm is usually suitable for most fabrics. However, if you would like to create a more textured look on your garments, then a stitch width of 4mm or 5mm may be preferable. It is important to experiment with the settings to determine what works best for your project.
Presser Foot
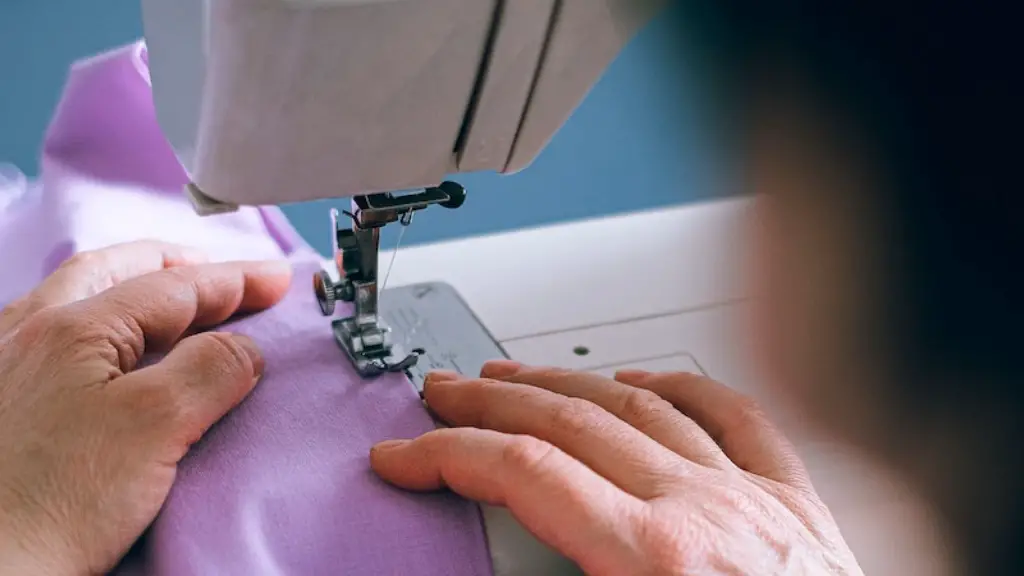
The presser foot is an important tool for loading a bobbin and should be set up correctly. The presser foot holds the fabric in place while the stitching is being done, preventing it from shifting or moving while the needle is moving up and down. To set up the presser foot, lower the presser foot lever and then choose the correct presser foot for the fabric and type of stitching, such as a zigzag presser foot for zigzag stitching.
Once the correct presser foot is selected, it is important to make sure it is properly secured in place. To do this, check that the presser foot is firmly in place by pressing down on the presser bar. Additionally, make sure that the needle is in the highest position by turning the handwheel and then secure the presser foot by engaging the presser foot lever.
Bobbin Winder
The bobbin winder is a small tool that is used to wind the thread around the bobbin when loading a bobbin into the sewing machine. To set up the bobbin winder, first make sure that the machine is disengaged from stitching by flipping the stitch selector lever to the off position. Then, press the bobbin winder arm towards the top portion of the needle bar.
Next, put the spool of thread onto the spool pin and make sure the end of the thread is passing through the eye of the bobbin winding arm. Finally, press the bobbin winder towards the right until it clicks. This will stop the bobbin winder from going any further. Then, press the foot switch on your machine to activate the winding of the bobbin.
Stitch Selector
The last step in loading a bobbin is to adjust the stitch selector. The stitch selector is the lever that allows you to choose the type of stitching you would like the machine to do. When the machine is in the off position, the needle should not move. However, if the stitch selector is in the on position and the machine is turned on, the needle should move up and down.
To adjust the stitch selector, ensure the machine is disengaged from stitching by flipping the lever to the off position. Then, turn the stitch selector dial until the desired stitch is selected. A wide variety of stitches can be selected including straight, zigzag, overcasting, and buttonholes. Additionally, some machines may also offer specialty stitches such as appliqué, quilting, and embroidery.
Once you are finished adjusting the stitch selector, flip the stitch selector lever back to the on position and test the machine by pressing the foot switch and turning the handwheel. The needle should move up and down and you should be able to see the stitching on your fabric. If everything is working properly, your sewing machine is ready for use!
