Embroidery sewing machines – Prepare to Embellish your Clothes
Embroidery sewing machines are an excellent way to add flair to your clothing. They provide you with the opportunity to turn your clothing pieces into showstopping masterpieces. With a variety of styles and designs, using these machines to craft intricate designs is an activity that both beginners and experienced sewers can learn.
Understanding the basics of how to embroidery with a sewing machine is essential in helping you to make the most of this essential tool. By following the steps highlighted below, you’ll be creating beautiful pieces of clothing with ease.
Step 1: Invest in the Right Equipment
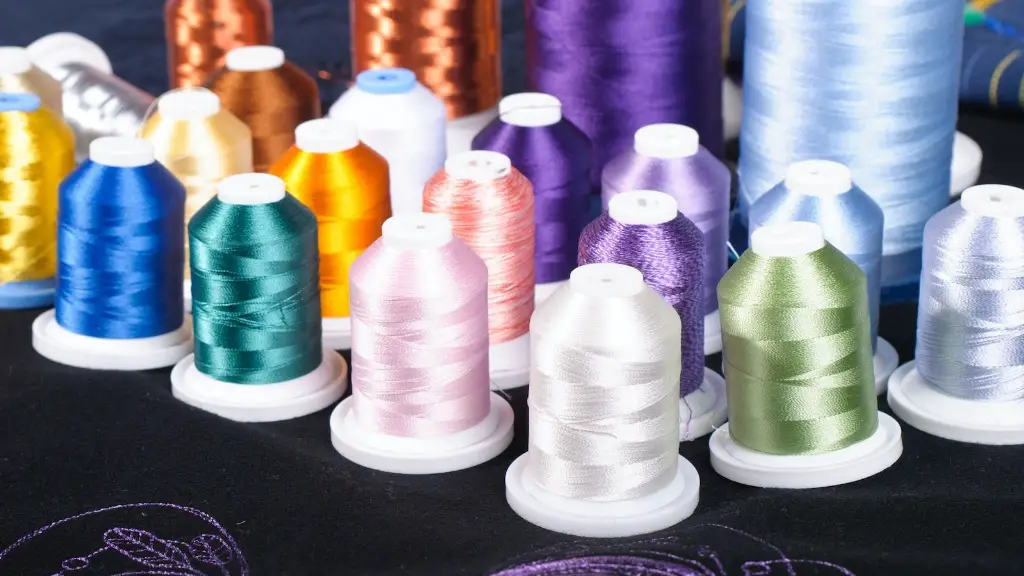
To begin, you’ll need to invest in the right equipment for embroidering on a sewing machine. This includes an embroidery thread (which comes in a variety of colors and textures), scissors, an embroidery hoop to hold the fabric in place, and a daisy wheel, which is the tool you use to create intricate designs.
You’ll also need an embroidery machine. Choosing the right machine is important as there are a variety of models to choose from. If you’re just a beginner, then an entry-level machine should suffice; however, more experienced sewers may want to opt for a machine with more advanced features.
Step 2: Choose Your Fabric
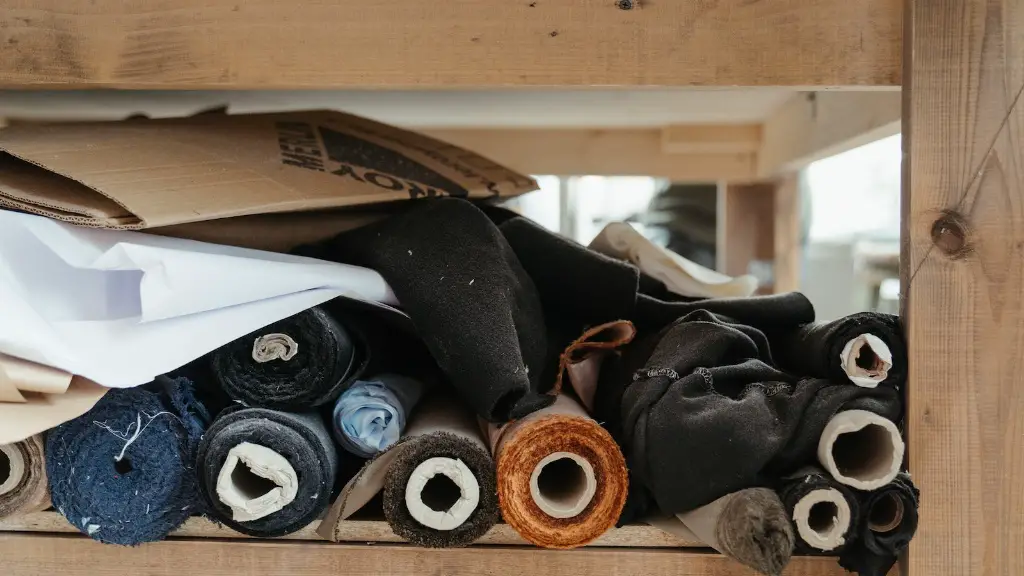
The next step is to select the fabric you’re going to be embroidering onto. Choose a fabric that is lightweight and easy to work with. You should also look for fabrics that don’t fray too easily as this can be a challenge when creating intricate designs.
Step 3: Secure the Fabric
Once you’ve chosen the fabric, then you’ll need to secure it in place. To do this, use an embroidery hoop. This is a tool that helps to keep the fabric in place, allowing you to work with it and create intricate designs.
Step 4: Select a Design
The next step is to select a design that you will embroider onto the fabric. With the right machine, you’ll be able to choose from a variety of designs. You can find design ideas online, or you can use a stencil if you prefer.
Step 5: Thread the Machine
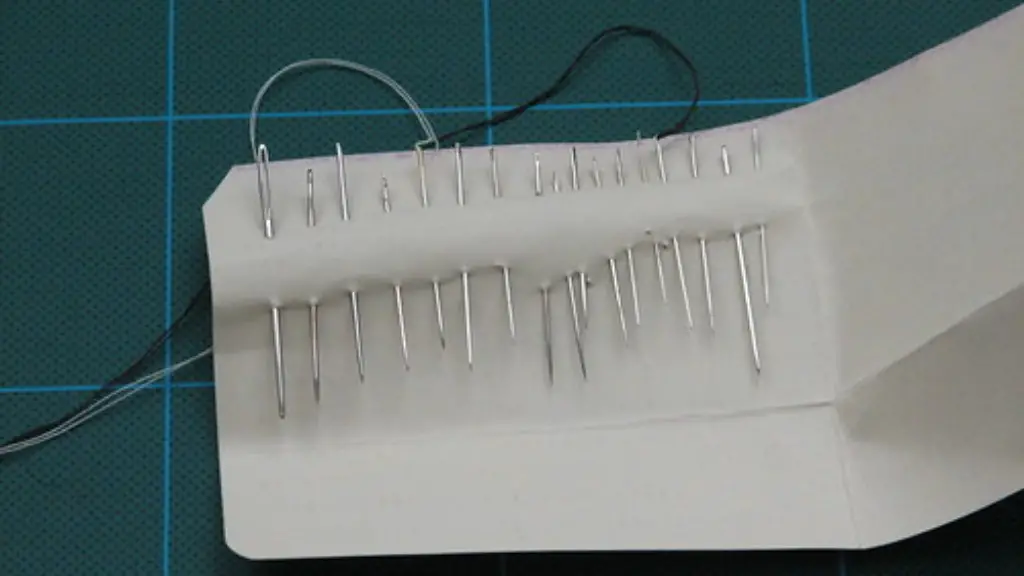
Once you’ve chosen your design and fabric, you’ll then need to thread your embroidery machine. Begin by placing the thread spool onto the machine and threading it through the eye of the needle. Make sure to pull the thread taut and make sure that the thread is securely placed in the needle.
Step 6: Start Embroidering
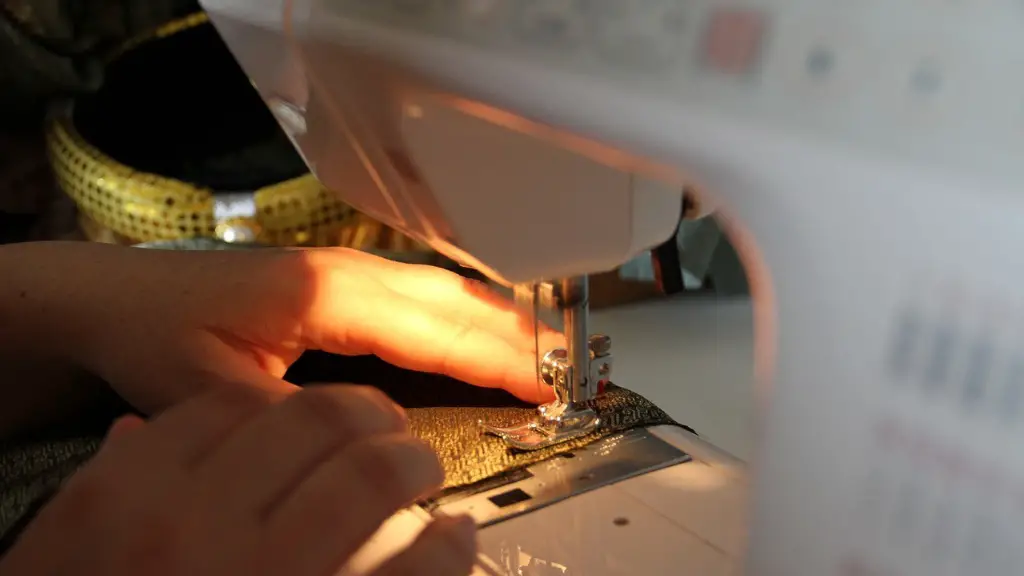
Now it’s time to start embroidering your fabric. Begin by positioning the fabric over the needle and adjust the settings according to the type of thread and thickness of fabric you are working with. Once you’ve set the tension, you can begin stitching. To help keep the fabric in place, use your hands to help guide the fabric and make sure the stitches are even.
Step 7: Finishing Up
When you’re finished, you can remove the fabric from the embroidery hoop. If you’re using an embroidery machine with an automatic shuttle, then this step is a lot easier.
Finally, it’s time to enjoy your masterpiece. You can use the embroidery to embellish clothing, accessories and many other items.
Saving Projects for Later
Once you’ve mastered the basics of embroidering with a sewing machine, you may be interested in creating complex designs that you can save for later. Luckily, modern machines allow you to save your projects, meaning that you can return to them at any time. Many machines will also allow you to transfer designs from one machine to another, meaning that you can easily share your creations with others.
Choosing the Right Threads
When selecting the right threads for your embroidery sewing machine project, it’s important to consider the color of the thread and the weight of the fabric you’ll be working with. If you’re using a lighter fabric, then opt for a lighter weight thread; however, if you’re working with heavier fabric, then a heavier weight thread is necessary.
In addition to the weight of the thread, you’ll also need to consider the color. You may be tempted to select a thread that is the same color as the fabric; however, this is not always the best option. Selecting a color that contrasts with the fabric can help to make the design you’re creating stand out.
Learning Tips and Techniques
Once you have the basics down, you may want to explore the various tips and techniques associated with embroidering. To do this, there are plenty of online tutorials and instructional videos that can help teach you how to use your machine to its full potential. Learning different techniques and techniques is an excellent way to hone your skills and begin creating more intricate embroidery designs.
Embroidery Software
Another way to add complexity to your machine embroidery projects is by using embroidery software. This software allows you to create intricate designs that can be transferred to the embroidery machine. Not only does this eliminate the need to manually draw out designs, but it also gives you the opportunity to explore a wide range of different design options.
Practice, Practice, Practice
Finally, the best way to become a pro at embroidering with a sewing machine is to practice. Take the time to play around with different settings and fabrics as you learn more about the machine. With enough practice, you’ll soon be able to craft beautiful pieces of clothing with ease.
Embroidery sewing machines are an excellent way to add flair to your wardrobe. With enough understanding of the machine, and a willingness to experiment, you should have no problem becoming a master of embellishment!


