Making a Singer Sewing Machine Embroidery Ready
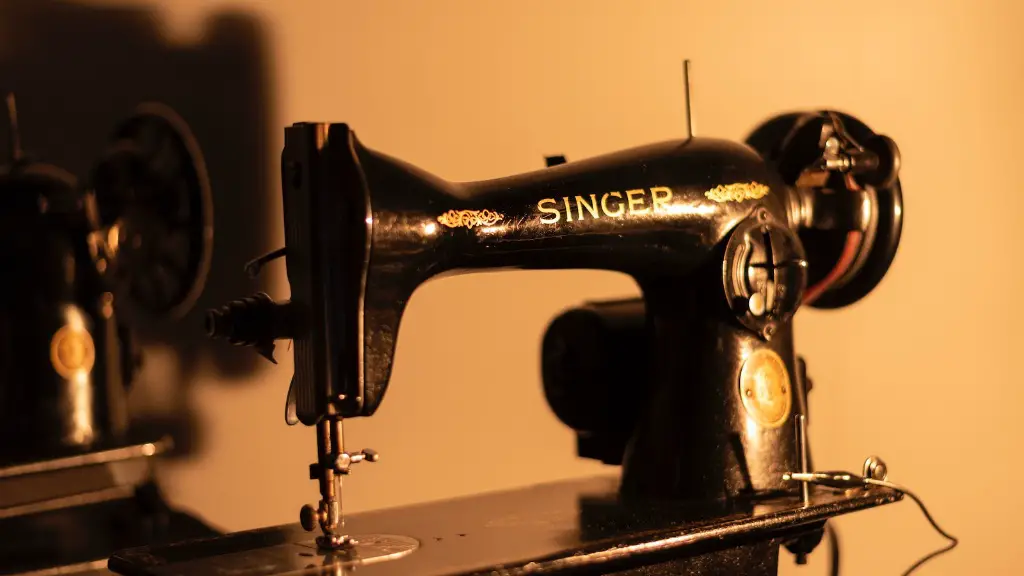
Embroidery can be one of the most fun, creative outlets, and with the right machine, it can be surprisingly easy. Sewing machines are the business and Singer Sewing Machines are the industry leader. In fact, they’ve been making machines since 1851.
Getting a Singer Sewing Machine set up for embroidery is a great way to start making custom stitched pieces for apparel, linens, and more. Whether it’s personalizing t-shirts or dog collars, there are a number of ways to make the process easier. With a few basic supplies, the Singer Sewing Machine can handle any embroidery project.
Materials for Embroidery
Before getting started, it’s important to make sure you have the correct materials. First, you’ll need a Singer Sewing Machine and embroidery software. Embroidery software comes in two types: free and paid. Free software often has limited features, while paid software has more tools, better designs, and a larger library of fonts. Next, you’ll need an embroidery thread, which can be obtained from any local fabric store. The thread should match the fabric and the color scheme. Additionally, you’ll need some interfacing, which will add stability to the embroidery. Finally, some freezer paper is necessary to help with transferring the image to the fabric.
Setting Up the Singer Sewing Machine
Once you have the materials necessary for embroidery, you’ll need to get your Singer Sewing Machine set up. First, make sure the machine is properly plugged in and powered on. Next, you’ll need to install the embroidery software. Make sure to install the software to a location that is easily accessible—for example, on the desktop or in the documents folder. After installation, you’ll need to connect the Singer Sewing Machine to the computer using a USB cable.
Transferring the Image to the Fabric
The next step is to transfer the image to the fabric. In order to do this, you’ll need to use the freezer paper. Cut the freezer paper to fit the size of the fabric and trace the image onto the paper. Use an iron to transfer the image to the fabric and then cut out the fabric to the desired size.
Threading the Embroidery
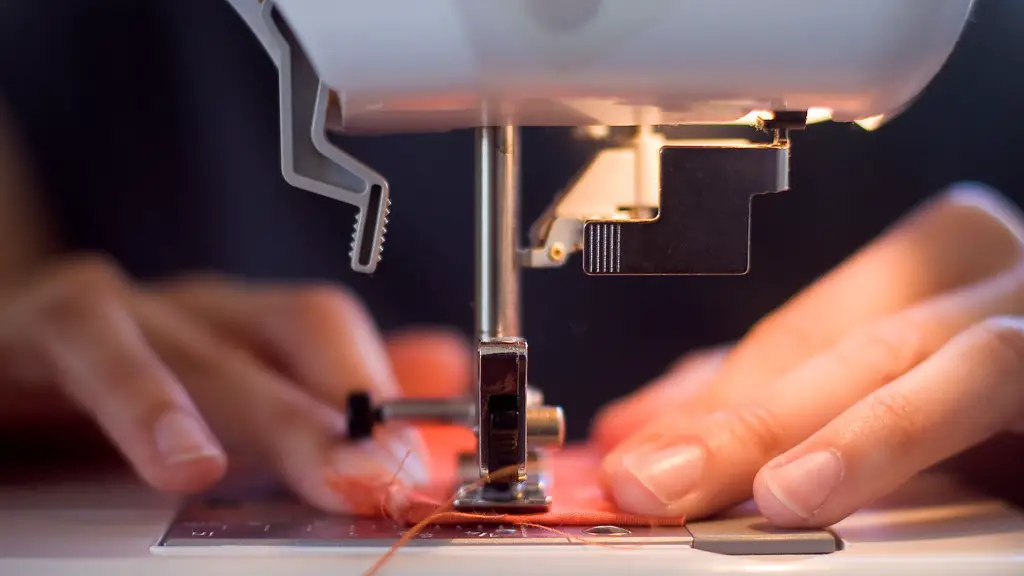
Once the image is transferred to the fabric, it’s time to start embroidering. Start by threading the Singer Sewing Machine. Pass the thread through the needle and then guide the thread through the machine, using the guidebook to make sure the thread is snug and secure.
Attaching the Embroidery Hoop
After the thread is in place, you’ll need to attach the embroidery hoop. Place the fabric on the embroidery hoop and then tighten the screws to hold the fabric in place. Make sure the fabric is tight and smooth to ensure a good stitch.
Embroidering with the Singer Sewing Machine
Once the fabric is attached to the hoop, it’s time to start embroidering. Turn on the Singer Sewing Machine and begin stitching the pattern. With practice, you can master the art of embroidery and create beautiful pieces.
Additional Hoop Attachments
In addition to the embroidery hoop, there are a number of attachments that can be used to attach fabric to the Singer Sewing Machine. Some of these attachments include magnets, bobbins, and fabric clips. Each attachment has a specific use and can make the process of embroidery easier and more efficient.
Sewing with the Singer Sewing Machine
As you become more comfortable with embroidery, you can begin to explore sewing with the Singer Sewing Machine. To do this, you’ll need to attach the regular sewing machine needle and thread. Once the needle is in place, you can start stitching the fabric.
Tools and Accessories
Finally, Singer Sewing Machines come with a variety of tools and accessories to make the embroidery and sewing process easier. These include accessories like embroidery scissors, seam rippers, measuring tapes, and pins. With the right tools and accessories, you can complete any project and create beautiful pieces.
Using a Variety of Threads
One of the most important aspects of embroidery is the use of a variety of threads. Threads come in different sizes, colors, and materials, and can help to add texture and dimension to your projects. Use different threads to create unique designs and patterns.
Stabilizing the Fabric
Before starting the embroidery process, it’s important to stabilize the fabric. Stabilizing the fabric will help to prevent the fabric from stretching or shifting while you’re stitching. There are a number of ways to stabilize fabric, such as using interfacing or a stabilizer.
Tension Settings on the Singer Sewing Machine
When it comes to the Singer Sewing Machine, the tension setting is one of the most important factors in creating a successful stitch. The tension setting will determine how tightly the thread is pulled while you’re stitching, so it’s important to make sure that the tension is set correctly. Use the guidebook to make sure the correct tension settings are used for the particular project.
Caring for the Singer Sewing Machine
Singer Sewing Machines are well-known for their durability and longevity, but like all machines, they need to be properly cared for in order to maintain their performance. Make sure to keep the machine clean and dust-free, and use the correct oil for lubrication. Additionally, make sure to inspect the machine for any damage or defects on a regular basis.
Where to Find Inspiration
When you’re starting out with embroidery, it can be difficult to find inspiration. There are a number of online resources and sites, such as Pinterest, that can provide ideas and patterns. Additionally, there are a number of books and magazines that feature patterns and designs.


