Basic Techniques
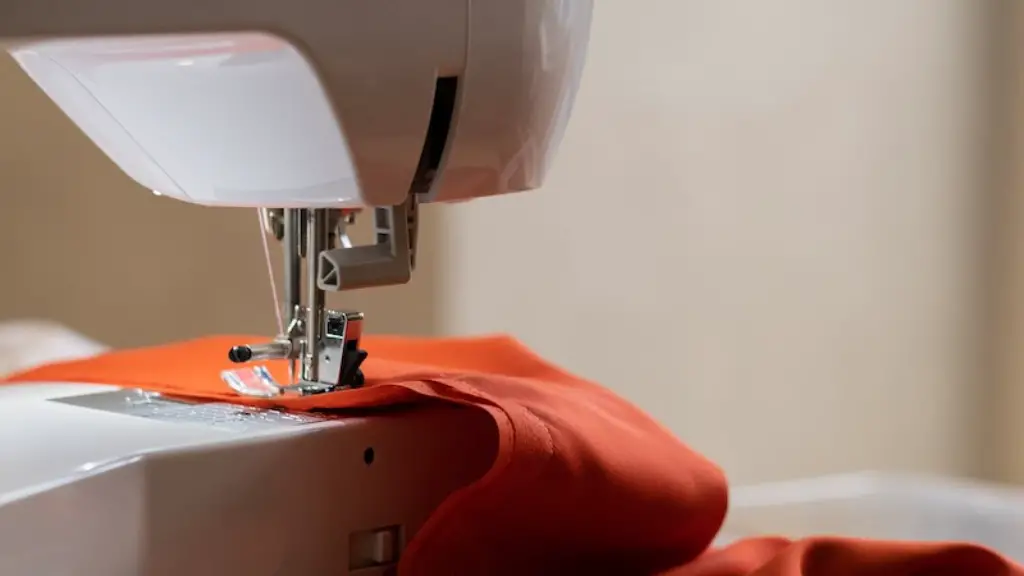
Embroidering words into fabric with a sewing machine is an easy way to add custom designs to clothing, accessories and home décor projects. This technique can be used to embellish plain products and make them more unique. There are just a few basic techniques that need to be understood before starting to embroider words with a sewing machine.
First and foremost, it is essential to have the correct supplies for the job. The supplies required will vary depending on the fabric used, the type of thread chosen and the complexity of the project. Generally speaking, the supplies needed are a sewing machine, a sharp embroidery/embroidery hoop, memory foam thread, heavy duty embroidery thread, fabric, and a wide variety of embroidery needles. Additionally, it is advisable to use stabilizers such as tear-away fabric and water-soluble fabric to ensure a consistent and attractive result. The stabilizers help the thread and fabric to remain in place, making it easier to embroider the words into the fabric.
The second step is to choose the right size and type of needle. It is important to select the right needle size for the weight of the thread being used. If the needle is too thin, the thread can easily snap, while if the needle is too thick, it can cause excessive friction on the thread and fabric, resulting in a lower quality stitch. Additionally, it is important to use a needle designed for embroidery as it has a larger eye, allowing thicker threads to be used without causing excessive friction or the risk of thread breakage.
The third and final step is to use a design template to create the desired shape and size for the words. Design templates come in a range of sizes and styles, allowing for custom designs to be created with ease. It is important to take into account the size and shape of the embroidery hoop when selecting the design template, as the embroidery hoop needs to fit the template perfectly.
Embroidery Patterns
Once the supplies, needle size and design template have been chosen, it is time to start preparing the project. One of the most important steps when it comes to embroidering words is to create an embroidery pattern. This is done by transferring the design template onto the fabric, as this ensures that the words will be sewn into the fabric in the right order and size. To transfer the template, a water-soluble pen can be used to lightly draw the outline of the words onto the fabric and then remove it with a damp cloth after the pattern has been created.
It is also very important to use the correct stabilizer for the project. As mentioned before, using a stabilizer helps to keep the thread and fabric in place and reduces the risk of errors. Different stabilizers are suitable for different types of fabrics, so it is important to check the instructions before deciding which one to use.
Finally, the fabric must be inserted into the embroidery hoop and secured with basting stitches. This will prevent the fabric from moving when the words are being sewn and help to ensure a neat result. It is also advisable to cut away any excess fabric that may interfere with the embroidery.
Thread Tension and Speed
Once everything is prepared, it is time to start the actual embroidering process. The first step is to ensure that the machine is set to the correct thread tension and speed. The tension should be adjusted so that the threads are being pulled tightly while the speed should be set to ensure that the stitches are consistently formed at an optimal speed.
The second step is to slowly start stitching the words using the design template as a guide. Since the stitches will be visible on both sides of the fabric, it is essential to take care to ensure that the words are embroidered in the correct order and form. It is advisable to start stitching in the middle of the words and work out towards the edges to avoid mistakes.
As the embroidery progresses, it is important to periodically check the tension and make adjustments as necessary. Additionally, if the tension is too tight or too loose, it may cause the fabric to stretch or distort, distorting the final result. It is important to keep the embroidery steady at all times to ensure a high quality finish.
Finishing Up
The final step of the embroidery process is to finish it up. This can be done by snipping off any loose threads or adding any additional embellishments such as beads or sequins. Additionally, it is important to check the final result to make sure that it looks neat and professional. Any irregularities or uneven stitches can be addressed by using the backstitch or satin stitch to neaten the embroidery.
Once the embroidery is complete, it is time to show off the final result. The fabric can be framed, attached to clothing, or used to embellish accessories and home décor items. Regardless of how it is used, adding words to fabric with a sewing machine can add a unique touch to any project.
Embellishments
Once the words have been embroidered into the fabric, it is possible to add additional embellishments to the project. Beads, sequins and other decorative elements can be added to make the embroidery more interesting and eye-catching. Additionally, combining different threads and stitches can help to create an even more unique design.
Embroidery hoops can also be used to add special touches to the project. For example, an appliqué stitch can be used to create a raised border around the embroidery. This can be done by embroidering the design onto the fabric, then using the appliqué stitch to attach an extra piece of fabric or trim on top of the design. This is a great way to add texture and dimension to an otherwise plain design.
In addition, it is possible to use a satin stitch to add intricate details to the embroidery. This can be done by stitching a few lines of stitches close together and then threading a piece of yarn, wool or ribbon through the holes. This can create a very striking and unique effect.
Alternative Methods
Finally, if the embroidery project is too large or detailed for a sewing machine, it is possible to use alternative methods such as hand embroidery or free-motion embroidery. Hand embroidery is one of the oldest methods of embroidery and can be used to create beautiful designs with stunning detail. The most common stitches used for hand embroidery include the satin stitch, French knot and backstitch.
Free-motion embroidery is a technique that is becoming increasingly popular due to its ease of use and the fact that it is both versatile and customizable. This technique involves sewing directly onto the fabric without the need for a hoop or a design template. This allows for intricate designs to be created quickly and with minimal effort.
These are just a few of the many methods that can be used to create beautiful embroidery designs with a sewing machine or by hand. Embroidering words into fabric is an easy and fun way to add personal touches to garments and home décor projects. With a little bit of patience and some practice, any embroidery project can be completed with beautiful results.
