Thread and Bobbin Prep Work
To start off, you will need to make sure your sewing machine is threaded correctly. For machines that have a top-load bobbin, load the bobbin into the bobbin case and feed the thread up through the tension discs. It is important the thread goes through all of the tension discs, otherwise your stitches won’t be tight enough. For machines that have a front-load bobbin, feed the thread through the thread guide at the top of the machine and down through the bobbin case, ensuring it is securely loaded. You will then need to once again feed the thread through the tension discs, starting at the bottom and working your way up to the top.
Hold the Thread As You Sew
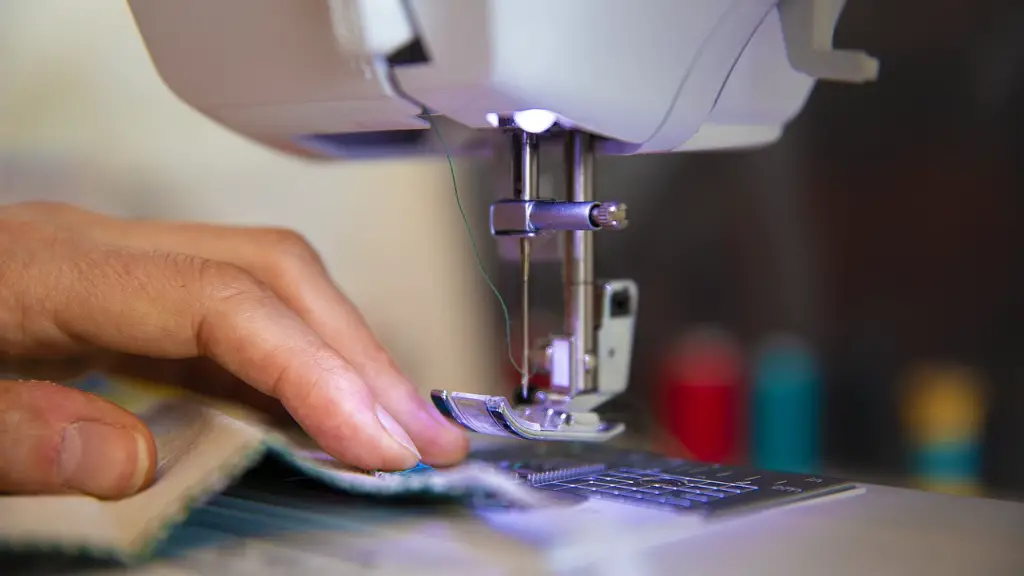
When you start to sew, it is important that you hold both the upper and lower threads in your left hand, while using your right hand to guide the fabric. Keeping the threads taut with your left hand will prevent the thread from tangling or bunching up, which might interfere with the stitching. As you reach the end of the stitch, stop sewing with your right hand before releasing the thread with your left.
Reverse Stitching at the End of Each Seam
Reverse stitching at the beginning and end of every seam is a crucial factor to consider when sewing. It helps hold the stitch in place and prevents it from becoming loose or unraveling. To do this, press down on the reverse stitch lever on your machine and stitch in reverse. Keep stitching until a few stitches have gone past where the seam began and then cut the threads. This will help ensure the stitch is secure.
How to Tie Off Your Stitch
If you do not plan on using a symmetrical seaming technique such as a zig zag stitch, then you will need to tie off your stitch at the end. Pull both the upper and lower threads to the back side of your sewing project. Pass the needle thread through the loop created by the bobbin thread, then pull gently to create a square knot. If possible, use a hand sewing needle to gently weave the knot back through the fabric to make sure it is secure.
Add a Seam Allowance
A seam allowance helps provide extra space for making adjustments to a seam or for finishing techniques. To add a seam allowance, simply sew a few stitches further than where your seam will end up. Once you are finished machine sewing, trim the seam allowance to the desired length or width.
Pressing Your Work
For most seam finishes, the last step is to press the seam with an iron. This helps flatten the fabric and set the seam in place. Make sure to press the seam on the wrong side of the fabric and use a pressing cloth if needed. This is particularly important if the fabric is delicate or prone to marks, such as silk or velvet.
Removing Excess Threads
When the seams are all pressed and completed, you may have excess threads that need to be removed. Take a pair of scissors or special thread snips and gently snip off any access threads that are visible on the right side of the garment. Make sure not to clip too short, or else the threads may start to unravel. Take care not to snip off any decorative stitches.
Common Threading Mistakes
Many common threading mistakes can be made when sewing with a machine. Make sure the thread passes through all tension discs and that you are using the correct type of thread for the fabric. If the tension is set incorrectly, the stitches may turn out too tightly or too loosely. Taking a few extra moments to double-check the threading can make all of the difference.
Overview of Different Seam Finishes
There are dozens of seam finishes that you can use to finish your projects. Different techniques are used for different sewing applications, such as tailored-vs-space-saving seams. A few of the most common seam finishes are hemming, topstitching, overlocked-seams, French-seams and felled-seams. Learn more about these different seam finishes and when to use them.
Choosing the Right Needle
Choosing the right needle for your project is another important factor to consider. Whether you are stitching on woven, stretch or synthetic fabrics, you will need to make sure you are using the correct needle for the job. Different types of needles are designed for different tasks and fabrics, so choose the right one for your project.
Sewing Machine Maintenance
While regular maintenance is not strictly necessary for most smaller projects, it is essential to ensure that your sewing machine functions correctly. This usually involves cleaning out the bobbin case and the feed dogs, lubricating the machine and replacing any worn or damaged parts. Even just a few minutes of maintenance every month can make a huge difference to the life of your machine.
Problem-Solving Sewing Mistakes
Many common sewing mistakes can be averted with a few simple steps. If you are having trouble with puckers or tension, take a few moments to re-thread the machine and check the stitch length and tension settings. Other small issues, such as broken threads, can usually be solved by simply tying a knot or adding a dab of seam sealant. If you are still having trouble, consult the instruction manual or get professional help.
Learning Different Sewing Techniques
Learning different sewing and finishing techniques is an important step in mastering the art of sewing. While some of these techniques may not be relevant to your current projects, they can still be incredibly useful and beneficial. Take the time to learn different methods of draping, couture-type construction and hand-finishing. These skills will come in handy when you least expect it.
Essential Sewing Supplies
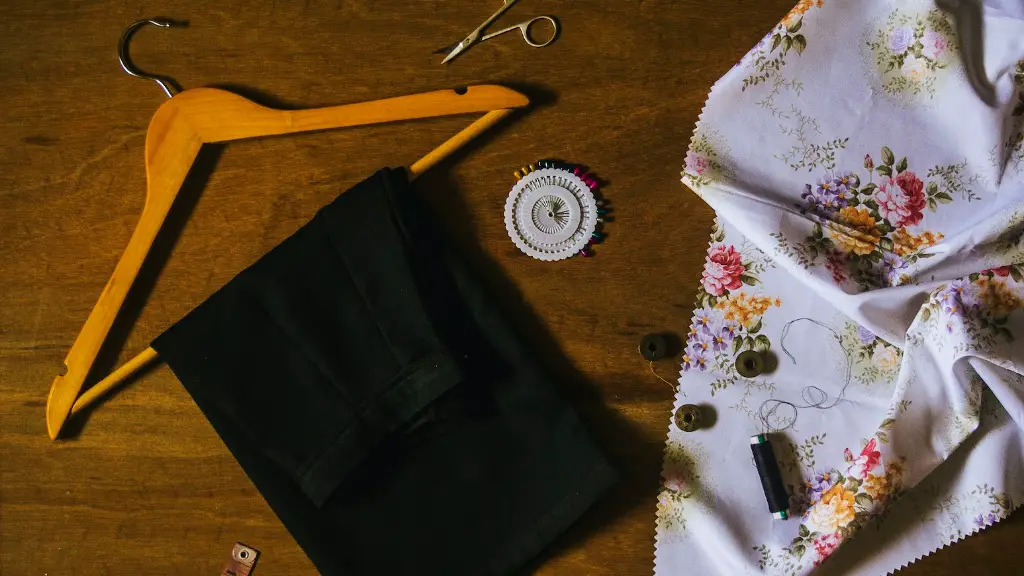
A wide range of tools and supplies are needed for any successful sewing project. Make sure you have the basics such as pins, needles and a measuring tape. Colour art marker pens, chalk and double sided tape are a few other useful items to have in your sewing arsenal. Investing in a few high quality tools can make all the difference when it comes to your crafting projects.
Working with Patterns
Working with sewing patterns can be intimidating, but with patience and dedication you will soon become a master. Take the time to familiarize yourself with the pattern pieces and understand the directions before getting started. Always post check your work to make sure everything fits correctly. If you have any questions, consult the instruction booklet or ask an experienced sewist for help.
Altering Garments
If you have ever made an ill-fitting garment, then you will know how important it is to understand how to alter the pattern. While it is possible to make alterations during the pattern-drafting stage, it is often quicker and easier to make adjustments to the finished garment. Use a combination of chopping and taking-in to get the perfect fit.
