Know Your Machine
Knowing your sewing machine will be the first and most important step when it comes to learning how to load a bobbin into a Brother sewing machine. Brother offers a variety of machines for different skill levels, each with their own specific features for winding bobbins. It is important to familiarize yourself with the sewing machine’s features and accessories so that you can better understand how to correct any issues you may encounter. Along with some basic knowledge about your machine, you will also need a few supplies, such as a bobbin, bobbin thread, and an appropriate needle.
Preparing Your Bobbin
Once you have gathered your supplies, you can begin preparing your bobbin. You will first want to select the right type of bobbin for your particular machine. There are many different styles of bobbins, so it is best to consult your product manual or search online to ensure you are selecting the right bobbin for your Brother sewing machine. You’ll then want to manually wind the bobbin thread into the bobbin until it is full – generally a little more than necessary, as the gradual winding and unwinding of the bobbin thread during use will ensure there is always an optimal amount of thread when sewing.
Inserting the Bobbin into the Machine
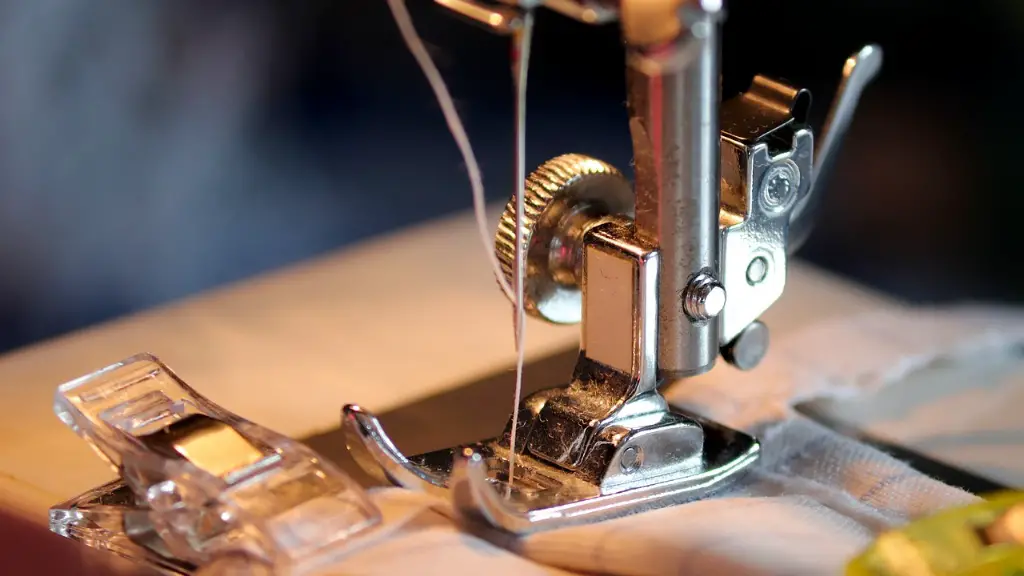
Now that your bobbin is properly loaded with thread, it is time to insert it into the machine. Depending on the type of machine you have, the process of inserting the bobbin can vary. Swing needle sewing machines will have a shuttle cover where the bobbin will be placed. For top loading models, the bobbin must be placed in the bobbin case, which is located at the top of the machine.
Once you have located the correct compartment for your bobbin, it’s time to insert the bobbin. Be sure that the thread is loaded onto the bobbin in a clockwise direction and that the bobbin’s end is facing outward. You’ll then want to slide the bobbin into the shuttle until it clicks, which should indicate that the bobbin is in place. If there is no clicking sound, the bobbin may not be properly loaded. You will also want to make sure that the bobbin’s thread is wrapping around the bobbin disc, which is located just above the bobbin and ensures that the thread is always in the right spot.
Setting the Tensio
At this stage, you’ll want to set the tension for the bobbin thread. Larger bobbins typically require a tighter tension, while smaller bobbins can have a looser tension setting. If the tension is too loose, the bobbin will not be able to pick up the fabric, and if the tension is too tight, it will be difficult to pull the thread through. To adjust the tension, you’ll need to turn the tension dial located on the machine until you feel a slight resistance when pulling the thread.
Thread the Top of the Machine
Once the bobbin tension is set, you’ll need to thread the machine. You’ll want to thread the top of the machine with your desired thread type and color. With the thread loaded into the machine, you’ll then want to thread the needle, ensuring the thread goes through the eye of the needle with ease. It can also be helpful to use a threader if the needle’s eye is too small.
Raise the Take-up Lever
Now that the machine is threaded, you’ll need to raise the take-up lever. This lever is located directly above the needle and is used to pull the thread from the spool to the needle. To raise the take-up lever, simply raise the lever up until it stops. The thread will be pulled through the eye of the needle and it should now be ready to sew.
Test the Bobbin
Now that you have loaded the bobbin and threaded the machine, you’ll want to test it to make sure that the bobbin is functioning properly. On some models, you may need to switch the stitch selector to a bobbin winding position in order to test the bobbin. Once the sewing machine is set to a bobbin winding position, activate the machine, and the bobbin should fill with thread. If there is not enough thread in the bobbin, the tension needs adjustment or the bobbin needs a new thread.
Checking the Bobbin Tension
The last step is to check the bobbin tension. If the thread is too loose, the bobbin is not winding properly. To check the tension, simply remove the bobbin from the shuttle and pull the end of the thread in a straight line. It should feel slightly resistant. If the tension is too loose or too tight, the tension needs to be adjusted.
Winding the Bobbin Properly
When winding the bobbin, the speed of the machine should be the slowest possible setting. This will ensure that the thread is winding onto the bobbin evenly and not becoming tangled or knotted. When the thread is winding onto the bobbin, it is important to maintain a steady speed, as stopping and starting the machine can cause tangles and knots. After the bobbin is fully wound, make sure that the thread has wound around the bobbin disc as this will ensure that the thread does not slip or unwind during use.
Replacing the Bobbin Inside the Machine
When replacing the bobbin in the machine, make sure that the bobbin is properly lined up with the shuttle. This will ensure that the bobbin thread will be released from the bobbin in the correct direction. Additionally, you’ll want to make sure that the thread is winding in a clockwise direction and that the bobbin’s end is facing outward. Once the bobbin is lined up properly and the thread is winding in a clockwise direction, the bobbin should be ready to go.
Troubleshooting Problems
If your bobbin is not functioning properly, there could be a few different factors at play. For example, if you are having difficulty wind- ing the bobbin or the thread is not winding correctly, it could be caused by a faulty bobbin or a tension issue. If the bobbin is skipping stitches, this could be due to a worn or bent needle or incorrect thread tension. If you are not sure what the problem is, you can always refer to the product manualor contact a sewing repair technician for further assistance.
Using a Specialty Bobbin
The process of winding bobbins and inserting them into a Brother sewing machine can vary slightly depending on the type of specialty bobbin being used. Specialty bobbins are a great way to add texture and interest to your sewing projects. They come in a variety of colors and textures and can be used on most Brother sewing machines. It is important to consult your product manual or search online to ensure you are selecting the right type of bobbin for your machine, as some specialty bobbins may need to be wound manually in a different way.
Storing Bobbins Properly
When loading a bobbin onto a Brother sewing machine, it is important to ensure that the bobbins are stored properly in order to avoid any damage or tangling. A great way to store bobbins is in a plastic organizer, as this will make them easier to find and keep them safe from dirt or dust. You’ll also want to make sure that the thread is wound tightly and in a clockwise direction, as this will help to prevent the bobbin from becoming tangled.
Developing Sewing Skills
Learning how to work with bobbins on a Brother sewing machine is a great way to advance your sewing skills and help you create beautiful and unique projects. With a bit of practice and some patience, it won’t take long before you are a pro at winding bobbins and inserting them into a Brother sewing machine.


