Getting Started
Learning how to sew on a sewing machine can be daunting at first, however with practice and by acquiring the right knowledge it can be a fun and rewarding way to create handmade garments and become an experienced seamstress. To do so, understanding the basics, such as which fabrics to use, the correct stitches for the material and which presser feet are compatible with the machine are integral for successful sewing.
The first step is making sure you have the correct material to sew. Different fabrics require different stitches. When selecting a fabric, firstly it’s important to check whether it’s a natural, man-made or a blend of different fabric types. Marking the grains of the fabric, such as the straight grain, cross grain, bias and nap is essential so you can pin, cut, and press pieces before sewing.
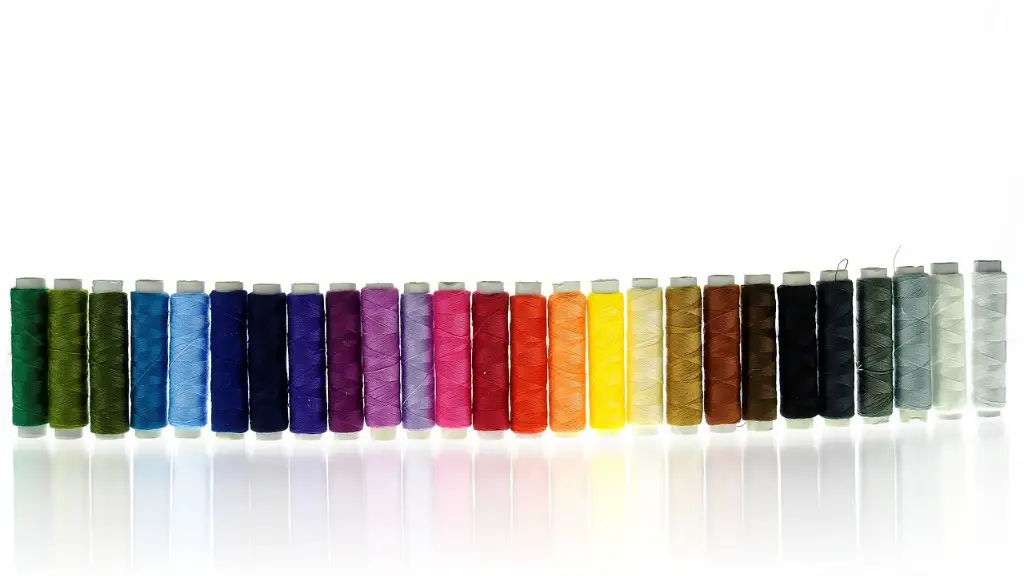
Next, the right needles and thread should be selected and the machine set up. Threads come in two types, polyester and cotton. When sewing a garment, it is best to use polyester thread as it is a much stronger material and holds up better when washed. As for needles, choosing the correct size for the fabric is important. If a needle is too small, it can cause skipped stitches; if the needle is too thick, it can create uneven stitches and damage the fabric. It is also important to check the tension settings on the sewing machine so that the bobbin thread and the top thread intertwine properly.
After this, choosing the right stitch is essential as it can determine the outcome of the project. While there is a wide selection of stitches on a sewing machine, the most commonly used stitch is the straight stitch. With the presser foot lowered, it is used to stitch two pieces of fabric together. Other popular stitches include the zigzag stitch, which is used to finish the edges of fabric and prevent fraying, and the blind stitch, which is used to hem invisibly.
Understanding Presser Feet
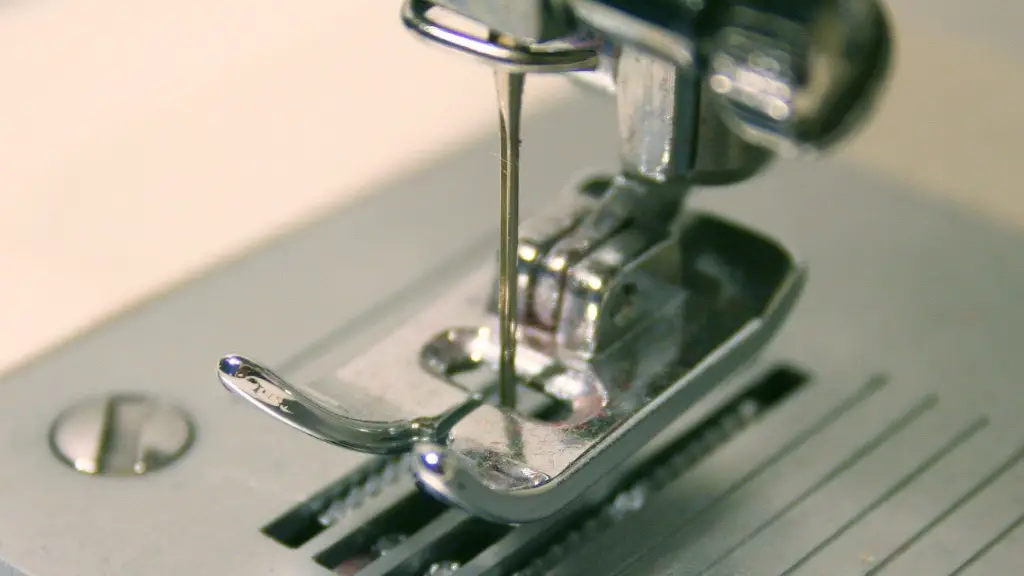
Sewing machines come with several presser feet, all designed for different functions. The most commonly used presser foot is the universal presser foot, which is usually attached to the machine when purchased. It is used for most sewing projects, from straight stitching to reverse stitching. Additionally, the zipper foot and the buttonhole foot are essential for projects involving these components. The zipper foot sits in a position allowing for the needle to sew close to the zipper teeth, allowing for a better zipper installation. The buttonhole foot creates a neat hole for buttons to attach.
Moreover, understanding different seam allowances is also important. Seam allowances are the gap between a cut piece of fabric and the line of stitching. It is a crucial component in clothing construction; its measurement affects the overall fit of the garment. Seam allowance is especially important when constructing garments such as trousers or fitted garments. The most common seam allowance is 5/8 inch and will generally suit most garments.
Finally, to sew a garment on a machine, it is important to sew accurately. This helps to ensure the garment is the perfect fit and looks the most professional. To ensure accuracy, start with one piece of the fabric first and sew a few inches, then check the stitches to make sure with the seam allowance and stitches are accurate. This way, any mistakes can be quickly corrected.
Inserting Zips
Zips are essential for creating garments and can often be seen in dresses, skirts, trousers, and jackets. To insert a zipper evenly and accurately, it is important to understand the basics. Firstly, make sure the teeth of the zipper lie flat, with the zipper pull towards the garment edge. Then use the zipper foot to attach the zipper, sewing from the top of the teeth to the bottom. It is important to back stitch at the beginning and the end of the stitching line.
Many zippers are finished to match the fabric and blend in with the garment but there are also other ways to add trims around the zipper. This is done by stitching lace, ribbon or other decorative fabric. Before attaching any trim, make sure the zipper is in the open position so it can be finished off neatly. Once the trim is attached, the zipper must be tested to ensure the fabric and trim do not interfere with the zipper pull.
In addition, when inserting a zip, the stitching line should always be symmetrical. To achieve this, sew the zipper from both sides, making sure the seams meet in the middle. This will give a neat finish and help the zipper to close perfectly.
More Advanced Techniques
When learning to sew, the more difficult techniques may seem daunting at first. However, with enough practice and patience, there are many more advanced techniques you can learn. Machine embroidery is a great way to add texture and color to garments, such as cushions and reading pillows. Engaging any of the pre-programmed designs or creating your own is a great way to express your creativity.
Moreover, learning how to fit a sleeve into a garment is another advanced technique. To do this, start by placing the sleeve into the armhole of the garment and matching the notches. Then, gently gather the top of the sleeve and pin it, easing it towards the armhole. After this, sew the sleeve into the garment and finish the edges with a zigzag stitch or a serger.
Additionally, sewing pleats into a garment is a great way to add design and style. There are many different types of pleats, such as box pleats, kick pleats and accordion pleats. To sew these, firstly measure and baste the pleat in place, and then sew a straight stitch along the top. Finally, to finish the pleats press them with an iron and use steam if necessary.
Attaching Buttons
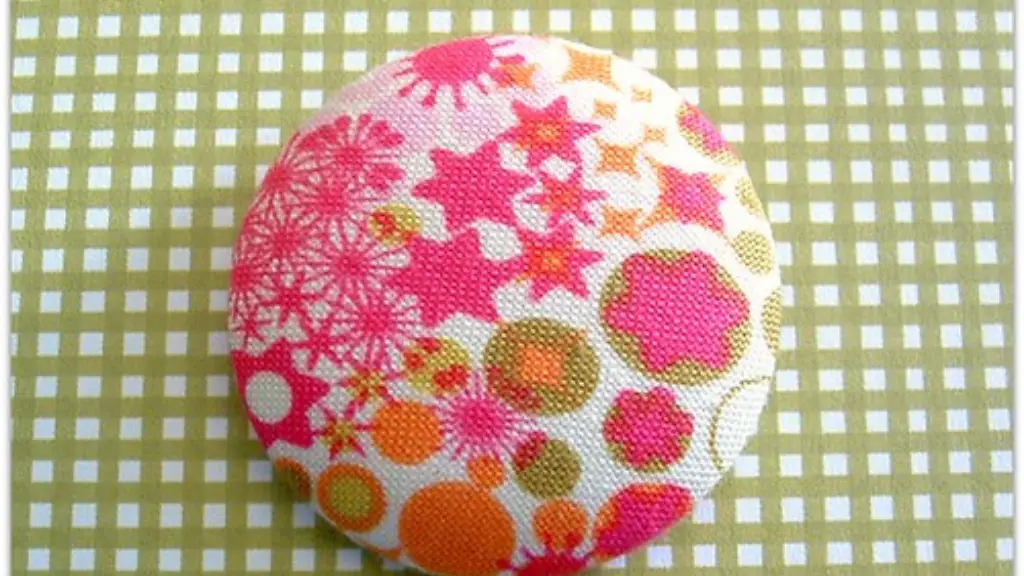
Buttons are most commonly used to close fronts or accents, such as pockets and cuffs. In order to correctly attach them to the garment, a buttonhole foot should be used. To begin, measure the placement of the buttons with a measuring tape, mark the spot with a marker, and then attach the button onto the marking. Once this is done, the buttonhole foot should be attached to the machine and set to the widest buttonhole length. To create the buttonhole, stitch back and forth until it is finished.
When attaching the buttons, use the same thread used to make the buttonhole. This will help the button to stay in place. Additionally, when attaching the buttons, it helps to have a thimble for safety. This will help to push the needle through the fabric and through the button, ensuring the button is secure. Finally, after the buttons are attached, give them a few test pulls to make sure they are properly secured.
Finishing Tips
When sewing a garment, the finishing is a very important step. To make sure the garment is professionally finished, use an overstitch or a zigzag stitch to neaten the edges. This helps to ensure that the seams do not fray while washing or wearing the garment. In addition, a steam presser should be used to straighten the seams and fabrics. This will help remove any wrinkles that may occur in the fabric, giving the final product a sleek and polished look.
Additionally, when sewing garments, the topstitch is essential for a professional finish. The topstitch creates a neat edge on the seams, making them look neat and tidy. To further enhance the look of the garment, use a contrasting thread for the topstitching. This will add a decorative effect to the apparel.
With practice and patience, sewing on a sewing machine can be mastered. There are many skills to learn from understanding the materials and their properties, to creating perfect seams and beautifully finished garments. Additionally, complex techniques can be practiced and perfected in order to master the skill of sewing.
Tapestry Sewing
Tapestry sewing is an art form that combines sewing techniques with special stitches for decorative effects. To make a tapestry, one should start by transferring a pattern onto the fabric. After this, ditch and stem stitches are used to create the outlines. To fill in the pattern, basic running stitches, French knots, and Lazy Daisy stitches can be used. Additionally, couching is a great way to add texture and color to the tapestry. It consists of stitching the fabric onto the tapestry while following the pattern.
To strengthen the tapestry stitches, a heavy foundation or material is used to back the fabric. The stitches hold the fabric onto the foundation, creating a beautiful and intricate piece. Furthermore, the edges of the tapestry are finished using hemstitch or an over stitch. This will stop the fabric from fraying and ensure the tapestry looks neat and finished.
Finally, understanding the unique types of needles that can be used in tapestry sewing is important. Tapestry needles are used to add texture and color to the fabric with smooth and even stitches. Embroidery needles are used for more intricate and decorative stitches, such as French knots. Additionally, chenille needles have sharp ends and large eyes, making them perfect for use with heavy fabrics, such as wool.
Embellishment Techniques
When making a special garment, it is always a good idea to add some embellishments. This can be done with a variety of materials, such as ribbons, beads, sequins and feathers. All these elements can be used to add texture and color to a garment, making it look unique and interesting.
To apply beads onto the fabric, use a beading needle and thread. This will ensure the stitches are even and secure. Additionally, a thimble is very useful when inserting the needle into the fabric, as it can be somewhat difficult. When sewing on beads it is important to use the right thread, one that is strong enough to bear the weight of the bead.
In addition, using sequins, lace and ribbon for decoration is also a great way to add a special touch to a garment. To apply these, an overstitch or a zigzag stitch can be used to attach them to the garment. When attaching the embellishments, an iron-on adhesive is often used to give a neat and polished finish. This will also help the embellishments to stay in place while the garment is washed or worn.
Finally, adding feathers to a garment can be a fun and creative way to make something unique. To do so, firstly measure and mark the fabric to the desired length and width. Then, use a strong thread to apply and sew the feathers onto the desired area. Additionally, an iron-on adhesive can be used to keep the feathers in place Safely. The addition of feathers can add texture and color to any garment, giving it a creative and charming twist.
