General Maintanence
To ensure a long life for your Singer sewing machine, it is important to keep it clean. The main component of cleaning your sewing machine is general maintenance. Each time you finish using it, gently wipe away any lint or excess thread that may have built up. Additionally, you should oil the machine, although this may not always be necessary. If you haven’t used the machine in a while, you will want to lubricate it with a sewing machine oil.
Be sure to place the machine on a flat surface. Do not ever keep the machine in a place that is very hot or very cold as extreme temperatures can damage the machine and its parts. Furthermore, be mindful of where you keep the machine when not stored in its original box as it can accumulate dirt and dust. Never keep the machine near water or open flames.
It is also important to establish a routine and follow it when cleaning your Singer sewing machine. Make sure to check if any of the components need to be replaced due to wear or age. You may also want to vacuum out any nooks and crannies. Additionally, you should periodically clean the hook and feeder. Do not forget to replace bobbins, needles, and other parts as needed.
Cleaning the Bobbin Area
The bobbins and bobbin case are important components of your Singer sewing machine, and keeping them clean is essential. Before you proceed with cleaning, be sure to disconnect the machine from the electricity. Next, open the bobbin case and check if there are any fibers stuck in between. If so, carefully use a soft-bristle brush to clear it away. Additionally, inspect the bobbin itself and the surrounding area for lint or debris that needs to be removed. If need be, use a folded piece of paper towel or a damp cloth to remove lint and dirt.
Once you are done wiping the area, lightly oil the bobbin case and bobbin area. Be careful not to over-oil it, as this can reduce the friction and grip of the machine which will negatively affect your sewing. Furthermore, re-oiling the bobbin area should happen occasionally, and it isn’t necessary to do so every time you use the machine.
Cleaning the Bed Plate and Foot Pedal
The bed plate is the part of the machine that is used to link the bobbin area to the foot pedal. Given that lint and other small particles can often get trapped in the grooves and crevices of the bed plate, it is important to clean this area regularly. Start by disconnecting the machine from the electricity. Then you can use a soft-bristle brush to remove any lint or debris from the bed plate.
On the other hand, the foot pedal is used to control the speed and power of the machine. To clean it for any dust or debris, use a damp cloth and gently wipe the pedal. Make sure not to use any abrasive material as this can permanently damage the foot pedal. If the pedal has any stuck-on dirt or debris, use rubbing alcohol to loosen it and then wipe away.
Cleaning the Feeder
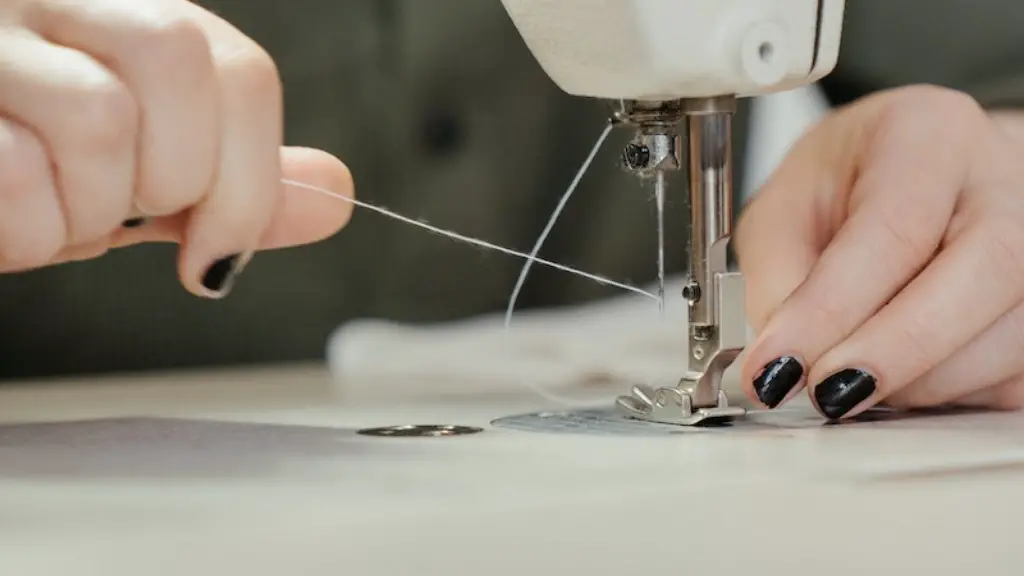
The feeder of the Singer sewing machine is used to regulate the speed and flow of the needle. It is a very important component and must be kept free of dirt and lint. To clean the feeder, start by disconnecting the machine from the electricity and removing the upper thread so that the feeder is exposed. Then, use a soft-bristle brush to gently remove any thread and lint that may have built up. Once complete, lightly oil the feeder.
Once you’re done cleaning the feeder, re-thread the machine and tuck the thread tails into the feeder. Then, check if any of the thread guides are stuck or not operating correctly. If so, use a small screwdriver to adjust the components and make sure that the feeder is working properly.
Cleaning the Hook
The hook of the Singer sewing machine is the part that holds and guides the upper thread. Dust, lint, and other small particles tend to accumulate around the hook and this can interfere with the machine’s performance. To clean the hook, start by disconnecting the machine, and then use a soft-bristle brush to remove any lint and debris. Be sure to be gentle and not apply too much pressure while brushing as this can damage the hook and cause it not to work properly.
Once the hook is free of debris, lightly oil the area. Do this by placing a couple of drops of sewing machine oil on the hook and rotate it several times. Then, you must use a soft cloth to completely remove any excess oil. It is important not to use too much oil, as this can reduce the machine’s grip which will prevent your thread from having tension.
Cleaning the Motor
The motor of the Singer sewing machine is responsible for powering the machine. Routinely cleaning and maintaining the motor is essential to preventing over-wear and even machine failure. To start, disconnect the machine from the electricity and clean the motor housing of any lint or dirt. Do this with a soft-bristle brush and, if need be, a damp cloth.
After the motor has been given a light cleaning, use a motor brush or air blower to remove any excess lint. Additionally, oil the motor with sewing machine oil. Once again, it is important not to over oil, as this can reduce the machine’s grip. Additionally, periodically check the voltage and current of the machine and make sure that they are within the suggested range.
Keeping The Machine’s Exterior Clean
In addition to cleaning the internal components of your Singer sewing machine, the exterior parts should not be forgotten. While a damp cloth can be used to clean the cabinet, it is recommended that you use a special cabinet cleaning product specifically made for sewing machines. This will help to ensure that the paint job of the machine is not damaged by the cleaning solution.
Be mindful that the product does not get into any of the crevices of the machine, as this can damage the motor or other components within. Additionally, keep away the cleaning solution from the machine’s components, or it could cause them to become damaged or cease functioning.
General Tips For Cleaning A Singer Sewing Machine
When cleaning your Singer sewing machine, it is important to follow certain guidelines. Before you begin, make sure to turn the machine off and disconnect it from the electricity. Additionally, do not use harsh cleaning products as they can damage the internal components. Furthermore, it is important to oil the machine and its components periodically, however, be cautious not to over-oil as this can lead to less friction and grip.
When cleaning or changing any components of the Singer sewing machine, ensure that you are using components that are designed for the machine. Using the wrong components can cause your machine to malfunction. Furthermore, if you have any questions or have trouble understanding the instructions, consult with a professional or your user manual. Following these guidelines will help to ensure a longer life and the highest level of performance for your machine.
Carrying Out Necessary Repairs
If your Singer sewing machine needs repairs, it is always best to contact a qualified technician. No matter how experienced you are at sewing, it is important not to try and repair the machine yourself. This is because Singer sewing machines can be very intricate and complicated devices, often requiring specific replacement parts. Trying to fix a Singer sewing machine without the right parts can actually do more damage and be more costly. Moreover, technicians are trained in specific methods of repair and often have special tools to carry out the work. Therefore, it is best to leave repairs to the professionals.
On the other hand, it is still a good idea for you to take a look at the machine to see if there are any signs of damage or malfunction. This way, you will be able to inform the technician of the problem before they arrive. Additionally, carrying out a few simple maintenance steps, such as cleaning and oiling, can also go a long way in ensuring the longevity and performance of your Singer sewing machine.
Regularly Checking Relevant Components
Regular maintenance is key when it comes to keeping your Singer sewing machine in optimal condition. Therefore, it is important to routinely check that all of the relevant components are in good working order. This includes checking the foot pedal and the machine’s voltage and current levels. Additionally, regularly inspect the hook, feeder, bobbins, and bobbin case for any wear and tear. If you notice any parts that are not functioning correctly, make sure to contact a qualified technician as soon as possible.
Furthermore, when replacing components, always remember to use parts that are designed for the Singer sewing machine. Mixing and matching components from different machines can lead to mechanical failure, so it is important to always use the correct components. Keeping your machine running in optimal condition will help to ensure that it lasts for a long time and that you are able to get the most out of your sewing machine.
