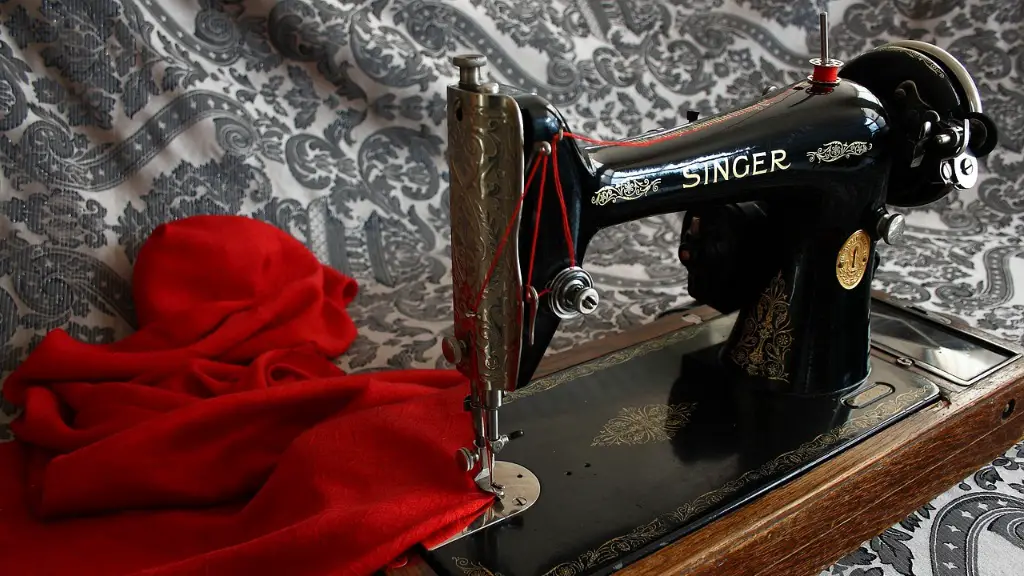
Working with the Singer Machine
Filling the bobbin on a Singer sewing machine can be daunting, especially for new sewists. It’s a critical part of each sewing session, and understanding the nuances of the process can make it a smooth operation. This article explains how to make the process easier.
To get started, it’s important to know what type of machine you’re working with. Singer machines use two different types of bobbins: metal and plastic. Metal bobbins are used for both straight and Singer Decorative Stitch machines, while plastic bobbins are mainly found in the Singer Simple machine. Depending on your model, it may even take a different shaped metal bobbin.
Regardless of the type of bobbin you have, inserting the bobbin into the machine is relatively straightforward. For metal bobbins, find the spool pin and clip the bobbin onto the knob. Gently wrap the thread around the bobbin, and pull it back over the thread guide. From there, slide the bobbin into the bobbin case, and make sure the thread runs in a clockwise direction. If you’re using a plastic bobbin, you’ll need to remove the bobbin case from the machine. Open the lid, remove the shuttle, and insert the bobbin into the shuttle. Close the lid and move the shuttle back into place.
The next step is winding the bobbin with thread. To do so, hopefully your Singer sewing machine comes with a handy workbook. This workbook should have a diagram of the bobbin winding process and provide information on how much tension to use. If your machine lacks a workbook, make sure to spool thread onto the spool pin, making sure there’s enough of excess thread to wrap around the bobbin case a few times.
After wrapping the thread around the bobbin case and your bobbin, press the bobbin spinner on your machine. As the thread winds up, keep an eye on the spool, making sure there’s an even tension. Once the bobbin is full and tight, press down the lever to stop the spinning. For some models, a special bobbin winding plate needs to be inserted. Be sure to consult your owner’s manual if you’re not sure.
Assuming everything is working correctly, your bobbin should now be full and ready to use. Make sure to remove any excess thread from both the spool pin and the bobbin case. Lastly, put the bobbin case back into the machine to complete the process.
General Maintenance
Filling the bobbin is the one of many important activities you’ll do when it comes to Singer sewing machine maintenance. In addition to filling the bobbin, you should also routinely inspect the needle and tension check the thread.
A Singer sewing machine needle is a critical component and should be changed regularly. Needles can become blunt over time, making it difficult to get a clean stitch. Furthermore, a blunt needle can cause your thread to fray, resulting in poor stitch quality. In general, experts recommend replacing the needle after every 10 to 15 hours of sewing time.
Thread tension is another common challenge sewists face. Tension is used to regulate the flow of thread, allowing for even stitches and clean seams. Thread tension should be checked every time you use the machine, as over time it can become too loose or tight. Consult your manual for the correct tension setting, or if needed, the Singer technical service center can help adjust your tension.
Finally, it’s also recommended to oil your machine regularly. It may sound daunting, but it’s important to make sure your Singer sewing machine is operating as it should. Most Singer machines use oil with a consistency of 10W-20. If you’re not sure how to oil the machine, check with Singer’s technical help or contact your local sewing shop.
Cleaning Tips
If your machine is dirty or dusty, it’s important to keep it clean. Not only will this help prevent dirt and dust from accumulating on the fabric, but it will also prolong the life of your Singer sewing machine. The key is to start with a dry cloth and use a specialty cleaning solution to get rid of any stubborn dirt.
Be sure to read the cleaning instructions provided in the user manual. Singer recommends avoiding cleaning with traditional household cleaners, as they can be harmful to the machine. Also, Singer machines come with a cleaning brush so you can get rid of the stubborn dirt and lint inside the machine’s body.
Run the brush through the different areas of the machine and make sure to reach under the needle plate, as this can collect a lot of lint over time. Once you’re done, use a damp cloth and mild solvent to polish the machine. Be sure not to use harsh chemicals, as these can cause damage to your machine.
Storing Your Machine
It’s not just filling and cleaning your Singer sewing machine that requires care and upkeep. It’s also important to make sure your machine is stored properly. When not in use, make sure the machine is covered and kept in a cool, dry place. This will not only prolong the lifetime of your machine, but also help maintain its performance.
Whenever you’re moving your Singer sewing machine, never lift it by the head or body. Instead, make sure to securely hold the machine from the bottom of the body, as this will reduce the risk of losing any necessary components. Furthermore, take the time to store your accessories, such as extra bobbins, scissors, and spare needles, in a dry place.
Upgrading Your Machine
Finally, if you’re looking to upgrade your Singer sewing machine, your first stop should be the internet. There are numerous websites and forums dedicated to Singer machines, so take the time to do some research. This is an especially helpful option if you’re looking to buy a used Singer machine, as you can read reviews from other users, as well as get advice from more experienced sewers.
When in doubt, contact your local Singer dealership. A rep there should be able to provide you with helpful information about the various models available, as well as any applicable warranties or promotional packages. Make sure to be specific about what you’re looking for, and make sure you ask to receive a demonstration of any machine you’re interested in.
Conclusion
Filling the bobbin on your Singer sewing machine does not need to be a difficult task. Once you’re familiar with the process, you’re just a few steps away from starting your project. In addition to filling the bobbin, don’t forget to clean and oil the machine regularly, and also take the time to inspect the needle, as well as check the tension.
If you’d like to upgrade your Singer machine, make sure to do your research, and reach out to a local dealer if needed. Lastly, always make sure to store your machine in a cool, dry place and lift the machine securely whenever you have to move it.


