Quilting has gained popularity in recent years, but how to finish a quilt with a sewing machine might seem daunting to newcomers to the craft. This article will explain the different steps involved in sewing a quilt, from preparing the fabric to constructing the quilt sandwich and finally, to the quilting itself. Proper steps will create a strong, lasting quilt that is suited for all sorts of activities, from snuggling up with on the sofa to adding a meaningful piece of art to a home, quiltmaking has something for everyone.
1. Gather the Materials
The gathering of materials is the first, and oftentimes most fun, step in quiltmaking. Quality quilts start with quality fabrics, so select good quality cotton material with a low thread count. Batting is another important factor to consider, as it will affect how heavy or light the quilt is when finished. Lastly, choose thread to match the fabrics in color, strength, and material. Make sure the thread is the right weight for the job and is made of a material that will not break or fade.
2. Cut the Fabric
For a traditionally pieced quilt, cut the material into strips and squares that are accurate in size and shape. One of the biggest mistakes made by inexperienced quilters is to not precisely measure and cut the fabric to the desired shape and size. If the measurements are off from the beginning, the quilt will not come together properly.
3. Assemble the Quilt Sandwich
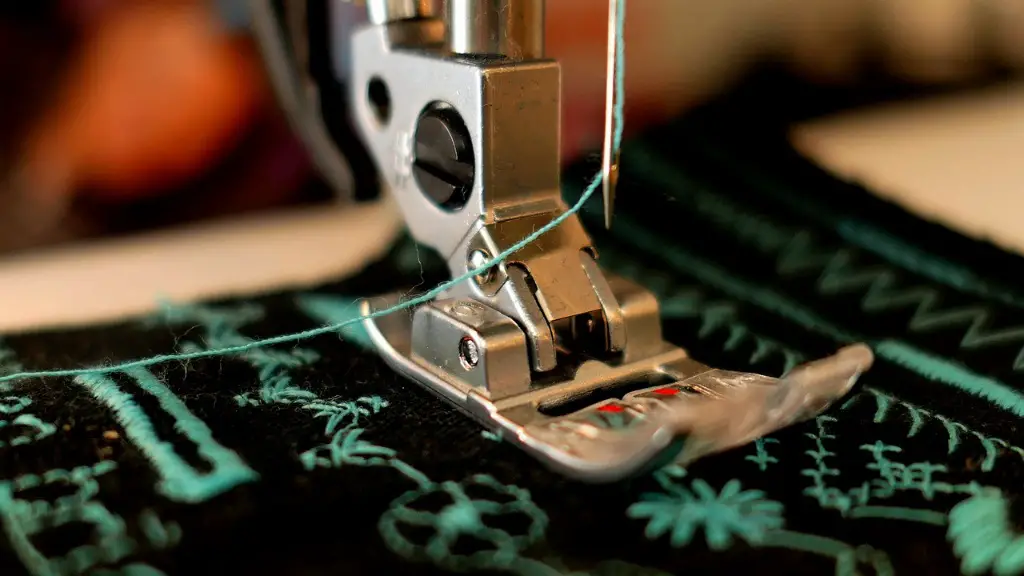
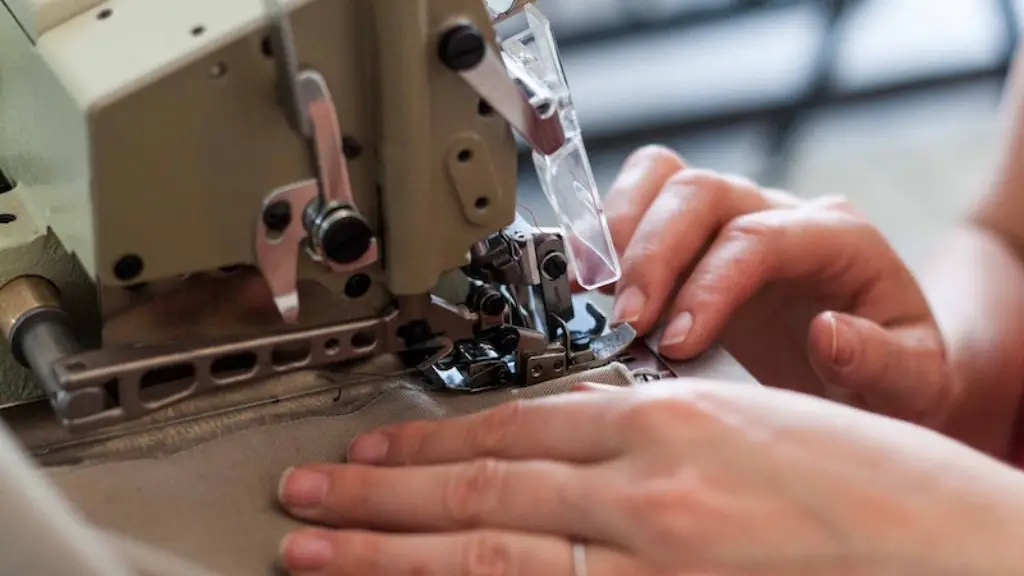
The next step involves the assembly of the classic quilt sandwich – a top layer of fabric, a middle layer of batting, and a backing of fabric. Secure the layers together with pins and a walking foot to ensure even feeding through the machine as you sew. When the sandwich is complete, use a rotary cutter or shears to trim the edges.
4. Quilting the Quilt
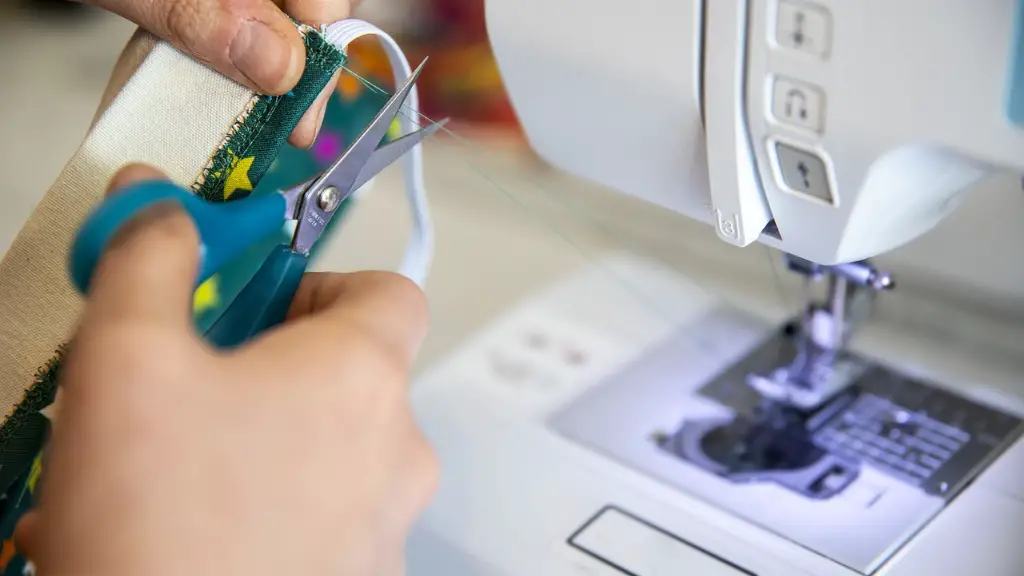
The quilting process is the most time consuming of all the steps, but it is also the most rewarding. Start quilting the layers together, making sure to keep the stitches even and in a straight line. Use a walking foot to ensure even feeding and never backstitch at the end of a line. Once quilting is complete, use scissors to trim the excess threads and batting from the edges of the quilt.
5. Finishing the Quilt
Now for the final steps. Begin by binding the edges of the quilt with fabric strips. Secure the strips to the edges with pins and sew them in place. Once the binding is complete, stitch a label onto the quilt to identify the maker, the date the quilt was finished, and any other pertinent information. Finally, give the quilt a good press to ensure the fabrics lay flat and the seams are secure.
6. Caring for the Quilt
Good quilts are made to last, so it is important to know how to properly care for them. Quilts should only be washed when necessary and should always be washed in cold water. Use a mild detergent and avoid any type of fabric softener that can damage the fabrics. Hang the quilt to dry and avoid placing it in a dryer as the heat and motion may distort the quilt.
7. Essential Tips and Tricks
Quiltmaking can be a tricky craft, and it takes practice to achieve professional-looking results. A few important tips to remember when working on a quilt include measuring twice, using the right needles, and testing scraps of fabric when beginning a new project. Taking the time to learn proper techniques is an essential part of the process, and will result in beautiful quilts that will be cherished for years to come.
Detail Your Quilt
Just like other sewing crafts, adding details to a quilt adds texture, interest and personality. Whether it’s a quilt label, applique, buttons, or embroidery work, adding visual details to a quilt is a great way to make it unique and special. Embroidery can be added once the sandwich has been quilted and finished, so if you plan on adding details be sure to leave enough time for them.
Mixing Up the Quilt Pattern
If you’re feeling adventurous, mixing up quilt patterns can create unique quilts that are sure to turn heads. In addition to mixing different blocks and fabrics, you can also add interesting accents like piping, ric rac, and more. And don’t forget the lace! Adding vintage pieces of lace that have special meaning can be the perfect personal touch to your quilt.
Tacking on Extras
After the quilt is finished, consider tacking on a few extra elements. Adding small pieces of fabric around the edges or stuffing a pocket or two is a great way to customize your quilt and make it more versatile. Consider adding pockets for dolls, books or blankets, or even a pouch for a remote control or a cell phone to make your quilt even more functional.
Quilting for Charities
Finally, don’t forget about the charitable aspects of quilt making. After your masterpiece is constructed, consider donating it to a local charity or organization. Quilting for charities is a great way to share your love of quilting with others and help those in need. Giving back to the community is a wonderful way to express gratitude for your craft and to help others.


