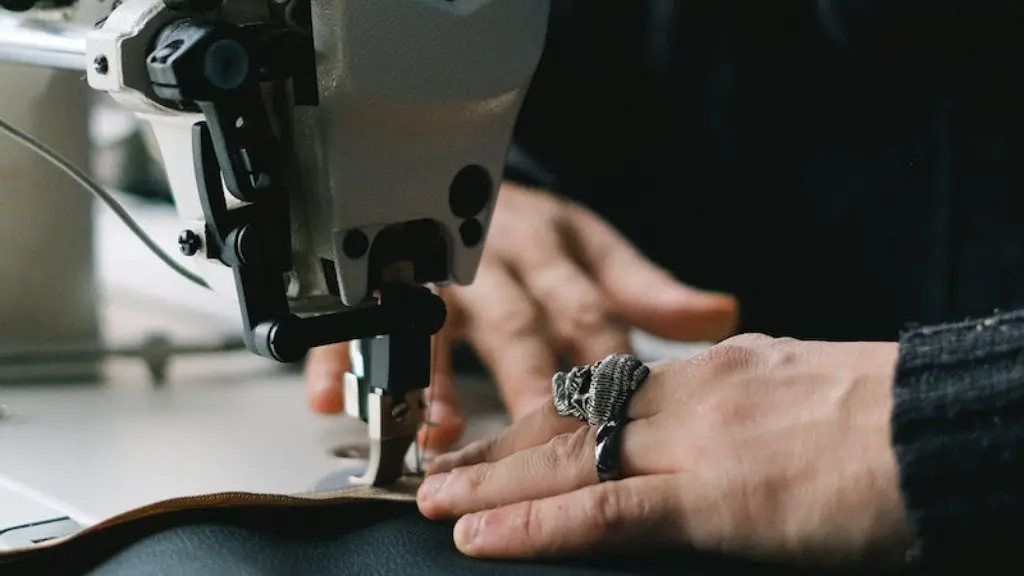
As any seamstress or seamster knows, the proper finishing of seams within garments can make all the difference between a successful completed garment and a shoddily-made one. While many techniques for achieving a well-sewn seam are available, utilizing a sewing machine for the task can ensure even and professional-looking stitches. With a sewing machine and a few basic supplies, anyone can learn how to finish seams like a pro.
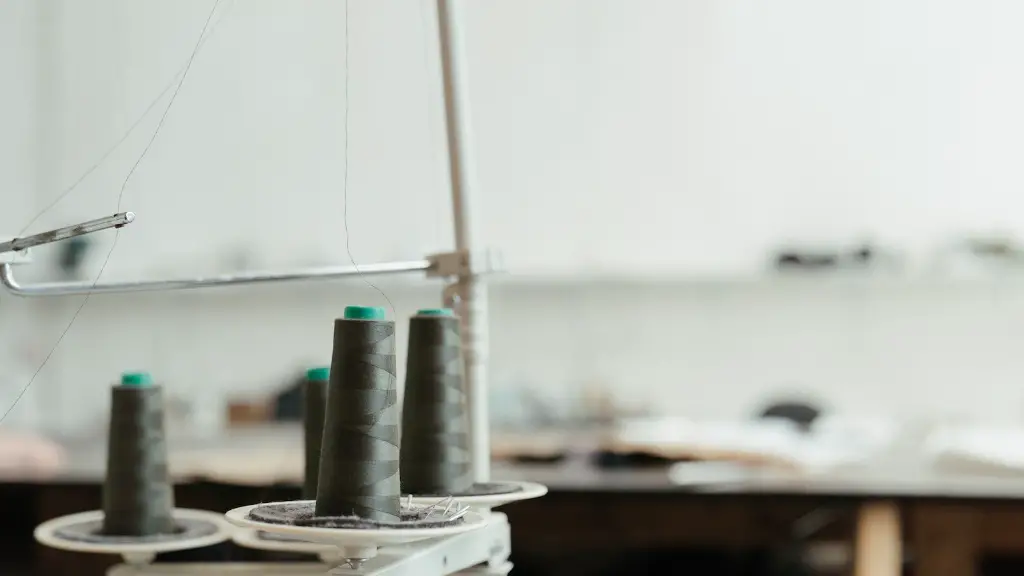
First and foremost, knowing the proper way to thread the machine is paramount. Reviewing the machine’s user manual or consulting with the manufacturer’s online support materials can help beginners understand the process. In general, start by looping the thread through the first tension control wheel, and then feed the thread into the needle. Finally, bring the thread back through the last wheel, and let enough thread hang outside the machine such that it can be used as the running thread for the seam.
For sheer fabrics and those made with delicate materials, it is best to opt for a narrow 2-step or 3-step or even a triple stitch. In a 3-step stitch, the machine will stitch two small stitches first, followed by a larger permanent stitch. This is known to provide a better hold than a single stitch and creates a tight-yet-flexible seam. It is important to note, however, that these types of stitches cannot be applied to heavier materials, as the stitches might not remain intact under stress.
Since no two fabrics are exactly alike, the seamstress must understand the type of fabric and adjust the tension and the pressure foot on the machine according to the fabric requirements. On delicate fabrics, lower the tension and raise the presser foot, while on heavy fabric, almost double these measures. Test the stitching on scrap fabric to get the proper calibration of the machine’s stitching.
No matter the fabric, to create a stitch that will not unravel, a backstitch is necessary. To produce this, sew normally for about 1 inch; reverse the machine for about 2 or 3 stitches, then sew forward for another inch or so. This will cause the thread to loop around itself, creating a stronger, lasting stitch.
Using a professional machine can certainly make any seams look professional and neat. However, for projects that are finished by hand, a seamfinish should be applied. This does require cutting off the excess fabric and reduces the total seam allowance, but it provides a polished, uniform look that is essential to the construction of a garment.
Join Seams
When joining two pieces of fabric together with a sewing machine, the seam allowances should be offset by one another in order to prevent bulk. Seam allowances differ depending on the fabric, pattern, and type of seam and can range from 1/2 inch to 3/4 inch. Matching the seams at the edges to ensure a neat look, then straight stitch the seams together just past the edge.
The same techniques for offsetting for a regular seam are applicable for joining two seams together, but ensuring that the two seam allowances match up and pinning them so that they stay in place will provide even better results. For example, when joining two shoulder seams, the edges should be aligned to ensure the seam lines are equal, with the larger seam allowance being placed on the bottom. At the stitch line, line up the edge and baste it together with a longer length, as this will help keep the seam pair together as it is stitched.
To keep the seam together more securely, a French Seam finish can be applied, which further reduces bulk by enclosing all raw edges between two seams. To begin, place the two pieces of fabric together with wrong sides facing each other, then stitch the seam at 1/4 inch from the raw edge. Next, turn the fabric wrong side out and press the seam. Then fold the fabric again, enclosing the rough edges within the seam, and press a crease. Then stitch the seam, close to the folded edge.
Reinforcing the seams of garments is also a crucial step in joining seams that can prevent future tearing and fraying. This is achieved by utilizing stay-stitching, which is a single line of straight stitching that is 1/8 inch to 1/4 inch away from the seam line, allowing the garment to maintain its shape.
Facing and Hemming
Facings and hems are also common sew-finishes that provide strength and wearing comfort to garments. Facings are small pieces of fabric sewn onto an area, such as a zipper, button, or pocket, to provide a finished look and reduce bulk. To apply a facing to a project, cut the desired size from the fabric, then turn the facing wrong side out, and press the two raw edges together. Then, pin it to the area in which it will be applied, with the right side of the facing facing up.
Finally, sew the facing into place around the edges just beyond the raw edges. For a neat finish, press the seam, then turn the facing right side out and press again. For best results, it is important to apply interfacing or stabilizer to the facing before sewing, as this will help it to stay in place.
Hems are used to finish the raw edges of a garment, usually trousers or skirts. While everyone has their own technique, a good method to follow is to press the bottom edge of the garment up to the desired amount, marking the fold with a ruler or tailor’s chalk. Then, pin the hem into place, and sew a single line of stitching along the folded edge, beginning and ending with a backstitch. To guarantee a neat finish, press the hem again before wearing.
Buttonholes
Making buttonholes can be quite difficult and time-consuming, but with a sewing machine it can be a breeze. Where most machines come with an automatic buttonhole feature, there are also machines that require a special buttonhole foot which can be purchased for cheap. If this foot is available on the machine, the machine can indicate the points at which it should start and stop sewing. The foot will ensure the buttonhole is even in width and secure in its location.
First, secure a scrap piece of fabric to the machine bed, on top of which the buttonholes will be sewn. Then, set the buttonhole type on the machine. Depending on the size of the buttonhole, the stitches can be set wider or narrower. After choosing the stitch size and setting the width and length of the buttonhole cording, begin stitching at the point indicated by the machine.
To ensure a professional-looking buttonhole, the stitch should start along the cord’s edge. When the final edge is reached, the machine will make an extra bar tacking stitch, which will secure the cording in place. As a final flourish, it is recommended to press the buttonholes on the right side of the fabric and thread a ribbon or other decorative material through the buttonholes.
Button and Button Makers
In addition to buttonholes, the proper application of buttons is also integral to the construction of any garment. Buttons can be sewn on by hand or with a sewing machine, but regardless of the method the same steps must be followed: the buttonholes must be completed first, and then the buttons can be sewn on securely with a neat finish. With a sewing machine, use two strands of thread for each attachment, one for the shank, and one for the back button.
Buttons can also be made with a button-maker machine, which is designed specifically to make perfectly-sized buttonholes and attach the buttons securely in one go. Both hand- and machine-operated devices are available, and thus any seamstress can produce professional-looking buttons and buttonholes with the press of a button.
For an even more unique look, metal buttons and clasps, intricate trimming, or metal thread can be used to adorn the garments in various creative ways. With the use of metal clips and press studs, for instance, the garment can be keep securely closed and still look elegantly finished. Similarly, beaded lace or metal thread can be used to create a decorative hemline or edging on a dress, bag, or more.
Embellishments and Embroidery
The sewing of formative embellishments can be an important step in any sewing project, further elevating a simple garment into an intricate piece of art. Many forms of embroidery, including crewel, cross-stitch, and beading can be used to add colours, textures and patterns to a garment.
Embellishments can be sewn with a decorative thread, such as metallic thread for a shiny look, or variegated thread for a colourful one. Beads can be stitched onto heavier fabrics or applied onto the fabric with a heat seal glue, depending on the fabric’s look and feel. Similarly, customised appliques can be hand-stitched for a fun and unique touch.
For a modern look, machine embroidery can also be utilised. This is achieved by creating a digital pattern and transferring it onto a machine-specific stitch card or by downloading a purchased pattern into the machine’s software. When stitching is complete, the fabric with the embroidered pattern can be applied as is, or it can be cut and cut-away fabrics can be discarded.
Finishing Touches
The last step in any sewing project is the “finishing touches.” This includes pressing the garment, steaming out the seams, flipping the fabric after it has been sewn, overcasting raw edges and ends of fabric together to prevent unraveling, and more. Steaming is particularly important, as it helps to form the seams and gently lifts the fabric, adding shape and definition to the garment. If a shallow cut is needed, such as on a raglan or a neckline, lightly clipping and overcasting can also be done.
Finally, for a crisp, professional-looking finish, trim off threads that are visible on the outside of the garment, being sure not to trim too close to the fabric. For a truly polished look, clothing labels can be added to the garment or fabric, further reinforcing the unique and satisfactory outcome of the project.
Finishing seams properly does take time and effort, but with the right supplies, knowledge and practice, anyone can produce neat, precise results and then proudly place the final garment in their wardrobe.
