Steps to Fix a Needle Threader on a Sewing Machine
Dealing with tangled threads can be a nightmare for a seamstress. Fortunately, sewing machines come equipped with needle threading devices, otherwise known as needle threaders, that make the process of inserting the thread into the needle considerably simpler.i
However, there can be issues related to needle threaders in sewing machines. The metal wire of the threader can break, rendering it useless. Fortunately, fixing the needle threader on a sewing machine is not a daunting task. Follow the simple steps below to get the task done quickly and effortlessly.
Step 1: Unthread the Sewing Machine
Start by unthreading the sewing machine from the spool of thread. This will make it easier for you to reach the threader, as well as preventing any accidental damage to the thread or needle threader.
Step 2: Examine the Needle Threader
Once the sewing machine has been unthreaded, examine the needle threader for any damage or debris that may have been lodged in it. If you spot any debris, use a pair of tweezers to carefully remove it. If there is damage to the actual threader, it will need to be replaced.
Step 3: Lubricating the Threader
With the threader free of any debris, it’s time to lubricate it so that it can function properly. Use a soft cloth and a lubricant such as sewing machine oil to do this. Gently rub the lubricant onto the threader until it is shining.
Step 4: Resetting the Threader
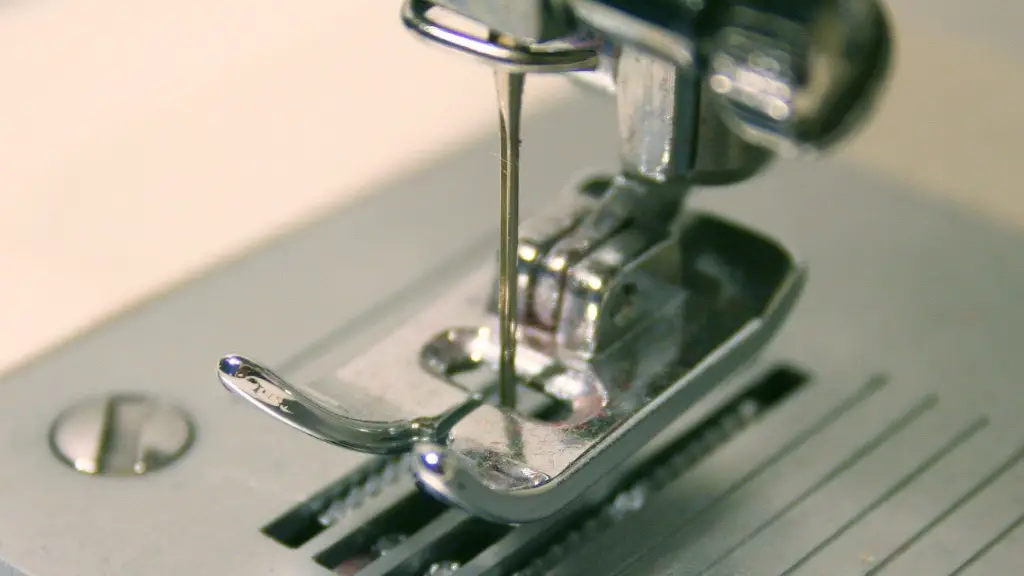
Now that the threader is clean and lubricated, it can be reset back into its proper position. There is typically a small catch that needs to be released in order for the threader to move freely. This can be done with a pair of tweezers or a small screwdriver, depending on the model of sewing machine.
Step 5:Threading the Sewing Machine
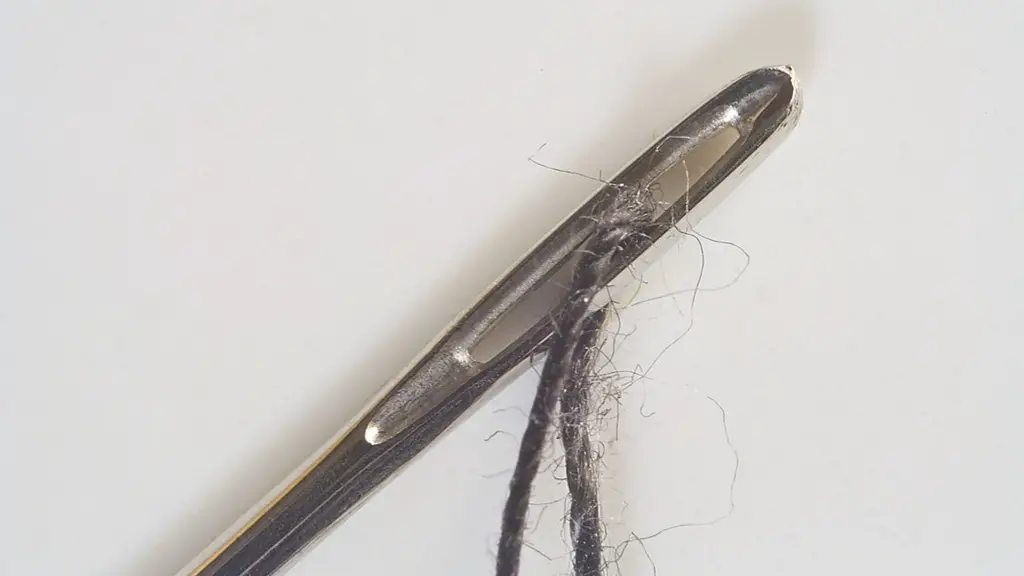
With the threader now fixed, it’s time to thread the sewing machine. Push the end of the thread through the eye of the needle threader before pulling the thread through the machine. This will prevent you from having to fiddle with the thread once it has been inserted into the needle.
Step 6: Reattach the Threader
The last step is to reattach the threader to the machine. This is usually a simple matter of pushing the threader in place and locking it in with the catch. Once this is done, the new threader should be working properly.
Step 7:Testing the Threader
Finally, it’s a good idea to test the threader to make sure it is working correctly. Use a scrap piece of fabric to test the threader before tackling any real pieces of sewing. This will ensure that the new threader is functioning as it should.
Tips to Prevent Damage to the Threader
When using a needle threader, it is essential to be careful and gentle, as any harsh movements can result in damage to the threader. Also, make sure to use a good quality thread and needle, as inferior quality materials can increase the likelihood of damaging the threader.
Maintenance of the Threader
To ensure the prolonged performance of the threader, it is important to perform regular maintenance on it. Before starting, unthread the machine, and then use a soft cloth and some lightweight oil to lubricate the threader. This will prevent it from seizing up and becoming stuck.
Understanding the Needle Threader
The needle threader is an incredibly useful device that can make the process of threading a needle much quicker and simpler. To get the most out of the threader, it is important to understand its various functions. Knowing how to properly use the threader, as well as how to fix it if it breaks, will make sewing much less frustrating.
Purchasing a Needle Threader
If the needle threader on your sewing machine has broken beyond repair, then you may need to purchase a new one. When shopping for one, make sure to check the compatibility of the threader with your sewing machine. Otherwise, you may find yourself with a threader that won’t fit properly or won’t work at all.
Replacing the Needle Threader
Replacing a broken needle threader can be a bit tricky and time-consuming. Firstly, find the appropriate threader for your sewing machine. Then unthread the machine from the thread, and unscrew the needle threader from the machine. Finally, attach the new threader to the machine and test it to make sure it is in proper working condition.
Conclusion
By following the steps outlined above, fixing a needle threader on a sewing machine should be a relatively straightforward task. If the threader is too damaged to be repaired, then a new one should be purchased. This will allow for easier threading, as well as ensuring the longevity of the sewing machine.


