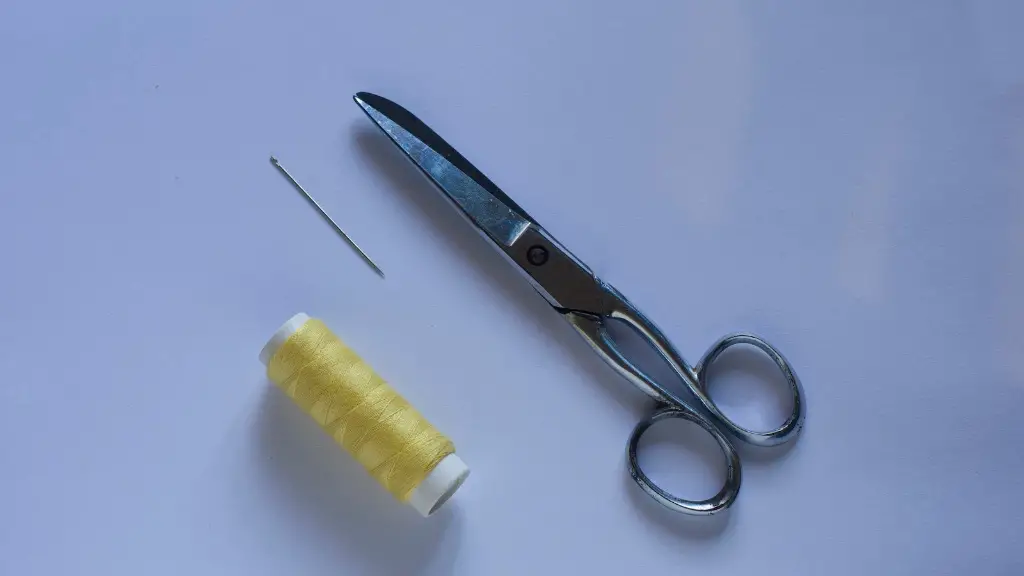
In order to pin a sewing pattern to fabric, you will need to gather a few supplies. First, you will need a straight pin and a pincushion. You will also need a tape measure and a piece of chalk. Finally, you will need your fabric and your sewing pattern.
Before you begin, you will need to wash and iron your fabric. This will help to prevent shrinking and wrinkles in your final project. Once your fabric is prepped, you are ready to begin pinning.
Start by folding your fabric in half, wrong sides together. This will make it easier to pin the pattern in place. Next, use the tape measure to find the center of the fabric and mark it with a piece of chalk. This will be your starting point.
Now, begin pinning the pattern to the fabric. Start at the center and work your way out. Be sure to use straight pins and pin the pattern in place securely. Once the pattern is pinned in place, you are ready to begin cutting.
When pinning a sewing pattern to fabric, it is important to use sharp pins and to place them perpendicular to the fabric. It is also important to pin the pattern pieces as close together as possible to avoid distortion.
How should you pin the pattern on the fabric?
When pinning a pattern to fabric, it is best to only pin through two layers of fabric at a time. This will help to keep the fabric from shifting. It is also important to pin into the pattern corners and perpendicular to straight edges. This will help to keep the pattern in place. When pins are placed inside the pattern lines, it will be easier to keep the fabric aligned.
If you are cutting two layers of fabric, the pattern pieces do not have to be placed printed side up. However, if you are cutting one layer, the pattern pieces must be placed printed side up and on the right side of the fabric.
What is the most efficient way of pinning fabric
When possible, the best way to keep fabric layers together before and during machine stitching is to pin perpendicular to the fabric edge instead of parallel. This will help keep the fabric from shifting and bunching up during stitching.
There are a few things to keep in mind when pinning fabric:
-Pinning too close to the edge of the fabric can cause the fabric to pucker when you sew. -If you are using a pattern, be sure to pin on the wrong side of the fabric.
-Pinning vertically is often used when working with bulky fabrics or when you need extra security that the fabrics will not shift when you sew.
-Horizontal pins are often used when working with lighter weight fabrics.
-When pinning two pieces of fabric together, be sure to insert the pins at an angle so that they cross each other. This will help keep the fabric from shifting when you sew.
-Always remove the pins as you sew so that you don’t accidentally sew over them.
What is the first thing to do before laying the patterns over the fabric?
It’s always a good idea to press your tissue pattern pieces before you lay them on your fabric. This will help to ensure that your pattern pieces lay flat and don’t have any creases in them. Simply set your iron to a low setting and press the creases out of your pattern pieces.
Pinning is a great way to strengthen the bond between two pieces of a model kit, especially if the kit is large or heavy. To do this, simply drill a hole in each piece you want to join, and then use a “pin” to connect them. This will help to keep the pieces together more securely, and will prevent them from coming apart easily.
Which is the best tool in securing pattern pieces on top of the fabric?
Using pins is the most common way to secure fabric when sewing. It is important to use high quality pins that are suited to your garment to avoid damage. Place the pins about a palm’s width apart, closer together if you’re working on a curve or with slippery fabric.
Sewing pins are a great way to keep your fabric together while you are working on a project. They are easy to remove when you are finished and they make it easy to keep your fabric in place while you are working.
Why do you pin the fabric before sewing
To use pins as temporary stitches, think about how you would want a stitch to hold your pattern pieces together. Place the pins in the fabric where you would like the stitches to be, and then remove them when you are finished.
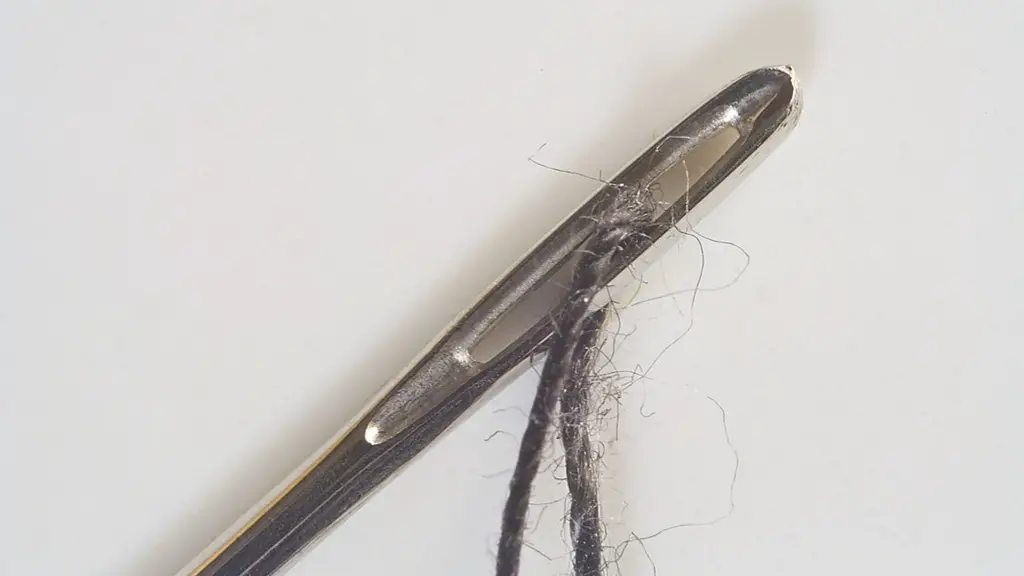
You can’t go very far in sewing without a few key tools. Straight pins are useful for holding fabric in place while you work. A pincushion is a great way to keep your pins organized and at hand. A seam ripper is essential for undoing mistakes. An iron and ironing board are necessary for pressing seams. A thimble protects your finger while you sew. Sewing needles come in a variety of sizes and types. Scissors are used for cutting fabric. Presser feet are attachments for your sewing machine that help with various sewing tasks.
How do you layout and pin a pattern?
When cutting your fabric for a sewing project, it is important to pay attention to the grainline of the fabric. The grainline is the direction of the yarns in the fabric, and can affect the drape and appearance of the finished project.
There are two main types of grainline layouts: with-nap and without-nap. A with-nap layout means that the fabric is folded lengthwise, with the grain running parallel to the fold. This is the preferred layout for fabrics with a nap, such as velvet or corduroy. Without-nap means that the fabric is folded crosswise, with the grain running perpendicular to the fold. This is the best layout for fabrics without a nap, such as quilting cotton or linen.
Whichever layout you choose, be sure to use weights or pins to anchor your pattern pieces in place. This will prevent them from slipping while you are cutting.
I love using tailors tacks to transfer pattern markings! It’s fast and accurate, and the markings are always easy to see and don’t rub off.
What are the 5 steps in pattern making
Following these five steps will help ensure that your pattern is accurate and well-fitted. first, gather all of your materials. This includes a tape measure, pattern paper, and a pencil. Next, take accurate measurements of your work space and your body. Then, add styles and designs to your pattern. This could involve adding darts, pleats, or gathering. Finally, grade your design. This means making sure that the pattern is the correct size and that all of the pieces fit together properly. Lastly, drape your garment. This step will help give your pattern its final shape.
To pin fabric, place the fabrics with the right sides together and use ball head pins. Weave each pin in and out of the layered fabrics, making sure that the point of the pin faces in towards the fabric center and the head of the pin extends over the fabric edges. Begin stitching the fabrics together, removing each pin just before the needle reaches it.
What are the types of pinning?
A straight pin is a type of pin that is used for a variety of purposes. They are commonly used to hold fabric in place while sewing or working on a project. Straight pins come in a variety of sizes and lengths, depending on their intended purpose. The most common types of straight pins are bridal and lace pins, patchwork pins, quilting pins, and silk pins.
Fabric weights come in all shapes and sizes, but they are most commonly used to hold a paper pattern in place when cutting out fabric. Weights can be made from a variety of materials, including metal, glass, or plastic, and are often filled with sand, rice, or beans to give them extra weight.
While fabric weights are not absolutely necessary for cutting out fabric, they can be very helpful in keeping your fabric from shifting ormoving around while you work. If you are cutting out a large piece of fabric, or if you are working with a particularly slippery fabric, weights can be a lifesaver!
What can I use instead of tailor’s chalk
A chalk pencil is ideal for use on fabric because the fine tip allows for precise lines and the chalk leaves a light mark that is easily removed.
There are different styles of pins, each with their own specific uses.
Flat Headed Pins, also called ‘no-head’ pins, are often used for generalpurpose applications such as holding together paper or fabric.
Plastic Headed Pins have a ball-shaped, plastic head which come in a variety of sizes and colours. These types of pins are often used for decorative purposes.
Glass Headed Pins are similar to ball-shaped plastic headed pins but with a glass head. These pins are also often used for decorative purposes.
Final Words
Cut out your pattern pieces and lay them on top of your fabric. Use straight pins to secure the pattern pieces to the fabric. Make sure to pin along all the edges of the pattern piece.
Pinning a sewing pattern to fabric is a crucial first step in sewing. By taking the time to pin the pattern to the fabric, you will ensure that your final product is accurate and looks professional. There are a few different ways to pin a sewing pattern to fabric, and the method you choose will depend on the type of fabric you are using. For lighter fabrics, you can use straight pins, while heavier fabrics may require the use of pattern weights. Whichever method you choose, be sure to take your time and pin the pattern securely to the fabric before getting started with your sewing project.
