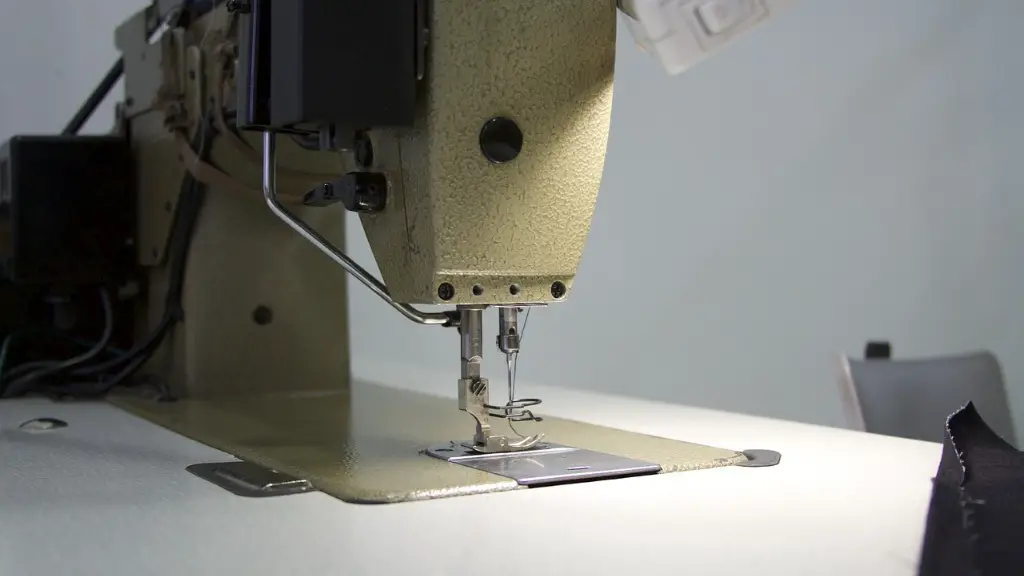
A serger sewing machine is an increasingly popular tool used by novice and experienced sewers alike. The versatility offered by these machines makes them a great addition to any sewing kit. However, if you’re experiencing problems with your serger sewing machine, you may be wondering how to fix it. Read on to discover how to diagnose and fix some common serger problems – so you can get back to stitching in no time!
Taking the time to properly troubleshoot the issues you are experiencing can help you pinpoint the source of the problem and save you a lot of time and expense. The first step is to check the manual for your specific model of serger, as it will explain how to repair and troubleshoot specific components. If you don’t have the manual, you can often find one online.
The best way to prevent problems with serger sewing machines is to properly maintain them. Take the time to regularly clean and oil the machine and make sure the bobbin area and other internal parts are working properly. This will help ensure your machine runs smoothly for lots of sewing projects to come.
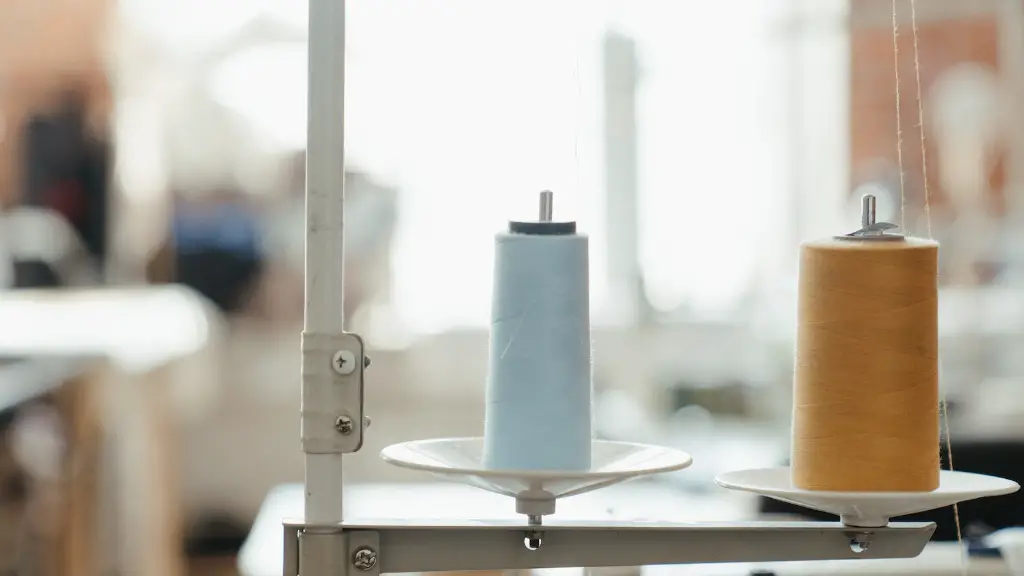
If you’re experiencing threading issues, the needle, loopers and thread guides should be cleaned and examined for any damage. If the threading is still not working, you may need to replace the upper or lower looper or needle. When replacing parts, use genuine parts made specifically for your brand and model.
Another common issue is fabric bunching and skipping stitches. If this is happening, it may be a tension issue or something wrong with the feed mechanism. If the tension is off, it may be necessary to adjust both the upper and lower tension. You may also want to check that the feed mechanism is working properly. If it’s not, it may need to be replaced or serviced.
If you’re having any issues with your serger sewing machine, there are a few simple things you can try before taking it in to a professional. First, make sure the machine is properly connected to a power source and the foot pedal is working. If the pedal isn’t working, check that it’s properly connected. If it still isn’t working, you may need to replace the pedal.
Feed Dog Problems
If your feed dog isn’t working correctly, the fabric may not be moving evenly. If this is the case, you may need to adjust the feed dog or replace it. However, this is best done by a professional who can properly adjust the parts and make sure everything is working correctly.
Using the Right Needle
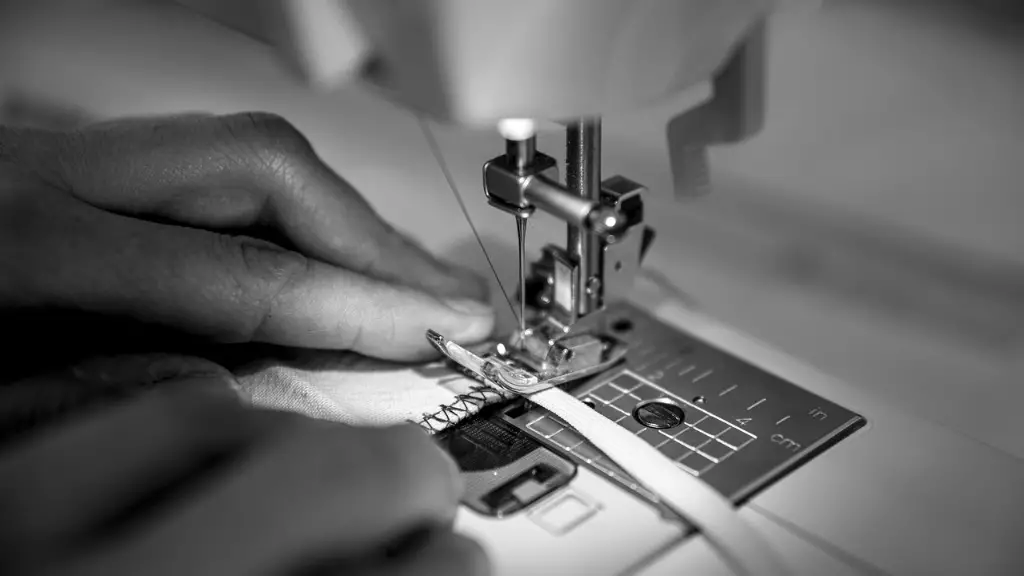
It’s important to use the right needle for the type of fabric and sewing project you’re working on. If you’re using the wrong needle or it’s too dull, you may experience skipping stitches or other problems. Make sure to use the proper type and size of needle for your fabric and project, and replace it regularly to keep your serger sewing machine running properly.
Timing and Alignment
It’s easy to knock the upper and lower loopers out of alignment and throw off the timing of your machine. If this happens, it can cause skipped stitches or other issues. The easiest way to fix this problem is to take the machine to a professional and let them do a deep cleaning and adjust the timing. This will help ensure your machine is operating at peak performance.
Bringing in the Professionals
Although there are many things you can do to fix serger sewing machines on your own, it is sometimes best to rely on a professional for more complicated repairs. Experienced and trained professionals can assess the problem and give you sound advice on the best way to fix it quickly and correctly.
Checking Common Sources of Interference
If your machine is no longer working, it may be due to electromagnetic interference. This type of interference can come from many sources, including electrical cords, cell phones and other electrical devices. To check if this is the cause of your machine issues, unplug all cords and turn off any nearby devices and then try to turn on your machine.
Storing Your Serger Sewing Machine
Proper storage is key to maintaining the quality of your serger sewing machine. Make sure to keep it in a clean, well-ventilated area, and away from any sources of extreme heat or cold. Additionally, you should oil and clean the machine before storing it for extended periods of time.
Test after Repairs
Once you have followed all the necessary steps in order to repair your serger sewing machine, make sure you test it. Double check the stitches, settings and tension to make sure everything is working properly. If you’re in doubt, take the time to redo any of the repairs – it’s better to double check than to have a problem later on down the line.


