Bobbin Thread Troubleshooting Tips
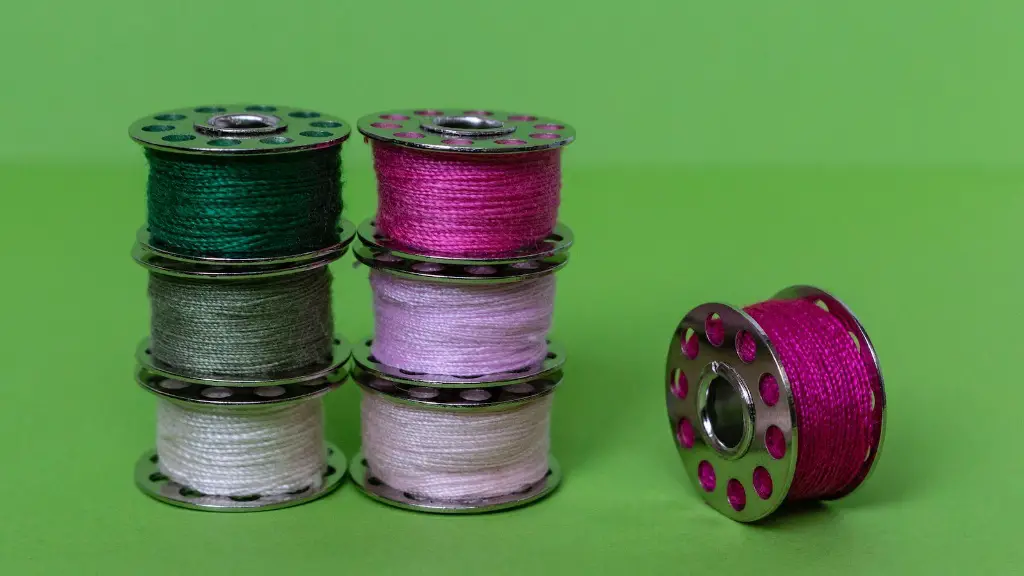
Bobbins are small spools of thread commonly found in sewing machines. They are tightly wound to provide a steady supply of thread for making a stitch. When putting a new bobbin in a sewing machine, learning how to thread it can be a confusing and tedious task. Here are some tips on how to thread a bobbin in your sewing machine and make sure it runs smoothly on your next project.
Step 1: Prepare Your Materials
Before you start threading your bobbin, make sure you have the right materials. For this, you’ll need a fresh, empty bobbin, the right size spool of thread, a pair of scissors, and a spool cap. The spool cap is necessary for winding the thread onto the bobbin. It’ll also help keep it from becoming tangled.
Step 2: Choose the Right Thread
When choosing a thread to put on your bobbin, make sure it matches the type of fabric you’ll be working with. For heavier fabrics like denim or canvas, a machine-made thread such as polyester or cotton is best. For lighter fabrics, like silk or chiffon, a natural fiber thread such as linen or silk is best.
Step 3: Wind The Thread Around The Bobbin
Once you have the right thread, you’ll need to wind it around the bobbin. The easiest way to do this is to put the spool of thread onto the spool cap and hold the bobbin up against it. Then, simply wind the thread around the bobbin in a counter clockwise direction. Make sure that you don’t wind the thread too tightly, otherwise it won’t move freely as you sew.
Step 4: Secure The Thread
Once you’ve wound the thread around the bobbin, you’ll need to secure it so it doesn’t come undone when in use. To do this, use a pair of scissors to snip off the end of the thread, leaving about an inch of extra to tie a knot. Once you’ve done this, wrap the tail of thread around the bobbin three or four times. Then, tie the thread into a loose knot. This will keep the thread in place no matter how much you move the bobbin around.
Step 5: Straighten The Thread
Once you’ve secured the thread, make sure to straighten it out. This will make it easier to thread the bobbin into the machine. To do this, simply pull the thread in a downward motion until it’s taut. Then, slide the bobbin between your thumb and index finger and gently roll the thread until it’s evenly wound around the bobbin.
Step 6: Insert The Bobbin Into The Machine
The final step is to put the bobbin in the machine. Machines have different ways of doing this. Most have a small bobbin case that you can pop the bobbin in. Others have a latch system that you have to press down and twist to secure the bobbin in place. Follow the instructions for your machine carefully to make sure you get it right the first time.
Tips For Care And Maintenance Of Bobbin Threads
Once you’ve put your bobbin in the machine, it’s important that you take care of it. Here are some tips for keeping your bobbin in top condition and making sure your thread remains tangle-free:
Store Them Correctly
Bobbins tend to hold onto dust and dirt, so it’s important to store them in a clean and dry environment. Keep your empty bobbins in an airtight container or bag, and if possible, store them in a cool, dark place. Also, avoid letting your bobbins get too warm as this can melt the thread.
Change The Size As Needed
Sometimes, the thread can get too tight or too loose. If this happens, you may need to adjust the bobbin size. If the thread wraps around the bobbin too loosely, you’ll need a larger bobbin and if it’s too tight, you’ll need a smaller one.
Clean Regularly
It’s important to clean your bobbins on a regular basis. This removes dust and dirt build up, which can cause issues when threading and sewing. To clean, simply dampen a cloth with an alcohol based cleaner and run it over the bobbin, paying special attention to the thread grooves.
Check Tension
When sewing, make sure to check the tension of your bobbin thread regularly. This will help prevent any issues from arising from the thread being too tight or too loose. You can do this by holding the bobbin to your chest and pulling the thread, which should feel comfortably taut.
Replace As Needed
Finally, if you find that your bobbin is too worn or damaged, it’s important to replace it as soon as possible. Worn bobbins can cause issues when stitching, such as skipped stitches or uneven stitches.
How To Change Bobbin Thread Colors
Sometimes, you might want to change the color of the thread you’re using. This can be a tricky process, so here are some tips that can help you get it right the first time.
Know Your Options
The first step is to know what type of thread you can use in your machine. Different machines have different types of thread, so make sure to check the manual for the type your machine uses and what colors are available.
Change The Thread Spool
Once you know what thread to use, change the thread spool. Unscrew the old thread spool and remove the bobbin from the machine. Replace the thread spool with the one you want to use and thread the new thread.
Place The Bobbin Into The Machine
The next step is to place the Bobbin into the machine. Most machines have a small bobbin case that you can pop the bobbin into. Others have a latch system that you have to press down and twist to secure the bobbin in place.
Thread The Bobbin
Using the new thread, wind the thread around the bobbin. For this, you’ll need a pair of scissors, the right size spool of thread, and a spool cap. Make sure that you don’t wind the thread too tightly, otherwise it won’t move freely as you sew.
Secure The Thread
Once the thread is wound around the bobbin, you’ll need to secure it so it doesn’t come undone when in use. To do this, snip the end of the thread and tie a loose knot. Slide the bobbin between your thumb and index finger and gently roll the thread until it’s evenly wound around the bobbin.
Test It Out
Once you’ve changed the bobbin thread, it’s important to test it out. Start by simply doing a few stitches on a spare piece of fabric. If everything looks good, you can start a new project with your new bobbin thread color.
Tips For Winding Your Bobbin Thread With A Sewing Machine
Winding a bobbin thread with a sewing machine is a necessary step for many projects. However, it can be a tricky task. Here are some tips for getting your bobbin wound correctly for your next stitching project:
Select The Correct Thread Spool
The first thing to do when winding your bobbin is to make sure you have the right thread. Make sure it matches the type of fabric you’ll be working with. For heavier fabrics such as denim or canvas, a machine-made thread such as polyester or cotton is best. For light fabrics such as silk or chiffon, a natural fiber thread such as linen or silk is best.
Wind The Bobbin By Hand
If you have a sewing machine with a winding function, then you can use that to wind the bobbin quickly and easily. However, if your machine doesn’t have this function, you can still wind it by hand. To do this, put the spool of thread on the spool cap and hold the bobbin up against it. Then, simply wind the thread around the bobbin in a counterclockwise direction.
Adjust Tension
If you’re winding a bobbin thread by hand, you’ll need to set the tension yourself. If you set the tension too tight, it will be difficult to thread the machine. Too loose, and the thread will unravel. To ensure the right tension, keep the thread taut while winding.
Check For Twists Or Kinks
When winding a bobbin thread, it’s also important to check for twists or kinks. If you find any, it’s best to unwind the thread and start again. This will ensure that the bobbin moves freely in the machine, which is necessary for it to work correctly.
Start The Machine
Once you have finished winding the bobbin and checking for any twists or kinks, you can start the machine. To do this, turn the machine on, select the bobbin thread supply and press the pedal. If you choose the correct settings, the machine should automatically wind the thread onto the bobbin.
Stop The Machine
When the bobbin is fully wound, the machine will stop automatically. At this point, turn the machine off and check the bobbin to make sure it has been wound properly. Make sure there are no kinks or twists in the thread and that it has been wound evenly and securely.
Store The Bobbin
Once the bobbin is wound correctly, it’s important to store it in the correct way. Bobbins tend to attract dust and dirt, so it’s important to store them in a clean and dry environment. Keep your empty bobbins in an airtight container or bag, and if possible, store them in a cool, dark place.
How To Check For Sewing Machine Bobbin Issues
When you’re sewing, it’s important to check your machine’s bobbin on a regular basis. This is to ensure that is in top condition and doesn’t cause any issues while stitching. Here are some tips to help you avoid any bobbin-related problems:
Check Thread Tension
Make sure to check the tension of your bobbin thread regularly. This will help prevent any issues from arising from the thread being too tight or too loose. You can do this by holding the bobbin to your chest and pulling the thread, which should feel comfortably taut.
Look For Kinks In The Thread
Bobbins can become twisted or kinked over time, which can cause your thread to become tangled or knotted. If this happens, it’s best to unwind
