Troubleshooting Sewing Machine Jams
Sewing machines are incredibly useful tools in crafting garments, accessories, home décor and more. However, they are complex machines and can be easily jammed. Jamming can occur due to improper sewing techniques, threading errors, issues with the fabric, and even simple problems like using the wrong stitch or needle size. Fortunately, there are several strategies that can be used to troubleshoot a sewing machine jam and help restore the machine to its original working condition.
Inspect the Machine
The first step in troubleshooting a jammed sewing machine is to inspect the machine itself. If the machine is properly threaded and the fabric is correctly inserted, any problems that occur could be caused by an issue with the machine. Possible issues could include an obstruction inside the machine, loose or broken parts, or a misaligned threading. To check for these, open up the machine and carefully inspect the moving parts for any irregularities. Finally, make sure to check to see if the feed dogs, which pull the fabric along, are properly lubricated, as an un-lubricated machine could easily jam.
Check the Fabric
If the machine is properly threaded and there are no obstructions, then it’s time to inspect the fabric. Often times using a fabric that is too stiff or thick can lead to jamming. To avoid this, double check that the fabric being used is of the correct weight and thickness specified in the pattern instructions. Additionally, be sure to pay attention to the grain of the fabric. The grain line indicates how the threads of the fabric are woven together and will affect how the fabric behaves when it’s fed through the machine. If the grain is running “up”, it could cause the fabric to bunch and potentially jam the machine.
Set the Pressure
Another factor that can lead to jamming is incorrect pressure settings. Every machine is designed specifically for certain types of fabrics, and the pressure settings should be adjusted accordingly. Most machines have a knob or lever that can be used to adjust the pressure, although it is a good idea to consult the machine’s manual for more specific information. An incorrect pressure setting can lead to skipping stitches, jamming, and other issues that can greatly disrupt the sewing process.
Try a Different Needle
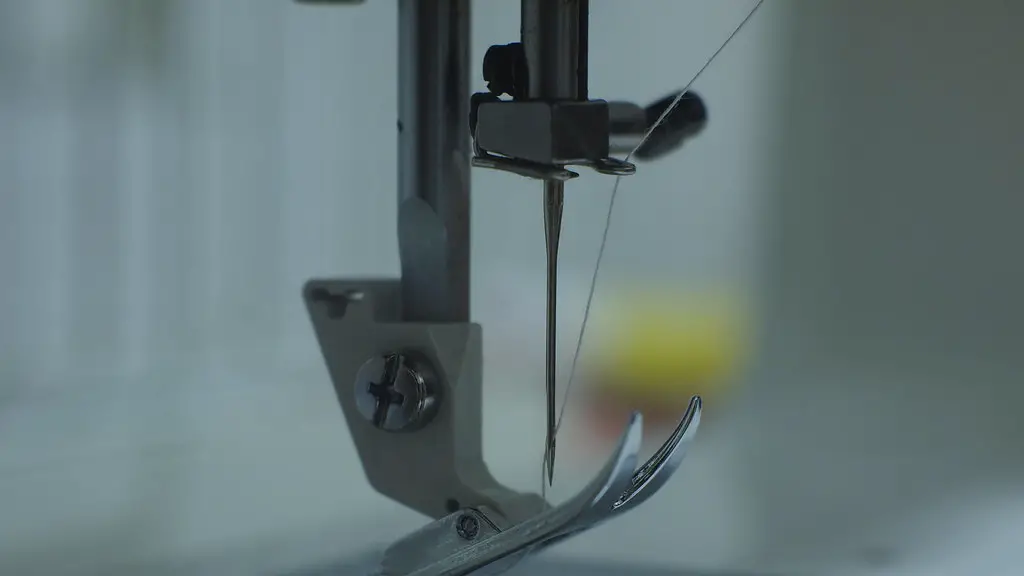
Needles come in a variety of shapes, sizes, and types and are specifically designed for certain types of fabric. Using the wrong needle can lead to needles breaking and jams occurring. To avoid this, always double check the needle size specified in the pattern instructions. If the problem persists, try switching to a needle specifically designed for knit fabric or heavier fabrics, as these needles are generally more durable and tend to cause fewer issues.
Adjust the Stitch Length
Another cause of jamming can be an incorrect stitch length setting. Many machines have a stitch length adjustment dial, which can be used to control the size of a stitch. A stitch that is too long or too short can cause issues as the fabric is fed through the machine. The ideal stitch length for most fabrics is 2.5-3.0 millimeters. Be sure to adjust the stitch length setting before beginning to sew, as incorrect adjustments can easily lead to jamming.
Check the Bobbin
The bobbin is the part of the sewing machine that holds the bottom thread and is responsible for making stitches. If the bobbin is not properly wound or inserted into the machine, jamming could occur. To check the bobbin, be sure to verify that the bobbin is properly wound, aligned, and inserted into the machine. Additionally, be sure to check for any obstructions, such as thread build up, that could be causing the jamming issue.
Switching Needles
Another easy way to troubleshoot a jamming issue is to switch to a ballpoint needle. Ballpoint needles are specifically designed for sewing on knit fabrics and will help to prevent needles from breaking and jamming. These needles are made with a rounded tip that is designed to push the loops of the fabric weave aside instead of piercing them, helping to reduce the risk of snagging and jamming.
Clean the Machine
Finally, it’s important to regularly clean the machine. Over time, lint, thread, and dust can accumulate inside the machine and cause obstructions that lead to jamming and other problems. To maintain the machine’s performance, it’s important to keep the machine clean. This can be done by regularly cleaning out the bobbin area, and other areas of the machine, with an anti-static brush. Additionally, it is important to regularly oil the machine, as this will help ensure the various moving parts are properly lubricated and can function properly.
Conclusion
Sewing machine jams can be a hassle, but with the right troubleshooting techniques, it is possible to resolve the issue quickly. From inspecting the machine, to checking the fabric and adjusting the stitch length, there are a variety of strategies that can be used to help prevent and fix sewing machine jams. Taking the time to understand the different components of the machine, and properly setting the machine up before beginning to sew, will help to ensure that the project turns out just as desired.


