From professional tailors to amateur seamstresses, a broken or malfunctioning sewing machine can create a headache and disrupt a project. Fortunately, while some sewing machine problems require professional help, many of them can be fixed using basic tools and understandings of the components of the machine.
To better understand how to tackle sewing machine problems and repair them, it’s important to acknowledge the main parts of a typical machine. These include the base of the machine, the needle holder, the bobbin case and the bobbin tension. It’s also important to recognize that there are many types of sewing machines so it is important to read the user manual for correct instructions about the model specific to you.
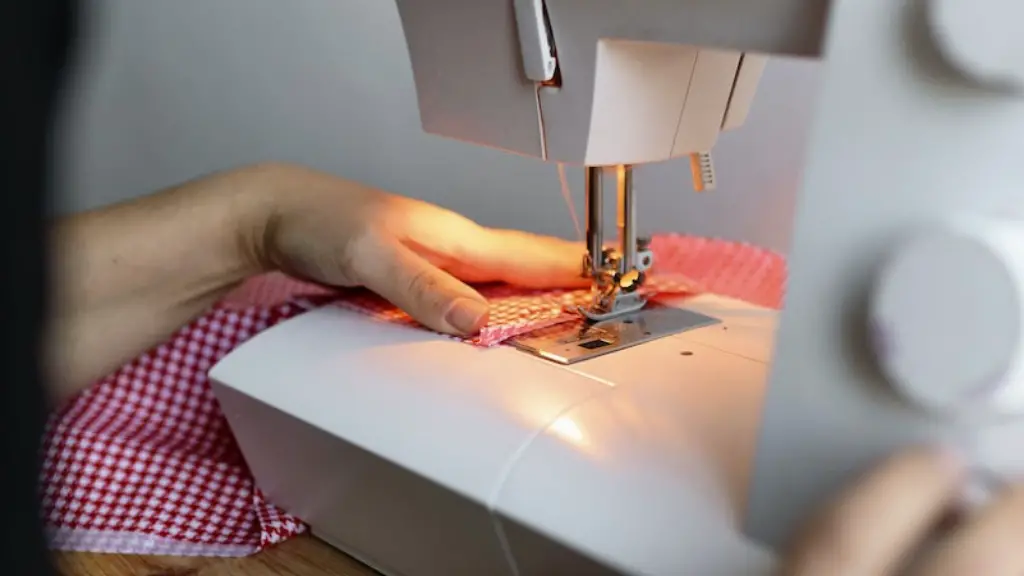
The main reason for any sewing machine problem is poor threading. The thread needs to go from the spool, then pass through the tension discs and then to the needle, finally exiting through the eye of the needle. In order to thread a machine successfully, start by placing the spool of thread on top, then looping it around the thread guide and over the tension discs. Now pull it through the lower slot until you can place it around the bobbin tension holder. Continue by pulling the thread down, through the bobbin case slot and then threading it through the hooked needle and up to the eye. Make sure you attach the bobbin thread to the presser foot and then adjust the tension accordingly.
Occasionally, the presser foot can become misaligned as it rests over the sewing material. If the presser foot is not at the same height as the machine’s plate, it can affect the stitch type and cause problems such as the needle breaking or becoming misaligned. To fix this, check to ensure the screw at the back of the presser foot is tightened correctly and the presser foot is level with the plate.
Sometimes the reason for a poor stitch can be because of a dull needle. A sharp needle should be changed every four to six hours of sewing as dull needles can cause skipped stitches, uneven tension and fabric damage. To check if your needle is dull, look for signs such as broken thread, uneven stitch formation and a rough feel at the end of the seam.
When troubleshooting, it’s important to first check the basic settings like the thread tension and the presser foot. If those settings are correct, the problem may be caused by the machine’s thread or needle. Make sure both parts are correctly threaded and the thread is always facing the same direction, otherwise, the needle and thread can become tangled and cause the stitches to become knotted and tangled. If the needle is not of quality then replace it as soon as possible and make sure to use the correct type.
Cleaning Sewing Machine Parts
Over time, dust, lint and sewing machine oil can accumulate, creating a pattern of broken stitches whenever the fabric is moved. To ensure your sewing machine continues to work properly it is important to clean the machine parts regularly to prevent any problems from occurring.
Start by removing the needle and the thread from the machine. Use a dry cloth and brush to clean away any lint and dust from the machine and check for any thread that may be caught. If there is thread caught, unthread or cut it away carefully using a pair of tweezers.
Next, remove the bobbin cover at the bottom of the machine to expose the bobbin. Refer to the user manual of your machine model to carefully remove it. Place the bobbin cover in warm water and let it sit for 30 minutes. Remove it and wipe away any excess soil.
Finally, use a sewing machine oil to lubricate the internal parts of the machine. Make sure to read the instructions that came with the oil to ensure you are using the right type for your machine.
Installing New Sewing Machine Parts
Sometimes sewing machine parts need to be replaced instead of repaired due to the outdated or irreparable nature of the damage. Fortunately, it is much easier to buy new parts compared to purchasing a whole new machine.
When it comes to replacing parts, it’s important to carefully read through the instructions or user manual provided to ensure you are using the right parts and tools. If available, it may also be helpful to watch a tutorial video or speak with a professional for more advice.
Start by making sure the machine is turned off and the power supply is disconnected. Now unthread the needle and remove the upper thread from the machine. Refer to the user manual of your machine model to carefully remove any parts that needs to be replaced. Take note of the order of the parts before disassembling them.
Once the parts are removed, compare the new parts with the old. Check for any differences such as markings and shapes. Ensure the part is the exact match to your model before installing it. Install the new parts one by one, making sure you place them correctly and properly connected.
Finally, test machine to confirm it works. Check for any simple problems like a tangled thread that could have been caused during re-assembly. Connect the power supply and start the machine. Check to ensure the needle and presser foot moves correctly and the stitch type and tension is correct.
Adjusting Feed Dog and Foot Pressure
Gunky residue, dust and thread can accumulate around the feed dog and cause stitches to break and skip. If you notice that your stitches are not forming correctly, it may be time to clean the feed dog and foot pressure mechanism. To do this, turn off the power of the machine and remove the sewing machine needle. Now, clean the residue away from the area and thoroughly dry the area. Use a brush to brush off any dirt that may be stuck in the crevices.
Now, lubricate the area with a piece of cloth and sewing machine oil to allow the feed dog to move more smoothly over the fabric. Next, adjust the foot pressure of the machine by inserting the screwdriver located in the back of the machine. Ensure that the pressure is around 10 kilograms to ensure the fabric is firmly held down.
Finally, check to ensure the stitch length is correct and consistent. To do this, hold the fabric tightly with one hand and pull the thread tail with the other. Pulling the thread tail allows the fabric to move more freely and will indicate any inconsistencies.
Other Maintenance Tips
Regular maintenance and cleaning of sewing machines is important for ensuring smooth and consistent stitches. This can be done by inspecting the machine’s settings, cleaning out the lint and oiling the moving parts.
A few simple maintenance tips can be extremely useful in the long term when it comes to preventing sewing machine problems. Make sure the machine is powered off when not in use to help avoid burning out the motor or jamming the needles. Additionally, inspect the machine periodically to check that all the parts and components are in good condition. Check for broken or bent wires, missing parts, and any other faults.
Another important maintenance tip is to always use high-quality fabric and thread. Low-quality fabric and thread can cause skipped stitches, uneven tension and poor stitches. Additionally, read the user manual for the correct settings for bobbin winding and tension settings.
Finally, remember to remove the foot from the machine when not in use and never store fabric or other materials inside it as this can cause the parts to jam and misalign.
Specialty Tools for Sewing Machine Repair
While there are basic tools that can be used to repair a sewing machine, it is also helpful to have specialty tools on hand in case of more complex problems. Sewing machine screwdrivers and hex keys are useful in tightening screws, screws which are often difficult to reach with regular tools.
Tweezers are also helpful for any needle or thread that has gotten tangled in the machine. Needle threaders are perfect for threading the needle – far quicker than using one’s fingers.
Clamps and pliers are also good tools to have when fixing sewing machine parts. Clamps help to hold fabric in place and pliers are great for tough threading.
Finally, an appliance brush and bent nose brush are the best tools to use when cleaning the lint from the machine. The bent nose brush is perfect for getting into tight spaces and the appliance brush is perfect for brushing away lint.
