Setting Up The Machine
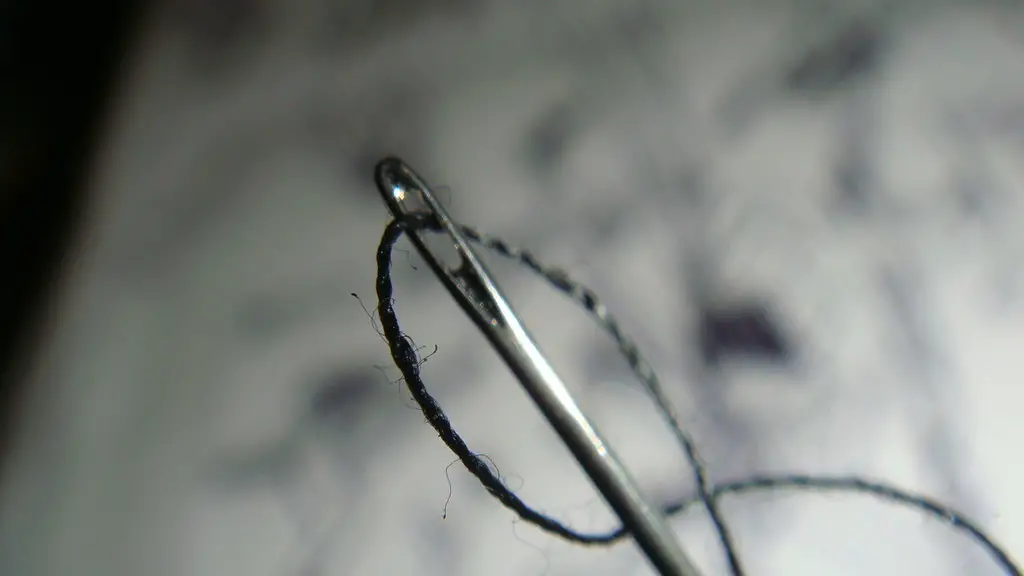
One of the most difficult problems with sewing is maintaining a consistent tension. Whether sewing by hand or machine, tension is essential to good stitching. Setting up, or tuning, the machine is the key to success. This process starts with the thread and the spool pin.
For machine sewing, start by selecting the right thread for the project. Always buy good quality thread; cheap thread will not give satisfactory results. Evaluate the type of thread and ensure that you have the correct spool pin on the sewing machine. In most machines, thread is fed from a spool from the top, the bobbin from the bottom and the needle from the side. Different types of spools require different types of spool pins.
Next, check the needle type and size. Selecting the correct needle for the job is essential to good stitching. Match the thread to the needle type for optimum results. When tension is correctly set, the thread should just slip under the presser foot as the needle moves it below the bottom of the pressure foot.
Finally, adjust the tension on the machine. Most machines have a dial to adjust the upper tension, but some have a thumbscrew. Then, start with a medium tension setting and adjust as needed. In general, lightly-weighted fabrics need a higher tension, while heavier fabrics require lower tension.
Testing The Tension
It’s a good idea to test your tension settings before starting a project. This ensures that they’re correctly adjusted and that the machine is in good working order. Begin by testing the upper thread tension. To do this, sew a few lines of straight stitching, stitching off the edge of a scrap fabric. As you sew, observe the back side of the fabric for the formation of stitches.
If the upper thread does not appear on the backside of the fabric or if there are loops, the tension needs to be adjusted. Increase the tension if the upper thread does not appear on the backside. If the backside has large loops, decrease the tension. It may take some trial and error to adjust the tension correctly.
Check the lower thread to see if it forms the same shape as the upper thread. If they do not form the same shape, increase the tension on the lower thread. Lower tension can be adjusted by moving the bobbin case closer to the bobbin tension spring or by moving the bobbin case away from the spring.
It may also be necessary to adjust the needle. Ensure that the needle is inserted properly into the needle bar and that the needle is the correct size for the type of thread and fabric. When the correct needle is used, the tension should be correct.
Tension Checks
Regular tension checks while sewing should help eliminate most tension problems. Slow down the sewing speed and follow the stitches on both the front and back sides of the fabric. This helps keep the thread tension balanced. If the tension is off, adjust it as needed. Keep in mind that the tension will change throughout the course of sewing, so it may be necessary to adjust it several times throughout the project.
When tension problems persist, check the needle and thread. Replace the needle and fabric often. The needle should be sharp and the fabric properly threaded to avoid tension issues. Old, worn needles and fabric that is frayed or not threaded correctly can cause problems with tension.
If the tension is still off, check for thread and lint buildup inside the machine. This can interfere with the tension control dials on most machines. If this is the case, consult the manufacturer’s manual for instructions on removing the buildup.
Troubleshooting
If all else fails, seek technical assistance from a qualified repair technician. This person can help troubleshoot the problem and suggest ways to adjust the tension. They may also suggest checking the machine’s calibration and balance, which may be the cause of the tension issues.
Before attempting any repairs, unplug the machine and take off any pressure feet. This will help prevent injury and keep the machine in proper working order. Once all repairs are complete, test the machine again before starting a project.
Additional Tips
Before beginning a project, check the thread and fabric, and adjust the tension accordingly. Slow down the stitch rate to observe the tension and make adjustments as needed. Over time, the machine adjustments can become loose, so regular maintenance is essential. Clean the machine, oil it, and check the tension control.
A thread tension problem often means that there is an issue with the machine, the fabric, thread, or needle. High quality thread, correctly threaded, and a fresh needle should go far in eliminating tension issues. Follow these steps and the sewing machine should run smoothly.
Using The Tension Dial
Most sewing machines feature a dial that allows the user to adjust the tension. The tension will affect the size of the stitch and the tightness of the thread. With most machines, the tension setting can be adjusted so that the thread is pulled more tightly or more loosely as it is fed through the machine.
To adjust the tension, set the machine to the highest stitch speed (if possible) and adjust the tension dial until the desired tension is achieved. When the thread is tightened too much, the stitches will be uneven. If the thread is too loose, the fabric may pull away from the thread.
It is important to test the tension before starting a project. Even with the adjustment dial, tension may be off due to machine calibration or improper threading. Test the thread on a scrap of fabric similar to the project, and adjust the tension accordingly.
Using Threads Of Different Weights
Sometimes, the tension on a sewing machine will need to be adjusted when using threads of different weights. Lightweight threads should be used with a higher tension, while heavier threads should be used with a lower tension. As a rule of thumb, the heavier the thread, the lower the tension should be.
If the tension is set too high, the thread may be pulled too tightly and cause the machine to jam. If the tension is set too low, the thread will not be secured to the fabric properly and the stitches may be loose. To adjust the tension, set the machine to a medium tension and test it. If the thread pulls too tightly, reduce the tension. If the stitch is too loose, increase the tension.
If the threads are of different weights, it may be necessary to adjust the dial in increments of one or two. Test the machine on a scrap fabric before starting a project to ensure that the tension is correct.
Using An Automatic Needle Threader
For those that are constantly struggling with threading the needle, an automatic needle threader can be a lifesaver. This device fits on the side of the machine and automatically threads the needle. The threader must be used in addition to the regular machine settings and can save a lot of time and frustration.
When using an automatic needle threader, the thread must be inserted correctly in order for the machine to work properly. The thread should be seated in the threader and the lever pressed. This will feed the thread into the needle and secure it correctly. It is important to check the tension before starting a project, just like with a normal needle.
If the tension is still off after using the threader, it may be necessary to adjust it manually. Refer to the manual for instructions on adjusting the machine tension.
Conclusion
Sewing is a skill that requires patience and practice. If the tension on a sewing machine is off, it can cause frustration and ruin the project. To ensure that the tension is correct, set up the machine properly. Check the thread and the needle before starting, and adjust the tension dial as needed. Regularly check the tension while sewing and make adjustments as needed.
When using threads of different weights, it may be necessary to adjust the tension. Test the machine on a scrap fabric before beginning a project to ensure that the tension is correct. Additionally, use an automatic needle threader to save time and eliminate any potential frustration. With the right settings, the thread should slip underneath the presser foot and the stitches will be balanced.
