Knowing how to successfully finish edges with a sewing machine is essential for any sewist. By correctly finishing edges, you will create a more professional looking garment that will last longer. It also helps to prevent fraying and adds stability. But it can be difficult work to get the best results. So for readers who want to perfect their edge finishing, here are some tips that can help.
Before you start working with your machine, you’ll need to gather some materials. You’ll need a sewing machine (obviously) and a few different presser feet. Your machine usually comes with plenty of presser feet, but it’s important to get them right for your project. Check the instructions that came with your machine to help you find the right presser feet. You’ll also need a variety of sewing threads and fabric scraps to practice with. Once you’ve got your materials, you can move on to the next step.
The first step is to measure the fabric you’ll be working with. In order to achieve the most accurate sewing results, you’ll need to measure your fabric twice. Once you have the right measurements, it’s time to cut the fabric. Use a measuring tape and scissors to cut straight lines through the fabric. This will give you a clean, even edge for better results.
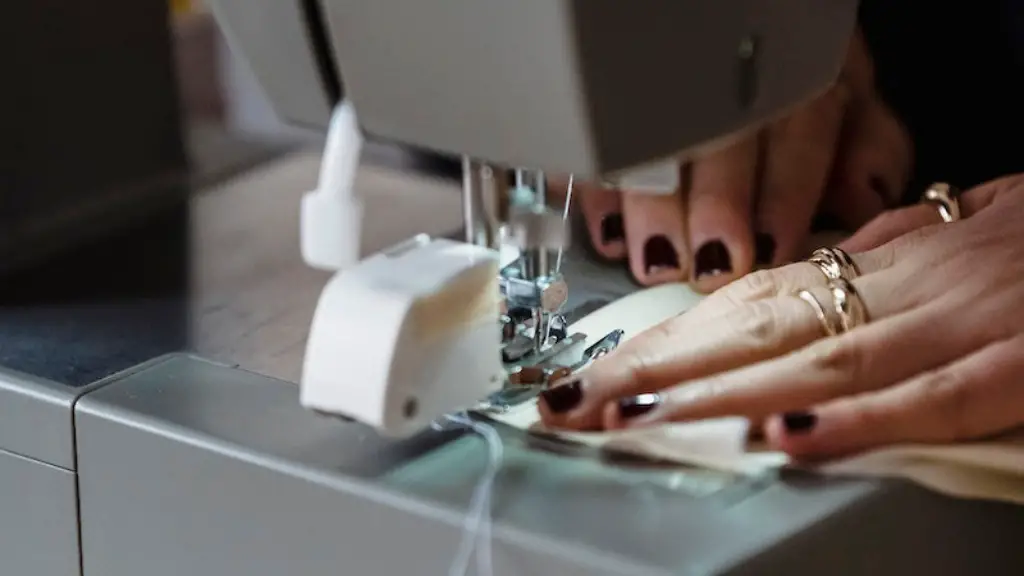
Now that you’ve cut the fabric, you’ll need to secure the edges so they won’t fray. This is where the presser foot comes into play. Each presser foot has a different use, so be sure to read the instructions carefully when you’re selecting the one you need. Then you can attach the presser foot to your sewing machine and start stitching the edges. Use a straight stitch to secure the edges and use a zigzag stitch for a more decorative look.
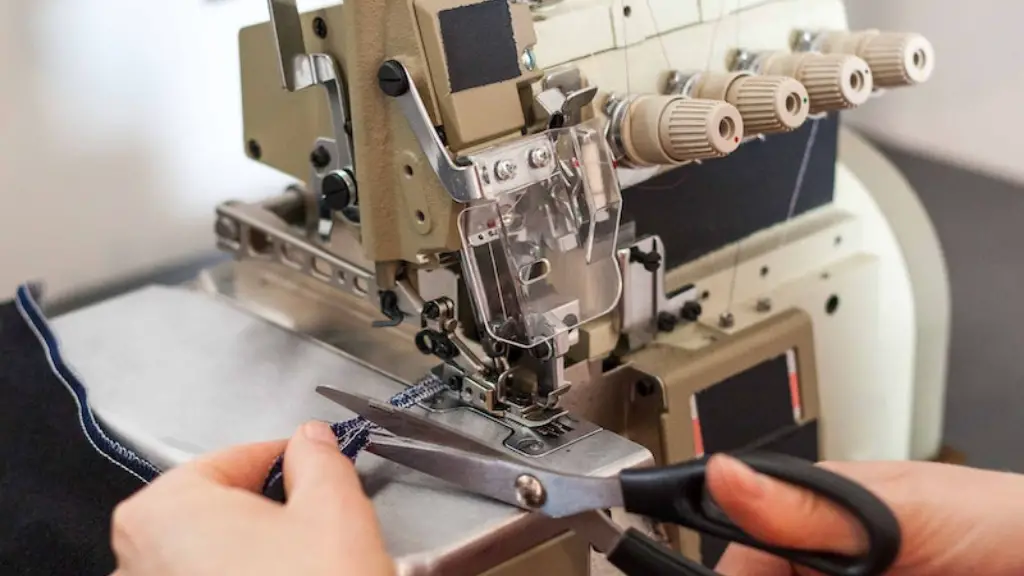
Once you’ve finished stitching the edges, you’ll need to trim off the excess thread and fabric. Use a small pair of scissors to cut off the loose threads, and then you can trim away any excess fabric on the edges. This will ensure a neat, professional finish.
Now that you’ve finished the edges, you’ll need to press them. Use an iron to press the fabric so it lies flat. When pressing, use a pressing cloth and medium heat to avoid any damage to the fabric. This will provide a clean and neat finish.
If you want to create a unique, professional look on your finished edges, you can always add embellishments. Once the edges are finished, you can add ribbons, lace, buttons or any other design element to add some flair. It’s a great way to give your garment a unique look.
Preparing Fabric Before Sewing
When finishing edges with a sewing machine, it is important to make sure the fabric is prepped properly. This involves washing, pressing, and cutting the fabric to get the best results. Start by washing the fabric in cold water to get rid of any dirt and residue. Then, use a warm iron to press each seam to make sure the edges are clean and smooth. The final step is to measure and cut the fabric according to your project’s specifications.
Following Instructions for Sewing
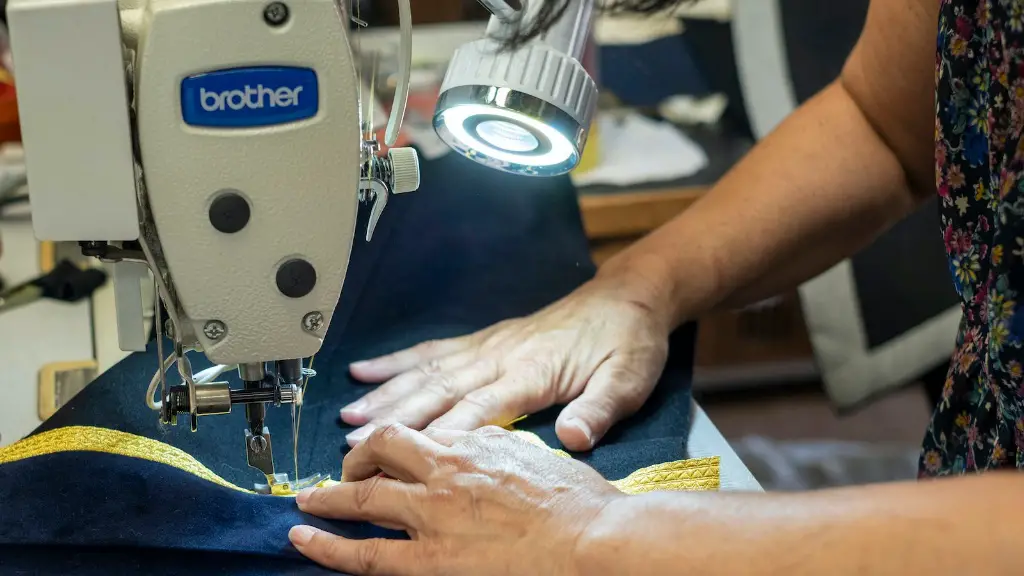
No matter what type of project you’re doing, it’s important to always follow the instructions that come with your sewing machine. Depending on the type of project you’re working on, you may need to use a certain presser foot or stitch. Be sure to read the instructions carefully and make sure you’re following the right steps for the best results.
Using Specialized Feet and Seams
Some sewing machines come with specialized presser feet and seam types. Make sure to read the instructions or look up tutorials to get acquainted with each of these. While many of them work the same way, some of them require special techniques in order to get the best results. A few examples of specialized feet and seams are blind hems, overlock stitches, and zippers.
Using the Correct Threads
The type of thread you use for your project can make a huge difference in the final results. Always choose a thread that is the same color as the fabric so it won’t be too visible. You can also experiment with different types of thread to create different effects. For example, thicker and heavier threads will provide more stability to the edges, while finer threads can be used for a softer finish.
Repairing Mistakes
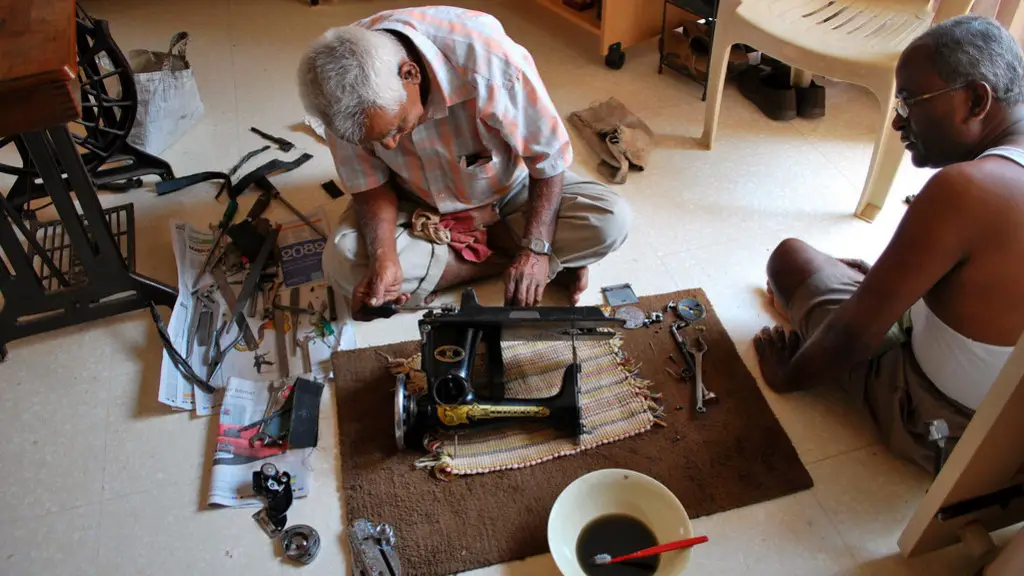
Mistakes are inevitable when it comes to sewing, so it’s important to have a plan of attack in case something goes wrong. One way to repair a mistake is to use a seam ripper to carefully remove the stitches that have been made. If that doesn’t work, then you can try sewing over the mistake to cover it. Another option is to add a new piece of fabric over the mistake and then finish it with a decorative stitch.
Creating a Professional Look
When it comes to finishing edges with a sewing machine, one of the best ways to ensure a professional look is to press the seams once you’ve finished. By pressing the seams, you can make sure the fabric lays flat and the edges are neat and tidy. You can also use a zig zag stitch for a more decorative look.
Tips for Beginners
Any beginner sewist should start out with a practice project before attempting a more complicated garment. This will help you to get the hang of using a sewing machine and finishing edges. You can also read up on sewing blogs or watch Youtube tutorials to get tips and tricks from experienced sewists.


