How to get the Bottom Thread on a Sewing Machine
A sewing machine is an invaluable piece of equipment for all types of projects. Whether it is a basic repair, or a more intricate project such as making curtains or a dress, a sewing machine can make life much easier and more efficient. However, learning how to properly thread a sewing machine can be a tricky process for beginners. This article assumes if you are starting to sew and you’ve just acquired a basic machine.
The most important thing when getting the bottom thread on your machine is to make sure that you’re using the correct thread for the job. Different types of fabric require different types of thread, so make sure you’re using a thread that is appropriate for the job. The color and type of thread should also be taken into consideration as this can have an impact on the overall look of your finished product. After you have the right type of thread, the next step is to get it properly loaded on your machine.
Most sewing machines will require the thread to be loaded onto a spool pin, which is located at the top of the machine. Depending on the model of sewing machine, the spool pin may be the standard size, or a larger one. If it is the larger size, make sure you have the correct thread for that size. After the thread is loaded onto the spool pin, it will then thread over the guide at the back of the machine to the take-up lever. This is a small lever on the side of the machine which pulls the thread from the spool.
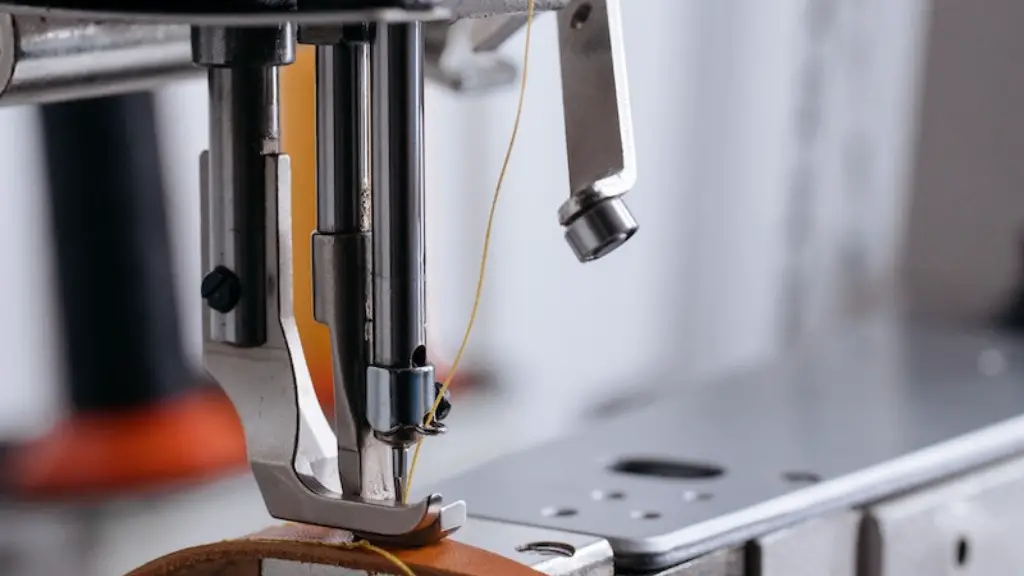
Once the thread is pulled through the take-up lever, it will then thread down to the needle of the machine. It is important to get the thread on the needle in the correct route, so the machine will be able to easily sew without creating any tangles. To make sure the thread is winding the right way, it should be fed over the front of the needle, then down to the back.
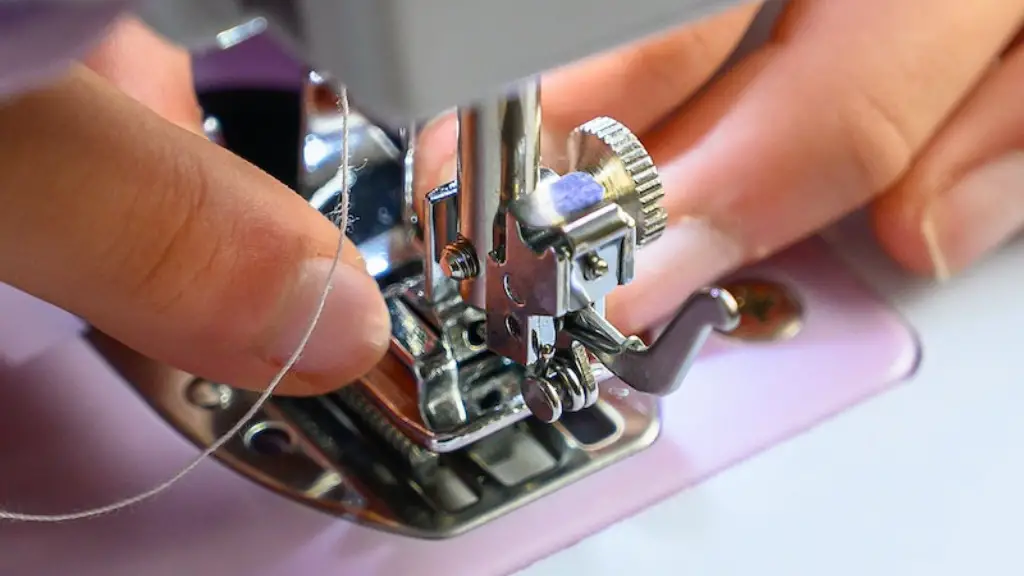
At this point your top thread is up and ready, so your next step is to thread the bottom thread. This is done by inserting the end of the thread into the bobbin case. Depending on the model of machine, there are either one or two slots on the bobbin case into which the thread can be inserted. It is important to make sure the thread is wound around the bobbin in the correct direction, which is usually indicated by a label found on the case. Once the thread is in the bobbin, the last step is to wind the bobbin onto the machine.
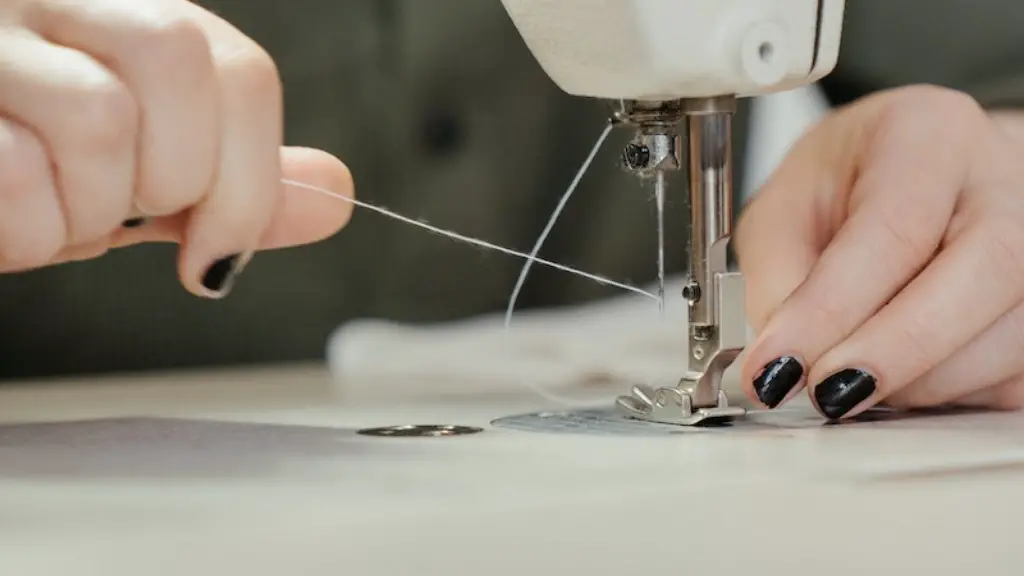
After the bobbin is in place, the thread needs to be pulled up until the bobbin thread catches the top thread. This can be tricky, but there are some helpful tricks to make the process simpler. One way to make sure the thread is hooked to the top is to manually turn the handwheel of the machine which will make the needle move up and down. This will pull the thread up so it is easily seen and the threads can be caught.
Once the top and bottom threads have been caught, you’re now ready to begin sewing. Keep in mind, when you’re just starting out, always test your threads on a scrap fabric to make sure the tension and stitch quality is correct. With a little practice, learning how to get the bottom thread on a sewing machine can become second nature.
Check the Thread Configuration
When starting a new project, it’s important to check the configuration of the thread going through the machine. In many cases, the top thread will go in first, followed by the bottom thread. But not all machines will have the same configurations, so it’s important to consult the manual that came with the machine or the manufacturer’s website to make sure the correct thread order is being used.
Threading the machine correctly comes down to where each thread is and the order it goes in. Top thread is usually threaded down the right hand side of the machine, and then around the take-up lever, while bottom thread is generally threaded up the left hand side.
Once the threads have been properly configured, the next step is to thread the bobbin. This involves taking the end of the thread and going through the appropriate slot on the bobbin, winding it evenly, and then inserting the bobbin back into the machine.
Manual Techniques
It’s not always easy to get the bobbin thread to meet up with the top thread just by turning the machine’s handwheel. To avoid frustration, a few manual techniques can be used to help. Many people find it helpful to reach behind the needle plate with a pin and carefully lift the bobbin thread to the top. This can be difficult to do, but with practice it can become a useful trick.
Another manual technique is to place a needle underneath the foot of the machine and use the handwheel to pull the needle up. This will pull the bobbin thread up and around the back of the machine in order to catch the top thread. This process can take a few tries, but once it is done, the machine is ready to begin sewing.
Check the Tension
The tension in your sewing machine must be correct for the job you are doing, or else you can end up with stitches that are too tight or too loose. Most machines have controls for setting the tension, and it is important to consult the owners manual for instructions on how to do this properly. Most of the time, increasing tension is done by turning a knob clockwise, and decreasing tension is done by turning it counterclockwise.
When adjusting tension, it is also important to make sure that the top and bottom thread are balanced. If one side is too tight, the other side will be too loose and the stitches will be uneven. To help with this, set the machine’s tension to the lowest setting and check to make sure the top and bottom threads are balanced.
In order to get the best results, it is advisable to test a few stitches on a piece of scrap fabric. This will tell you if the tension needs to be adjusted, or if you need to thread the machine differently. With a few adjustments and some practice, you’ll soon have the perfected pattern of stitches you desire.
Know When to Replace the Needle
The needle of the sewing machine is a crucial part of the overall sewing process, and it is important to keep it in top condition. Otherwise, you may experience problems such as snagging or skipping stitches. A good rule of thumb is to replace your needle with each new project. The size and type of the needle you use should correspond to the fabric you are sewing. There are needles for heavier fabrics, lighter fabrics, and everything in between.
It is also a good idea to check the needle before each project. If the needle is bent, chipped or dull, it should be replaced in order to get the best results. If the threads of the fabric you are sewing are snagging on the needle, it is a sign that the needle needs to be replaced. If the machine is not making consistent stitches, it may be due to a dull needle or threadbreakage.
Taking the time to make sure the needle is in good condition before you begin sewing can save you a lot of frustration and mistakes. When it comes to replacing the needle, it is important to consult the owners manual that came with the machine, or speak to a professional if you’re unsure about the type or size you need.
Storing Sewing Machines Properly
When it’s time to put the sewing machine away, it’s important to do so in a safe and secure place. This will help to protect the machine from becoming damaged or knocked around while it’s not in use. It’s also important to make sure that the sewing machine is stored in a dry environment away from any water reservoirs such as a sink. Moisture can ruin the electronics of the machine and cause the parts to rust.
When storing your machine, it’s important to make sure that it is properly covered to prevent dust and dirt from entering the mechanism. While some machines come with an attached cover, there are also covers available on the market that are specifically designed for sewing machines. It is important to invest in one of these covers to properly protect your machine.
Keeping your sewing machine clean is also essential for safe and efficient use. Regularly wiping down the machine with a cloth and vacuum the lint off the machine can help ensure that your machine is running smoothly. It is also advisable to check and replace any parts that may be worn or damaged in order to keep the machine running at its best.
