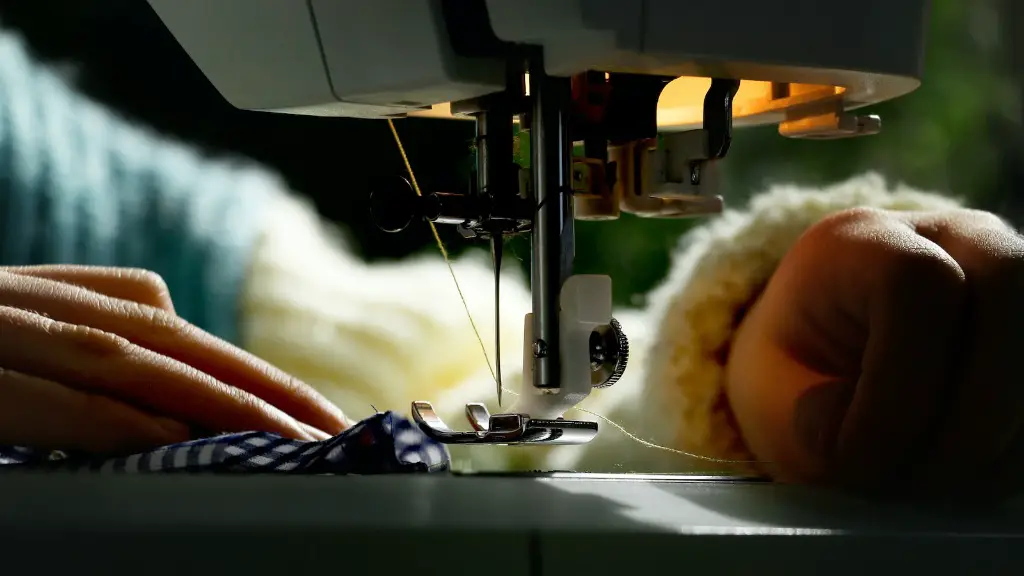
Cleaning the Sewing Machine
The first step to getting your sewing machine ready is to make sure it is clean. This means dusting off any dust and dirt that has built up over time. You should also be sure to oil the moving parts of the sewing machine. You can purchase oil specifically designed for sewing machines or use a light machine oil for added lubrication. Be sure to be very gentle and use minimal oil. Too much oil can damage the machines parts.
Testing the Machine
Once you have the machine clean and oiled, you should turn the sewing machine on and test its functionality. Start by retracting the bobbin and needle thread. This will ensure they properly move up and down and catch on one another. Additionally, check that the tension on the bobbin is not too tight or too loose. You may also want to practice sewing on spare fabric to ensure that the fabric is being stitched properly and that the needle is working correctly.
Checking the Tools
In addition to testing the sewing machine, you should also check the tools that you will be using with the sewing machine. Make sure that all scissors, pins, and other items are clean, sharp, and in good working order. If you are using a machine presser foot, make sure the foot is in good condition and that it securely fits onto the bed of the sewing machine. If any of your tools are in need of repair or replacement, now is the time to do it.
Inspecting the Stitch Plate
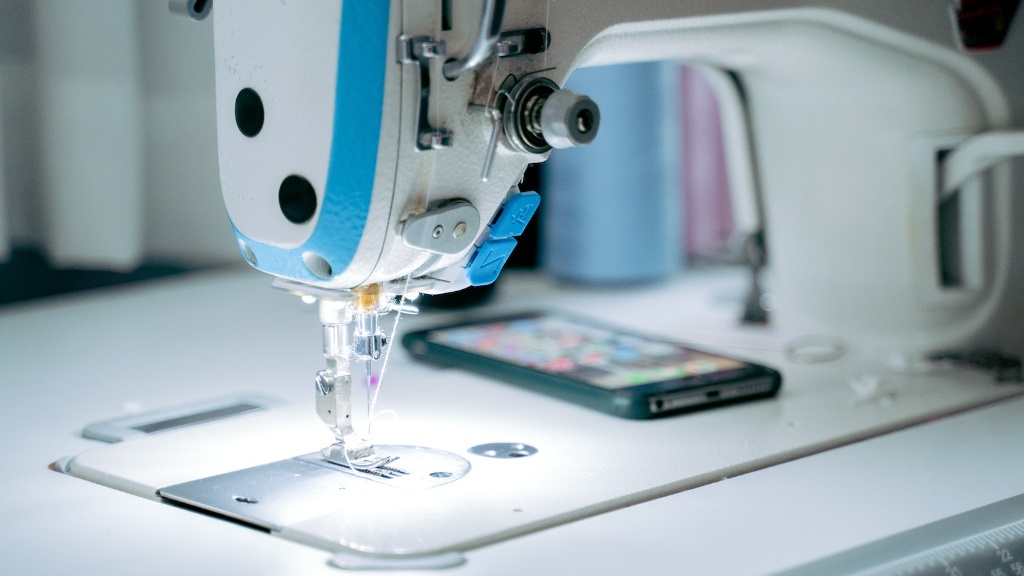
Your next step in getting your machine ready is to make sure that the stitch plate is clean and in good condition. A stitch plate is the plastic part of the sewing machine that you lay the fabric over when sewing. It should be free from debris and needle marks. If the plate is damaged or in need of cleaning, you can gently wipe it clean with a damp cloth. Additionally, make sure that the presser foot is in the correct setting for the type of fabric you plan to sew.
Checking Presser Foot Settings
The presser foot, also known as the “shank” of the sewing machine, is an important part of the machine. The presser foot helps the fabric move smoothly through the machine, and also controls the depth of the stitch. Be sure to check the presser foot settings before beginning a project.
Checking Needle Settings
The needle settings are crucial to successful sewing. The needle must be the right size, the right shape, and be aligned properly with the presser foot in order to produce even stitches. Additionally, the needle should be inserted in the proper position. Make sure the needle is inserted all the way into the machine, and not just halfway in.
Adjusting the Thread tension
The last thing you should do before starting to sew is to adjust the thread tension. The tension adjusts the tension or resistance generated when the needle pulls the thread through the material. You can adjust the tension with the dial or screw attached to the machine. Be sure to adjust the tension to the correct setting for the fabric type you are working with.
Storing the Machine
In order to keep your sewing machine in perfect working condition, it needs to be stored in a dry, dust-free area. Make sure the machine is stored away from any direct sunlight or moisture. Additionally, the machine should be covered when not in use, to help protect the parts from dust and dirt.
Maintaining the Machine
One of the most important things you can do to keep your machine functioning at its optimum level is to maintain it on a regular basis. Change the needle regularly and follow the manufacturer’s instructions for oiling the parts of the machine. Additionally, make sure to dust the machine and clean off any dirt or debris that may have accumulated on it.
Testing Threads
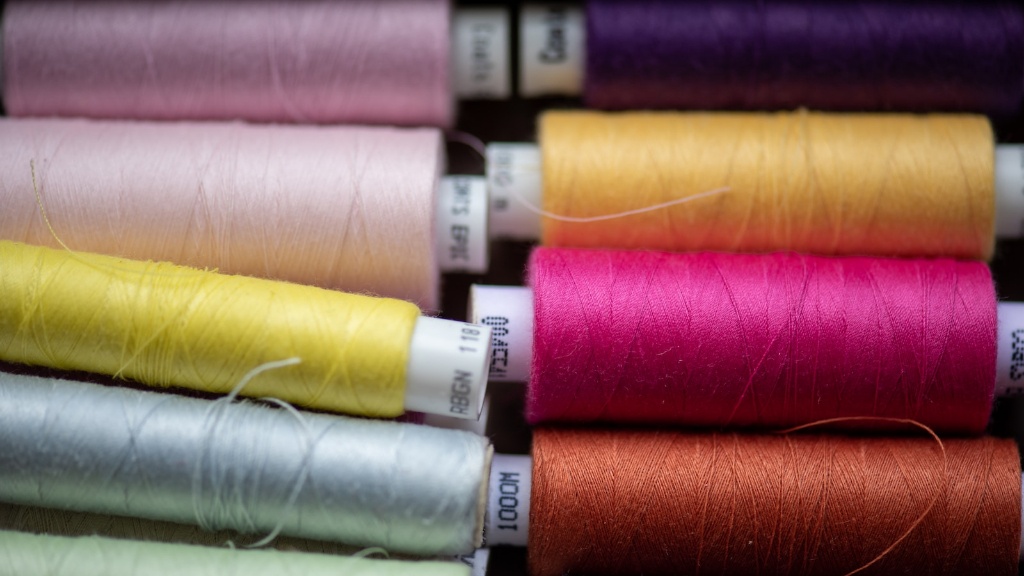
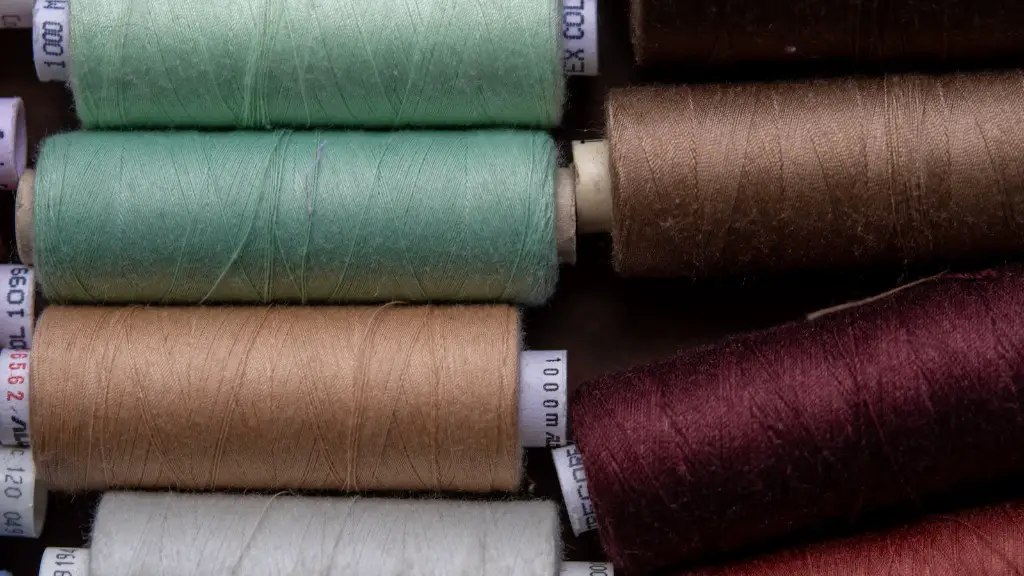
To get the most out of your project, you want your thread to work with the fabric you are using. Testing the thread on a scrap piece of fabric before sewing the main project will help ensure the thread works properly with the material. If the thread does not blend in or is causing puckering of the fabric, try a different thread or adjust the tension dial to create a better stitch.
Investing in Accessories
Investing in sewing machine accessories like a clear edge ruler, seam guide, or a specialty quilting foot, can make your projects much easier and improve the overall quality of your work. Do some research to determine which accessories would be most beneficial for you and start investing in these tools for your sewing machine.
Choosing the Right Needles
Another great way to ensure successful sewing projects is to pick the right type of needles. Needles come in a variety of sizes and types. The size and shape of the needle will depend on the type of fabric you are working with and the type of stitch you desire. If you are unsure of which needles to purchase, ask a knowledgeable associate at the store where you buy your supplies.
Picking the Right Fabrics
Another important factor in successful sewing projects is selecting the right fabrics. Make sure you pick fabrics that are suitable for the sewing pattern you plan to use. Additionally, the fabric you select should be appropriate for the type of sewing machine you are using. The weight of the fabric and the type of stitches you plan to use should also be taken into consideration when selecting fabrics.
Understanding and Following Patterns
The sewing pattern you use is crucial to the success of your project. Before beginning any project, make sure you understand the pattern and follow the manufacturer’s instructions closely. Pay attention to the measurements and use a fabric measuring tape to ensure accuracy. Make sure the seams follow the pattern closely and take the time to press the fabric after sewing.
Pressing Fabrics
After a sewing project is completed, it is important to press the fabric. This helps to press out any creases that may have occurred during the sewing process. A pressing cloth can also help to keep fabrics from scorching. Additionally, use a tailors ham or sleeve roll when pressing to help prevent fabric from shrinking.
Finishing Seams
The last step in the process is finishing the seams. This helps to enclose the raw edges and make the project look more professional and polished. You can finish seams by using a zigzag stitch, pinking shears, or an overcast stitch. If possible, try a sample before beginning your project to ensure the finish will be the desired outcome.
