Parts & Materials Needed
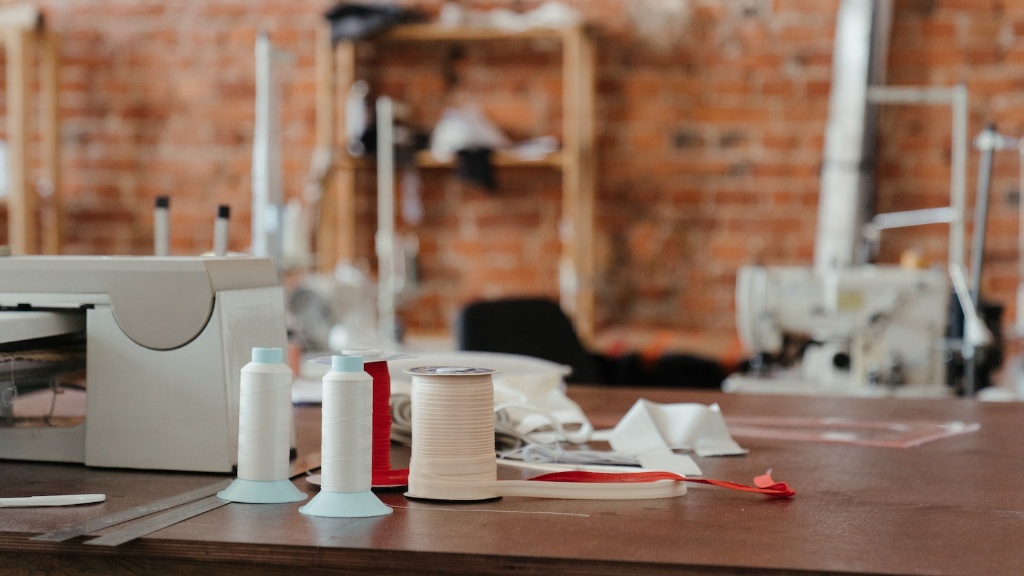
When creating a buttonhole with a sewing machine, you need certain materials and parts. These include plastic buttonholes foot that is compatible with the sewing machine model being used, fabric markers, sewing thread, regular sewing pins that fit the fabric, a seam ripper, fabric cutting scissors, and of course, buttons.
Instructions
The first step is to measure the size of the button that needs to be inserted. This should be done by laying the button against the material, placing pins along the right and left side, and measuring the distance between the pins. Then, mark the four corners of the buttonhole with a fabric marker, and draw a line connecting them.
Next, attach the plastic buttonholes foot onto the sewing machine and adjust the size of the buttonhole to match the measurements obtained from the pins. Then, thread the sewing machine with sewing thread, making sure to adjust the tension wheel properly, and stitch the buttonhole according to the markings on the fabric.
The last step is to cut the excess fabric inside the buttonhole for the button to fit properly. Care should be taken to ensure the edges of the buttonhole remain straight and even, as this could affect the look of the finished product. To do this, open the buttonhole using a seam ripper and cut away the excess fabric.
Troubleshooting
More often than not, some issues may be encountered while creating a buttonhole with a sewing machine. If your stitches are too bulky and bulky stitches are creating problems, it is best to lower the tension wheel setting. If the stitches are too loose, then it is advised to raise the tension wheel setting.
Alternative Methods
If creating a buttonhole with a sewing machine is not feasible, other methods may be attempted as alternatives. One such method is to use a tool called a buttonhole cutter. This device allows for precise buttonhole cutting and works by cutting only the top layer of the material and not both layers, thus ensuring an even and smooth finished buttonhole.
Tips for Beginner Sewers
It is advisable to practice creating a buttonhole with a scrap piece of fabric before attempting it on an actual project. This helps inexperienced sewers learn the technique and become familiar with the materials and parts needed for the job. Also, it is important to purchase quality buttons, as this will help create a more professional-looking product. Finally, make sure to consistently refer back to the instruction manual of the sewing machine to ensure proper usage.
Advanced Techniques
One of the more advanced techniques for creating a buttonhole with a sewing machine is to use piped buttons. This requires creating a single buttonhole and inserting a special type of piping cord in the resulting slit. By doing this, the button can be inserted in the slit on both sides, giving the button an appearance of being pre-made. While creating piped buttonholes may be challenging, the end result certainly gives off a much more refined look.
Finishing Touches
Once the buttonhole has been created, it is important to apply some finishing touches in order to give the buttonhole a more professional look. First of all, it is best to use a garment zipper foot to stitch around the edges of the buttonhole, as this will help make the edges crisp and clean. Secondly, use a seam ripper to carefully remove any loose threads and trim away any excess fabric with fabric scissors. Finally, use a hand-sewing needle to sew the button onto the fabric.
Reinforcing Buttonholes
Using reinforcements is another way to increase the durability and lifespan of the buttonholes. To do this, simply stitch one or two pieces of interfacing (a thin, flexible fabric) onto the wrong side of the fabrics where the buttonholes should be, before stitching the buttonholes. This will give the buttonhole additional strength and ensure it lasts longer.
Care and Maintenance
Regularly cleaning and maintaining your buttonholes is also important to ensure its quality. To properly clean a buttonhole, use a soft brush and a solution of lukewarm water, distributing the solution evenly all over the buttonhole. It is also important to regularly check the buttonholes for any loose threads or signs of fraying, as this could potentially damage the finished product.


