Steps for Making a Sewing Machine Pad
Making a sewing machine pad doesn’t have to be intimidating. With some basic crafting supplies, a sewing machine avid can create a stylish and practical pad to protect delicate machinery from dust. These steps will provide the resources and guidance one needs to get started.
First, measure the dimensions of the sewing machine for which the pad will be made. This is important to ensure that the pad meets expectations. For instance, a pad should cover the entire machine to maximum protection. Consider the extra space needed to house the cords, materials and accessories.
Second, it is important to select the right material when making a sewing machine pad. It is tempting to choose a material that is easy to work with and offers maximum value. However, it is essential to select a material that is durable, water-resistant, and dust-proof. A polyester-cotton blend is a great choice when making a pad that is both practical and attractive.
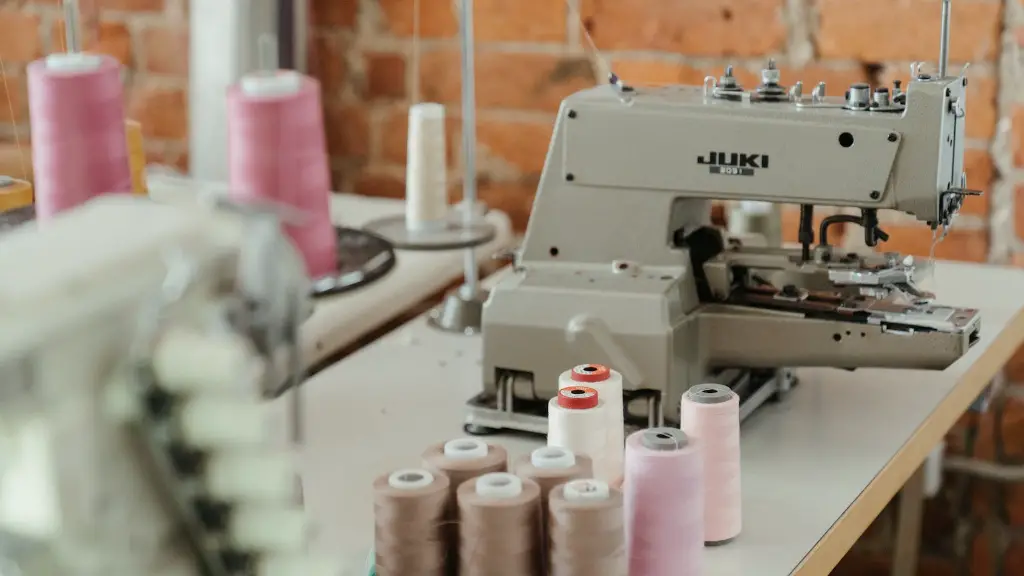
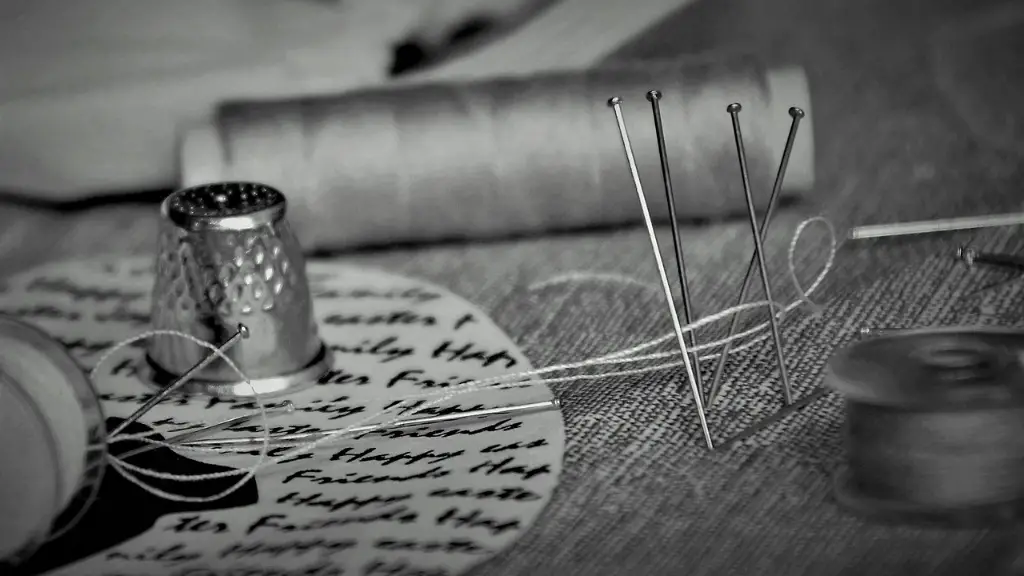
Third, sewing tools should be identified and assembled. An appropriate sewing machine, needle size, and thread must be chosen to maximize the quality of the product. It is important to use enough thread that the seams are properly secured, ensuring the pad stays in place and protects the machine.
Fourth, outline the design and function of the sewing machine pad. A great pad should be able to keep machinery safe, yet be accessible at the same time. Includes multiple pockets to store materials and accessories. Consider zippered pouches or other pockets with closing mechanisms.
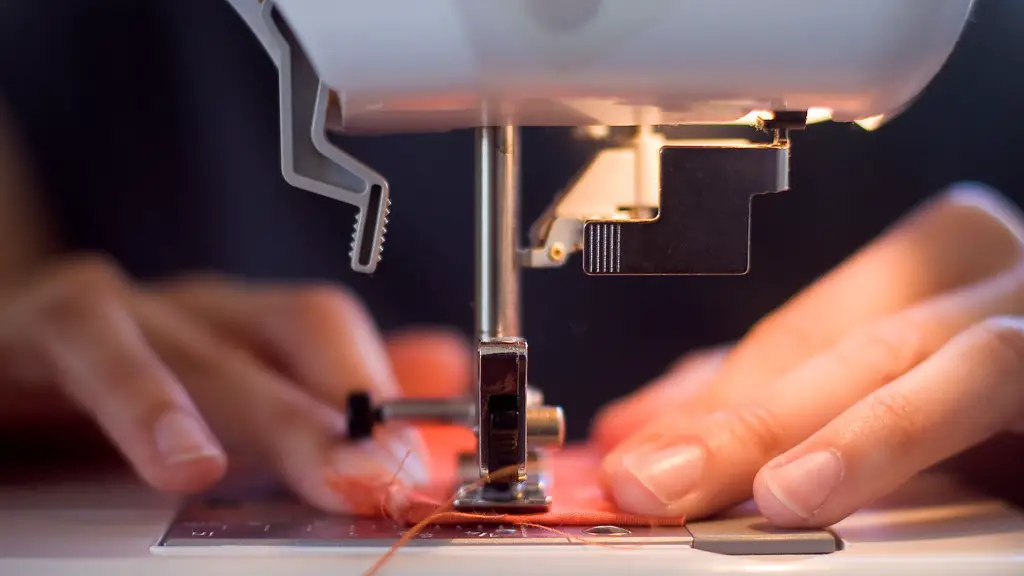
Finally, ¬cut and assemble the pieces. When cutting the fabric, remember that the size should be slightly larger than the intended measurements. This will allow for a little slack which will make a tighter fit when placed on the machine. Use the sewing machine to sew the pieces and assemble the pad. Once the sewing is done, inspect the pad to make sure that it fits the sewing machine properly.
Finishing Touches
Finishing touches can take the pad from simple to spectacular. Embellishments such as ribbons, frills, contrast stitching, and even embroidery can be added to make the pad unique and attractive. These pieces can make a plain pad look stylish, imaginative and eye-catching. It is also possible to use fabric markers to add texture, words or images to the pad.
In addition to sewing machine pads, there are many other creative projects one can do with a sewing machine. Consider adding decorative buttons or other pieces to clothing and making pillow or pillowcase covers. Making curtains, bed skirts and tablecloths are also great ways to add a unique and personal touch to any room.
It’s also a great idea to practice and experiment with the machine before any larger projects. Get used to the machine and learn how to correctly thread the needle, adjust stitch length and width, and any other special tools that come with a particular model.
With the right resources and guidance, sewing machine pads and other sewing projects can be quickly and easily constructed. Enjoying the art of sewing can be fun and rewarding, and the finished product will be treasured for years to come.
Tips for Beginners
For beginner sewers, there are some tips to make the process of making a sewing machine pad easier and more enjoyable. First, purchase a good quality sewing machine. Quality machines may cost more, but they are more reliable, easier to use, and will provide a better overall experience. Additionally, investing in a durable storage system and learning organizational methods will aid in the successful completion of projects.
Second, invest in the right tools. There are many types of specialty tools available, such as tailor’s chalk, curved needles, bias tape makers, and many more. These can help beginner sewers understand how to work more effectively and efficiently with fabric.
Third, ask for help. Experienced sewers can be valuable resources when starting out and can provide tips and advice. Joining online groups and following experts on social media can also help build knowledge, confidence and skill quickly.
Finally, take the time to learn about different types of fabrics, their properties, and how to properly interline and tailor projects. This gives sewers more freedom to design and produce quality garments. Taking a class is a great way to learn these techniques in a short time.
Tools To Make Sewing Easier
Accessing the right tools makes sewing easier and enjoyable. There are various helpful items sewers can purchase to make projects go smoother. For starters, fabric scissors should be sharp and sturdy, making cutting easier and neater. Tailor’s chalk and a non-slip cutting mat can also be helpful when cutting fabric and linings. Knowing how to use these can save time, money and frustration.
A rotary cutter is also a handy tool to have when cutting fabric. This type of cutter is an important tool to have for quick and accurate cutting. It is also useful for cutting curved shapes for decorative effects. A seam ripper can help when making mistakes by easily cutting stitches and allowing a garment to be fixed fast.
Finally, a presser foot can help when making buttonholes, ruffles, hems, and other decorative elements. A presser foot is usually equipped with a lever that can be used to adjust the foot pressure. This ensures that the fabric does not slip and maintains a consistent even tension when sewing.
Design Tips for Sewing Pad
A great sewing pad should be practical, yet stylish. Tailor-made pads can protect expensive sewing machines, materials and accessories while giving the room a colourful and eye-catching appearance. Using bright, colourful fabrics can help create an attractive and unique pad to match any decor.
Also, consider adding useful features to the pad. Extra pockets, a carrying bag, and padded handles can make the pad more functional. Larger pouches can open up for longer fabrics and cables, while smaller pockets can be used for smaller materials and accessories. These features can also make the pad more comfortable to move and use.
In addition, consider creating a protective cover or bag for the pad. A breathable cover will help keep the pad clean and dry while protecting it from dust and other external elements.
Lastly, adding personal touches make a store-bought pad stand out. Use stencils to draw images or words that best represent the sewing machine. Ribbon and fabric trim can also be used to create decorative edges. Consider adding elastic pockets that can be adjusted to fit shorter materials and extra accessories.
Conclusion
Sewing machine pads provide both a practical and aesthetic purpose. With the right resources, beginner sewers can produce a pad that is both attractive and protective. The possibilities are endless, so be creative and have fun.


