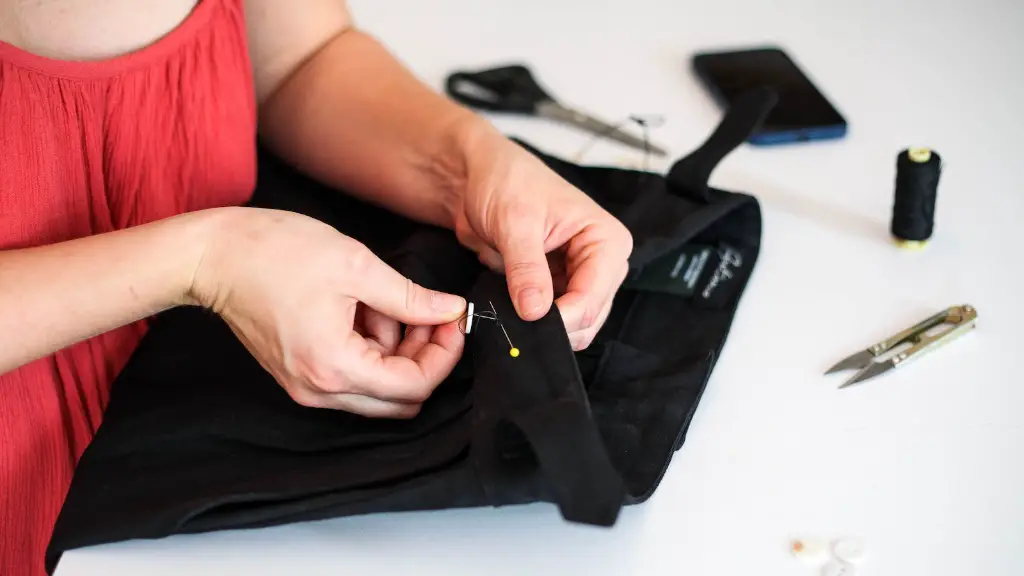
Hemming a dress without using a sewing machine or sewing by hand seems pretty daunting, but it isn’t as hard as one might think. In fact, it can even offer a few advantages over machine hemming. Instead of relying on the strength and accuracy of machinery, hand hemming gives the dress a look and feel of a much higher quality and it also prevents accidental fraying or tearing of the material, as the stitches are smaller.
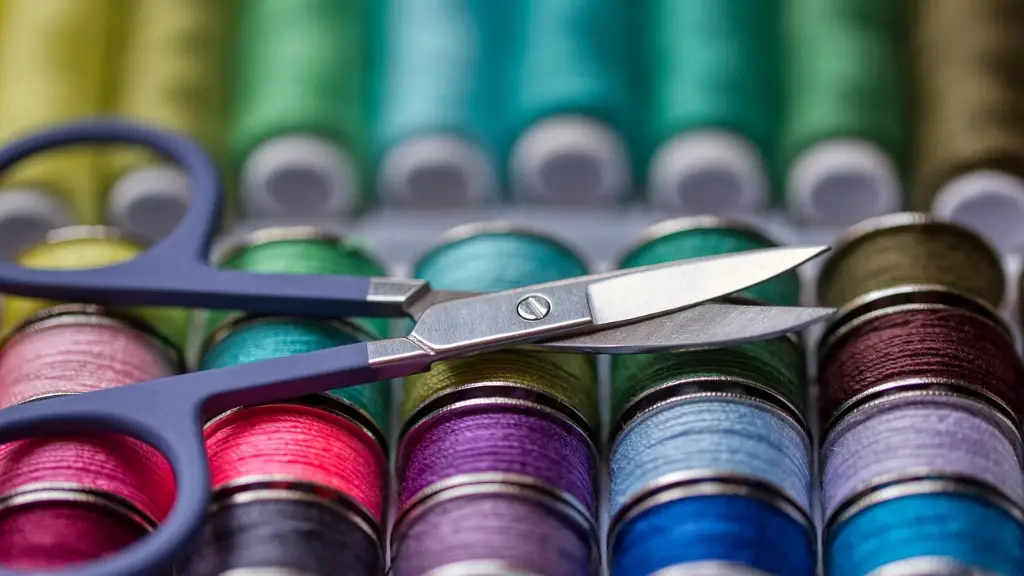
The two main tools required for hand hemming are an iron, and thread that matches the dress material; usually it’s best to use a 100% polyester thread to match the synthetic fibers of the fabric. It’s also helpful to have straight pins, thread snips and tailor’s chalk on hand. Heat the iron to a medium setting, and prepare the dress fabric by cutting it to the desired length.
Then turn the hem up twice and press the line with the heated iron – this is the part that gives a crisp fold. The following step involves the use of pins. All around the dress, secure the folded edges with pins. Make sure that the pins are placed close enough to give the hem a secure fold. Remove the pins once the edging is complete. Work slowly and take extra care when setting the pins as this will ensure the absorbency of the hem.
The method of hand hemming a dress is quicker than machine hemming and offers a more aesthetic look. Even though many do-it-yourselfers opt to first use a sewing machine and then secure the edges with hand sewing, this actually isn’t necessary. In fact, merely stitching with the hand can be strong and secure enough when done properly.
The next step is to secure the hem with a thread. Thread the needle, knot the end and make sure to use a thread that matches the fabric, this means that if the dress is made from a synthetic material, then you should use a 100% polyester thread as this will best match the material’s composition. Push the needle and thread through the hem, a few inches from the originer fold, pull the thread up and fasten it with a knot to the surface. Another inch from that knot, push the needle through the hem, pull the thread up and knot it. Keep the distance between each knot uniform and the stitches small.
Stitching the dress can be a lengthy process, but it’s worth it. After the dress is securely fastened, run the iron over the surface to press down any bumps that have been created while stitching. The final schedule includes snipping any extra threads. With these steps, one can successfully hem a dress by hand.
Different Hems
A dress can have different types of hems, each of which affects the overall look and feel of the dress. A blind hem is when the stitches are not visible, the hem is made with the regular threads but it lies just above the fold. This type of hem requires more mastering as compared to other plain hems.
On the other hand, a plain hem is normal hem which can either be visible or invisible. It is folded to a specific measure and then stitched from the lower side. Euro hems are also popular, as this type of hem offers a less structured alternative. It is a two step hem, with the folded edge of the fabric meeting the raw cut edge.
In case you’re making a dress from scratch then you can use an umbruch or mitered hem which is great when fabrics are thick or too heavy to be handled easily. This type of hem is stitched in the mid-section of the depth of the fabric rather than on the edge.
Tips to Hem a Dress
The process of hemming a dress is not as intimidating as one might think. All you need is patience, good quality thread and a needle. Here are a few tips that can go a long way in making the process easier:
- If you’re hemming a garment from polyester then use polyester thread.
- Make sure that the length of the garment is correct before you start hemming.
- Turn the hem twice for a neat finish.
- Use the identical thread over and over for a consistent look.
- Press the hem once with an iron.
- Keep the knots small, so that the garment won’t sag.
- Start at the same end for each stitch for regularity and finish at the same end each time.
- Snip off any extra threads in the end.
Advantages of Hand Hemming
Hand hemming a dress doesn’t require the use of a sewing machine and it gives the dress a look of much better quality than machine hemming especially on thick fabrics. It also prevents accidental fraying and tearing of fabrics, as the stitches are made very small. Apart from that, this technique is less time consuming as compared to machine hemming and it also provides more flexibility when it comes to experimentation with different styles of hems.
Hand hemming also offers the user control over the colors and texture of the threads that will be used since it eliminates the need for the ready-made threads in the market. You can even choose to mix colors for a personalized look and feel. Moreover, the process of hand hemming gives fabrics a nice, neat finish.
Cost Analysis
The cost of hand hemming a dress runs differently, based on the type of fabric, the type of hem, the number of layers, and the amount of work that has to be done. It is much more economical to hand-hem when compared to machine-hemming, since the tools required for hand hemming are mostly affordable and don’t require significant investments. The same is true when it comes to the cost of the supplies, such as thread and needles, which are less expensive if you buy them from a craft store.
However, it is important to note that if you are hemming a large number of items, it may be more cost-effective to do the hemming by machine. This is because a sewing machine can handle more items quicker than hand sewing, and the cost of purchasing a machine would be more cost-efficient in the long run.
In general, the cost of hand hemming a dress could range from as low as $10 to as high as $50, depending on the factors mentioned earlier. Hand hemming is thus much more affordable than machine hemming and gives users a lot of options in terms of customization.
Disadvantages of Hand Hemming
The primary disadvantage of hand hemming is that it is time consuming and tedious. As mentioned earlier, it can take a considerable amount of time to complete the process, especially if the hemming involves multiple layers of fabric. Furthermore, the accuracy of the finished product is dependent on the user’s skill level, and for beginners, achieving tight, flat stitches can be difficult and requires practice.
Another disadvantage is that hand hemming requires the use of tools that are designed for specific fabrics and materials. This means that if you’re working with a softer fabric, you may need to use a different needle, faster or thread to achieve the desired effect. It is also not suitable for larger items or items with complex designs due to the amount of time required to complete the task.
Tips to Maintain a Hand Hemmed Dress
To maintain the hem of a dress that has been hand-hemmed, it’s important to make sure that there is enough room in the hem for movement. If the fabric is too tight it can cause splitting or tension in the stitches, leading to wear and tear. Additionally, it is best to use cooler iron settings when pressing the hem, and avoid aggressive ironing of the fabric. Avoid washing the clothes too regularly, and when you do, hand wash and lay flat to dry.
It is also a good idea to buy high quality fabric, as well as high quality thread and needles for the job. The better the quality of materials and supplies, the more durable and long-lasting the hem will be. Always check for any signs of damage or wear and tear, and repair any loose threads as soon as possible.
Patience is the Key
Hand hemming a dress can seem like a daunting task, but given the gratification that comes with the finished product, it is totally worth the effort. The key is to remain patient and determined, and to practice regularly. With the right tools and supplies, hand hemming can be done with ease and in a fraction of time.


