Hemming a shirt with a sewing machine is not a hard task. In fact, if you follow the instructions, you’ll be able to hem a shirt in no time. In this article, we’ll be going through the step-by-step process of hemming a shirt with a sewing machine. From the kind of thread you should use to the perfect stitch for your project – all the knowledge you need is right here.
The first thing that you need to do is to measure out the length you want the shirt to be. It is important to assess your body size and height to know how much fabric needs to be hemmed and the length it should be hemmed to. Choose an appropriate fabric measuring tape to achieve accuracy.
Once you are done with the measuring, you can use a chalk or a pen to mark the length you want the shirt to be. Carefully follow the length of the marks and make sure that you’re consistent. This will help make the whole process easier.
The next step is to press the fabric. To make the whole process easier, use an iron to press the fabric together. This will help the fabric to hold at the spot and will give you a straight line. It is important to remember that it is always better to press the fabric before you start sewing.
Now it’s time to thread the sewing machine. Choose the thread that matches the fabric of your shirt color-wise. If you are having trouble deciding on the type of thread to use, consult a professional or use an online guide to see what would work best for your project. It is important to use the right thread so that it blends in with the fabric of the shirt.
Once the thread is ready, it’s time to select a stitch. The most common stitch used to hem a shirt is the blind hem stitch. It is a strong stitch that is suitable for light to medium-weight fabrics. However, you can always use other stitches like the flatlock stitch, the stretch stitch, and the topstitch to create variation.
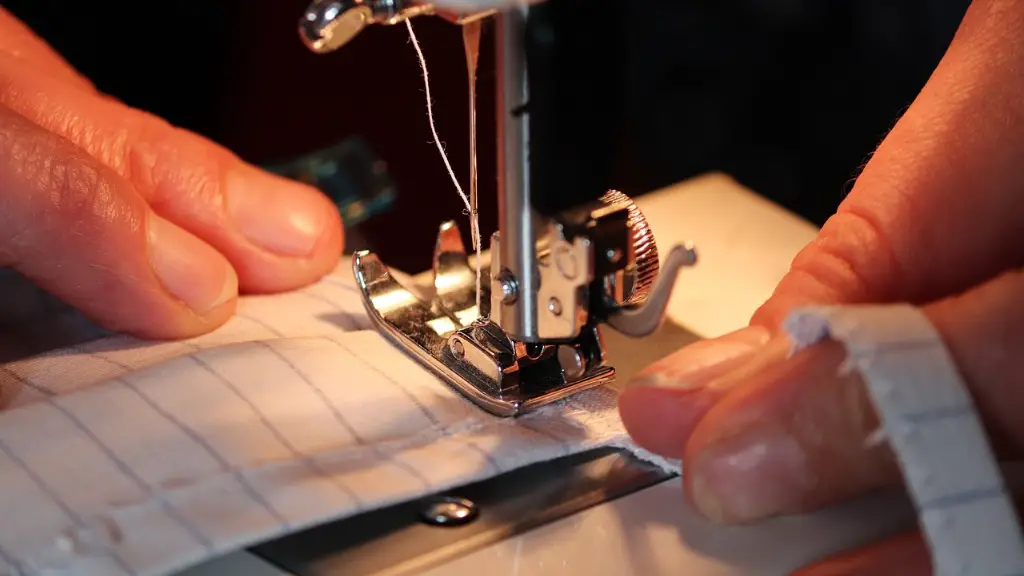
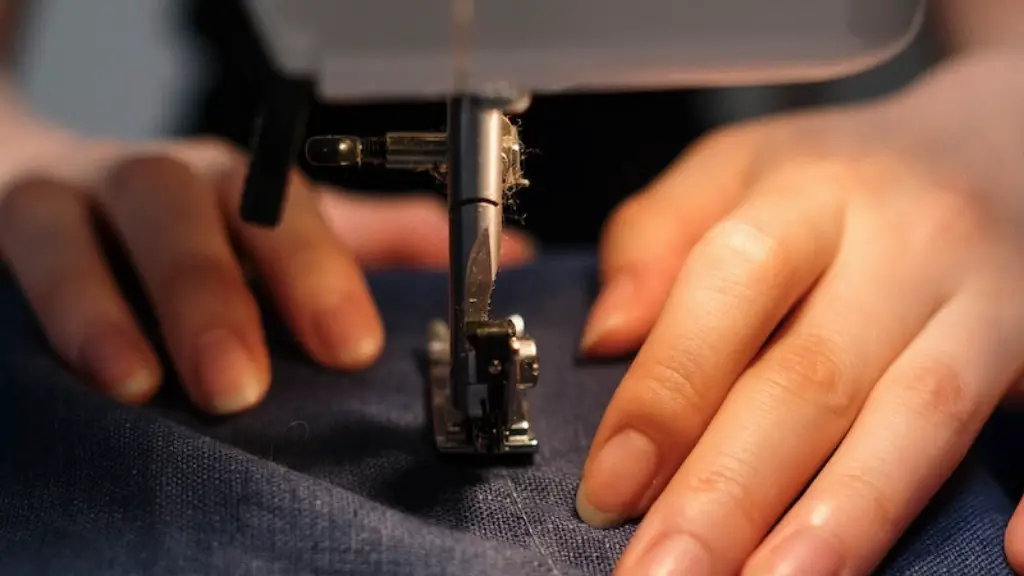
Once the stitch is selected, you can start hemming the shirt. Put the fabric in the sewing machine and lower the presser foot. Start from the inside of the shirt and slowly move the fabric through the sewing machine. You should always go slow and in a straight line. Keep in mind to follow your markings and not to rush through the process.
Once the whole shirt has been hemmed, it’s time to knot the threads. Slowly cut the threads with a pair of scissors and tie them in a knot. This action will make sure that the stitch stays in place. Once you are done, give the shirt a final press with the iron.
Tips for Hemming a Shirt
Hemming a shirt with a sewing machine is the best way to achieve a perfect length and a neat look. However, there are some tips that can make the process faster and easier. For example, use a mechanical thimble to hold the fabric in place; a sharp needle will help to get the stitches right; you can also use a walking foot on the sewing machine to help with the speed and accuracy of seam placement; use a seam ripper to adjust any mistakes, and lastly, only use fabrics that are compatible with the thread and stitch you’re using for the hem.
Materials for Hemming a Shirt
Before starting to hem a shirt with a sewing machine, it is important to make sure that you have the right equipment. You’ll need the following materials to get the job done perfectly: a sewing machine, an iron, a fabric measuring tape, a chalk or pen (for marking the lines), a pair of scissors, a sharp needle for your sewing machine, a thread color of your choice and compatible with the fabric of the shirt, a thimble and a seam ripper.
Preparing the Shirt for Hemming
Before starting to sew, it is important to prepare the shirt. To do this, turn the shirt inside out, so that the seams are facing the inside. This will help to make the hems look neat on the outside. You should also make sure that the edges of the shirt are finished, as it will make the whole process easier and ensure that the hem is secure and durable.
Advice for Beginners
Sewing a shirt for the first time can be intimidating, but with some good advice and practice, it can become a fun experience. If you’re new to heming a shirt, start with an old t-shirt or other simple fabric that’s easy to manipulate. This will help you to get used to the machine and the stitches and will make you more confident with the process. Make sure to go slow and take breaks when necessary. It is also important to read the user manual of your sewing machine and to watch some tutorials that explain the process in more detail.
Taking Care of Your Hemmed Shirt
Once you’ve finished hemming, it is important to maintain the shirt to ensure that it looks good for a long time. Since shirts are constantly exposed to wear and tear, it is important to take care of them regularly. Hand-washing and line drying the shirt can help to extend its life. You can also use special fabric cleaners or steaming machines to get rid of any stubborn stains. Moreover, use gentle detergents that are mild on clothes, as harsh detergents can cause the fabric to fade or tear.
Real-Life Hemming Projects
In the world of sewing, there are many real-life hemming projects that you can try. These include making alterations to shirts and pants, hemming curtains, creating decorative hems on pillows and cushions, and more. These projects will help you to hone your sewing skills and will give you a chance to be creative. Furthermore, you can also use these projects to make your home look stylish and inviting.
Advantages of Hemming
Hemming has many advantages. Not only does it make your clothes look nicer, but it can also help to preserve the fabric and extend the life of your clothes. It can also help to make clothes fit better and look more tailored. Furthermore, hemming can be a really fun and creative way to express yourself. With the right skills, you can add unique hemlines and trims to create one-of-a-kind pieces.


