Overview
Hemming a silk scarf with a sewing machine is a simple and inexpensive way to customize an outfit with a unique and stylish piece of clothing. This technique can be used to shorten the length of a scarf, with the added perk of not having to spend money on a tailor. This article explains the steps of how to hem a silk scarf with a machine, with additional tips and tricks to ensure a professional finish.
Preparation
Before beginning to sew, be sure to properly prepare the scarf. This includes ironing it to remove any wrinkles and remove any pins or other unwanted items. It also includes removing any loose, worn threads. Additionally, if desired, mark the desired length of the scarf with a chalk wheel or other appropriate marking tool.
Thread
Be sure to thread the sewing machine with the correct type of thread for the fabric of the scarf. The best thread for silk fabric is usually made from silk itself. Additionally, make sure that no old or uneven thread is stuck in the machine, as this will not provide a strong, high-quality seam.
Sewing
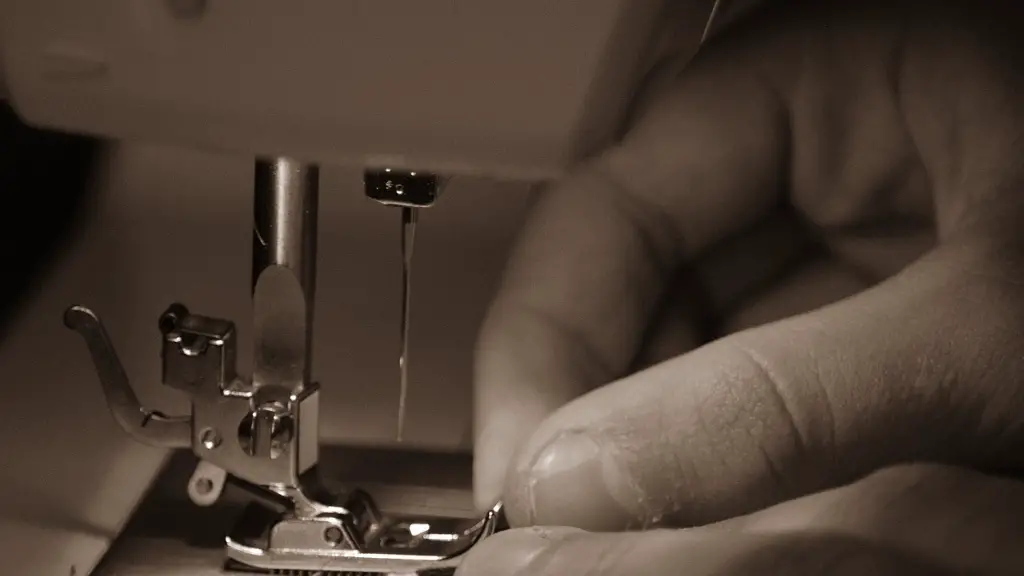
Position the scarf in place underneath the sewing machine foot and panel, making sure the edges are straight and even. Begin sewing with a straight stitch, beginning at one end of the scarf and slowly guiding it toward the other. Be sure to stitch close to the edge of the scarf while maintaining straight lines, and to not pull too hard on the fabric as this may pucker the material. Once the length of the scarf has been reached, pause the machine and tie off the end of the thread with a small knot.
Hem
Next, turn the scarf over and fold the bottom edge up twice. This will create a small hem. Mark the hem with the chalk wheel or other marking tool, and then use the sewing machine to stitch along the markings. Once the hem has been stitched in place, carefully snip off any excess thread.
Advanced Hemming
To create a more professional hem, use a small zigzag stitch along the edges of the fabric instead of a straight stitch. This will help keep the edges of the fabric from fraying, while at the same time adding a more refined look to the finished product. Additionally, some machines have an overlock option which can also be used for a professional-looking hem.
Finishing
Finally, press the hem with an iron to help secure the stitches in place. This step is especially important for a silk scarf, as silk is a delicate fabric. Additionally, if the scarf is going to be worn outdoors, apply a light spray of fabric protectant to help keep it in good condition.
Additional Tips
When hemming a silk scarf, there are a few additional tips to consider. Make sure to use a size 8/60 sewing machine needle, as this will help to prevent snags and fabric damage. Additionally, use silk pins instead of regular metal pins when marking the desired length of the scarf, as this will prevent any holes being left in the fabric when the pins are removed.
Troubleshooting
If the hem of the scarf begins to fray, try reinforcing the stitches with a bit of fabric glue or iron-on hemming tape. This will help to secure the stitches in place and prevent any further fraying. Additionally, if the sewing machine is not properly set up for silk fabric, the thread could easily break or become tangled. If this happens, make sure to adjust the tension and ensure that the correct type of thread is being used before continuing.
Press
Once the hem is finished, press it with an iron to give it a crisp, finished look. Use a low heat setting on the iron to avoid damaging or scorching the fabric. Additionally, be sure to press a towel or cloth between the iron and the scarf to protect the delicate material.
Summary
Learning how to hem a silk scarf with a sewing machine is an economical, practical technique that can help to create a unique and stylish look. After properly preparing the scarf, use the appropriate type of thread and set the machine up correctly. Begin sewing and then fold the bottom edge up twice to create a hem and stitch it in place. Reinforce the stitches with fabric glue or iron-on hemming tape if necessary, and then press the finished product to give it a professional look.


