Making a quilting frame for your sewing machine can be a fun and creative way to take your creative pursuits to the next level. Quilting frames allow for larger sewing projects to be completed more efficiently, which can be a great asset for any quilting project. Quilting frames come in a variety of shapes and sizes, and there are many methods for constructing one for your specific needs. In this article, we’ll go over the basics of how to build your own quilting frame for your sewing machine.
What You’ll Need for Built-In Quilting Frame
When it comes to building a quilting frame for your sewing machine, the first step is gathering all of the necessary supplies. The most important items you’ll need are a stable surface, sturdy materials, dowels, and clamps. You’ll also need a saw, drill, drill bit, and screws. Additionally, it may be helpful to have a jig saw or miter saw if you are looking to build a frame with detailed cuts.
The size and shape of the frame will depend on the size and shape of your sewing machine, so it’s important to measure your machine before you begin cutting the wood to ensure that the frame will fit well. It’s also important to keep in mind the type of quilting project you will be working on when choosing the size of the frame you build. For example, if you plan to quilt various-sized pieces, you’ll want to make sure the frame has adjustable sides.
Assembling the Materials
Once you have all the materials you need to build a quilting frame, the next step is to assemble them. Begin by cutting the wood to the desired size and shape. Then, drill holes into the wood and assemble the frame with screws and dowels. Make sure all connections are secure before continuing. Use clamps to hold the frame in place while you drill.
If your frame requires intricate cuts, you can use a jigsaw or miter saw to make them. Make sure to measure twice and cut once to save time and resources while assembling your frame. Additionally, if your frame requires intricate joints, you may need to invest in specialized tools to ensure a tight fit.
Attaching the Sewing Machine
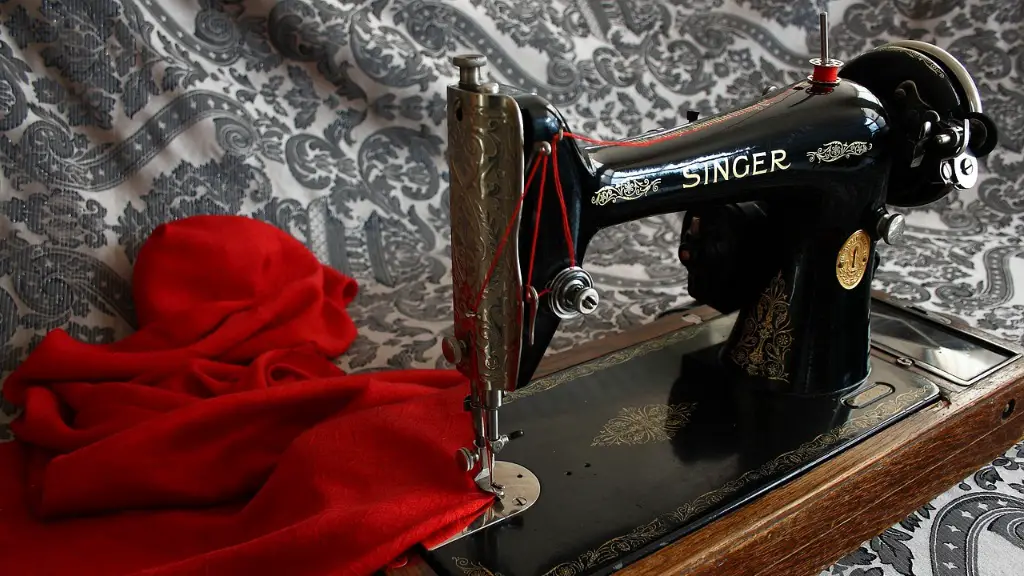
Once the frame is built, the next step is to attach the sewing machine. Depending on the size of the machine, you may need to use clamps or other methods to keep it secure in place. For example, if your machine is large, you may need to drill holes in the sides of the frame to secure the machine and prevent it from slipping out.
If your sewing machine has legs, you may be able to slide it in between the inner rails of the frame for extra security. When you are attaching the machine to the frame, make sure to double-check that there are no open slots or areas that could allow the needles to come in contact with the frame.
Securing the Frame
The final step when building your quilting frame is to secure it. You can do this by either screwing the frame to a table or other flat surface. You can also use clamps around the frame’s edges to keep it in place. Additionally, it’s important to use a level when securing the frame to make sure it won’t wobble while you are quilting.
Once your frame is assembled, you can move onto the more exciting part of quilting – the actual quilting! Long-arm quilting frames provide plenty of space for larger quilting projects, which can be a great asset for busy quilters. With a bit of patience, creativity, and the right materials, you can build your own quilting frame for your sewing machine at home.
Maintenance Considerations
When it comes to preserving your quilting frame, it’s important to keep it clean and make sure the frame is securely attached to the surface it’s resting on. You should also check the connections and screws regularly to make sure they are not coming loose. It’s also important to make sure the frame is level and stable before you start quilting.
It is essential to use protective coverings for the frame when not in use, to prevent dust and dirt from gathering on it. Additionally, you should apply oil to the joints and screws from time to time to make sure they are functioning properly. This can help extend the life of the frame and ensure it is still in good shape for future quilting projects.
Instructional Printouts or Videos
If you are still feeling confused or overwhelmed by the idea of building a quilting frame for your sewing machine, there are plenty of helpful resources out there to guide you. Many DIY websites offer instructional printouts or video tutorials on how to assemble and secure a quilting frame, which can be extremely useful for the beginner quilter. Additionally, there are many books written on the subject which can be incredibly useful.
Whether you are making a quilting frame from scratch or opting to purchase a pre-built frame, having the right information and resources can often make the difference between a successful quilting project and a disaster. Though it may take some patience and a few trials and errors, anyone can learn how to build a quilting frame for a sewing machine.
Making Specialty Quilting Frames
If you want to take your quilting frame a step further, you may want to explore the idea of making a specialty quilting frame. This type of frame can be customized to your own project’s specific needs. For example, a specialty frame could allow for more intricate design patterns and quilting, as well as adjustable frame sizes and shape. Additionally, specialty frames may have a few additional features such as adjustable rails, widths and heights.
When it comes to making a specialty frame, it is important to have a clear goal of what you want to achieve with the frame. Knowing your desired outcome can help you decide what kind of materials, construction, and tools will be required. It is also important to have a plan before you begin cutting or drilling. Taking measurements twice and designing a few paper models to make sure everything fits correctly before taking a saw to your materials can save a lot of time and stress.
Choosing the Right Quilting Supplies
When building a quilting frame, it is important to not only look for high-quality materials, but also the right materials for the project. Depending on the type of quilting frame you are making, the materials you choose can greatly affect the strength and durability of your frame. Choose materials such as solid woods, strong metals and alloys, and other long-lasting materials to ensure your frame can handle the stress of quilting.
It is also important to choose the right supplies. An oversized or ill-fitting quilting frame can quickly break down during a quilting session. That’s why it’s important to make sure to measure the sewing machine accurately before cutting the wood so that the frame fits correctly. Additionally, selecting clamps and dowels that can withstand stress and the long-term strain of quilting is also important.
Choosing the Right Quilting Fabric
Finally, when making a quilting frame for your sewing machine, it is important to also consider the type of fabric you will be using. Different fabrics can require different quilting techniques, so it’s important to make sure the fabrics you choose are compatible with your frame. Some fabrics, such as wool and flannel, may require a more intricate quilting method than other lighter-weight fabrics.
Considering the material and weight of the fabrics you will be using when building your quilting frame can help ensure that the finished product is able to handle the stress and strain of your quilting project. Additionally, if you opt to use a specialty quilting frame, it is important to make sure the frame is fitted to the type of fabric you will be using.
Choosing the Right Sewing Machine
When choosing a sewing machine to use with your quilting frame, it’s important to take into consideration the size and weight of the machine. Many long-arm quilting frames require a heavy-duty machine to withstand the force of quilting projects. You will also want to choose a sewing machine that is compatible with your quilting frame and the type of quilting fabric you will be using.
The size and weight of a sewing machine can also affect your quilting frame design. If your machine is too large for your quilting frame, you may need to build a larger frame or buy a smaller sewing machine. Additionally, it’s important to make sure the sewing machine fits securely in the frame to prevent it from slipping and damaging the frame or fabric.
Exploring Quilting Tutorials
Finally, if you are still feeling overwhelmed by the idea of making your own quilting frame, there are plenty of helpful tutorials and resources out there for beginner quilters. From instructional printouts to video tutorials, exploring a wide range of quilting tutorials can often make the process of building a quilting frame much easier.
You may even want to consider joining a quilting forum or club. Not only can these be great places to ask questions and get advice from more experienced quilters, but they can also provide social support and companionship throughout your quilting journey.
