Tools Required
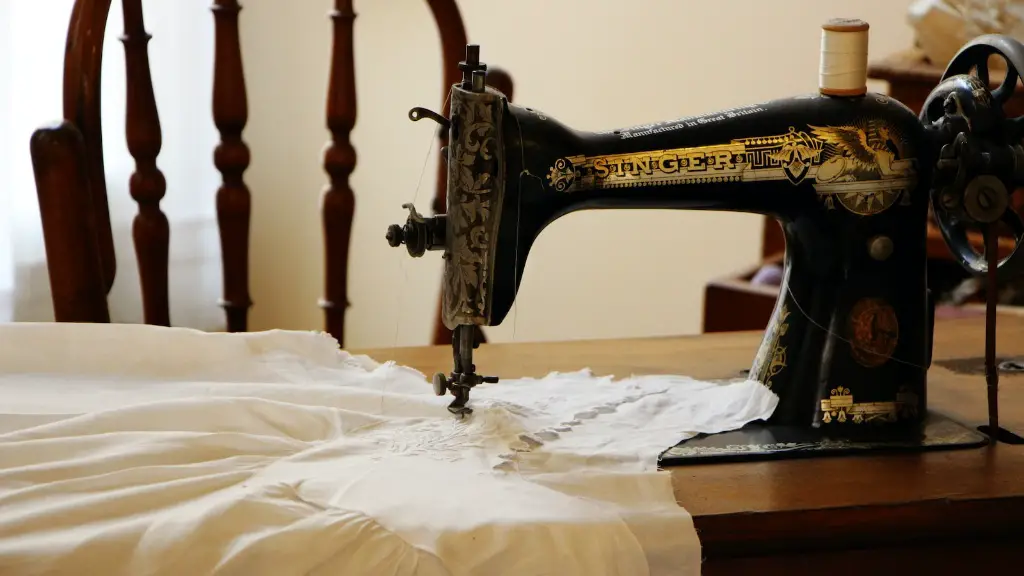
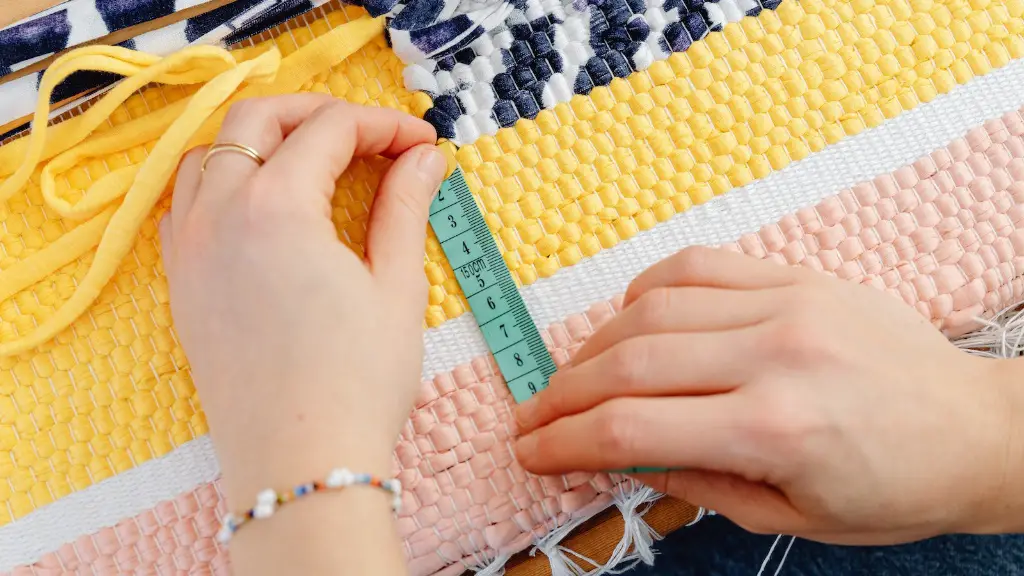
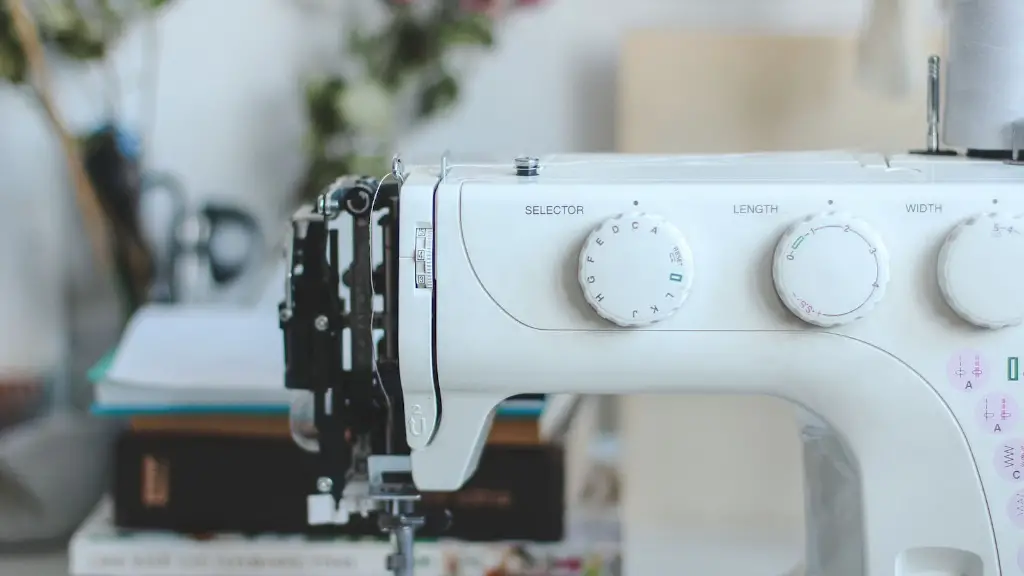
Before starting out any project, it is important to know the tools you will need. A sewing machine is the big tool of choice for many projects and this one is no different. In addition to the sewing machine, you will need thread, scissors, measuring tape, pins and an iron. Some people may also choose to use a contrasting thread for the hemline for a more decorative look.
It is important to choose the right thread for your material. Some materials require more powerful thread than others and it is important to choose the correct thread weight for the fabric you are working with. Generally, lighter colored thread is recommended for lighter weight fabrics, and heavier thread is more suited for heavier fabrics. Additionally, for a more decorative hem, you can use a contrasting color thread.
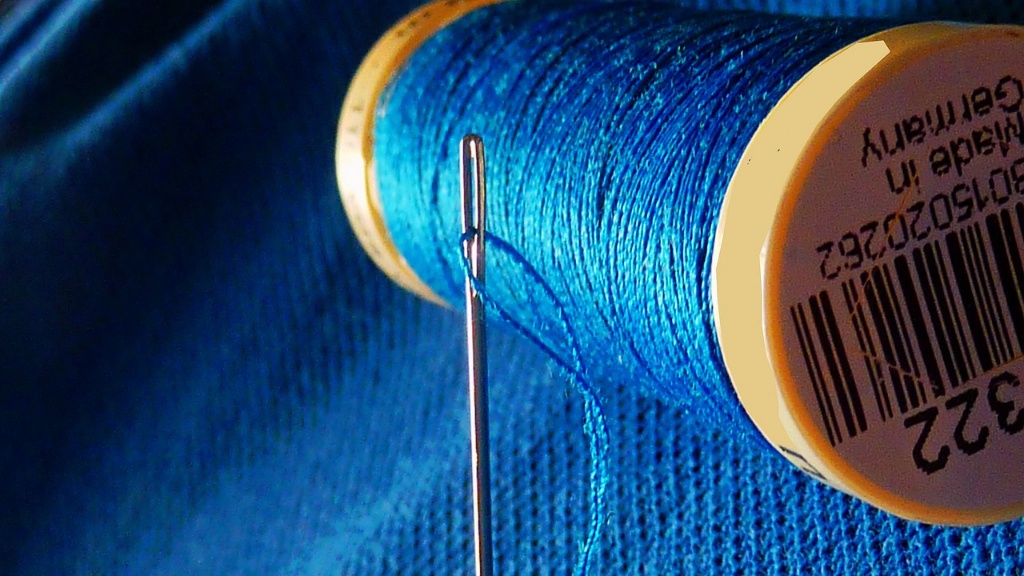
For finer detail such as top stitching and other decorative touches, a good-quality needle is necessary to get good results. In addition, having an extra package of needles on hand is generally a good idea as needles can become dull quickly.
Having a pair of sharp scissors will make cutting the hem a much easier task—important when you’re dealing with more delicate fabrics. A pair of Pinking Shears is most preferred for heavyweight fabrics, as the zig-zag look helps to reduce fraying.
Measure And Cut
Once you have all the tools assembled, you can begin preparing the fabric. The most important part of hemming a shirt is getting the right measurement when cutting the hem. A mistake here will definitely impact the overall look of the finished product.
Measure the length of the shirt and its sleeve length. Mark these measurements on the fabric before you pin and cut the fabric. Make sure that the hem allowance is 2.5 cm (1 in) and cut the fabric accordingly. This is a good standard measurement to use, but some fabrics may need a longer or shorter allowance.
Once the fabric is measured and cut, it’s time to pin. Pin the hem in place, making sure that the pins are perpendicular to the body of the shirt, and not at an angle. This will ensure that everything lines up properly once you start sewing.
SewingThe Hem
Now you can begin the actual process of hemming the shirt. Start by setting the machine to a medium-speed straight stitch.
Place the shirt onto the sewing machine with the fabric facing up. Lower the presser foot and begin sewing along the hemline. Make sure to backstitch at the corner to secure the stitch. Follow the same process all around the shirt.
Once the stitching is complete, give the fabric one more press along the hemline to get a nice, sharp crease. This will help when it comes time to press the hem edges.
Finally, press the fabric one more time so it is smooth and even. You will want to make sure all the fabric looks even and that nothing is pulled or bunched up. If there are any problem areas, they will be easier to fix now than once the shirt is finished.
Finishing Touches
This is the final step of hemming the shirt. To give it a professional and polished look, you can top stitch the hem. Top stitch the hem by sewing just a few millimeters above the edge of the hem fabric. This will ensure that the hemline looks neat and is securely fastened.
Finally, press the seams one last time to make sure everything looks neat and presentable. If you opted for a contrasting thread, you can use a contrasting fabric to cover the thread of the hemline when pressing the shirt. This will give it a nice, decorative look.
Decorative Hemming
Once the basics of hemming the shirt are complete, you can add a few decorative touches to it. There are a few techniques that you can use to achieve a unique and stylish look. You can add a dash stitch to the hemline, which is a simple loop stitch just below the hemline. This is a great way to add interest to a garment.
You can also try a “zigzag” stitch for a decorative look. This is a bit more difficult, but if done carefully, it can result in a very pretty effect. You can use this stitch to add some texture and contrast to the shirt. Try different colors of thread to add contrast, or use the same color for a subtle effect.
If you are feeling really adventurous, you can try an embroidery stitch for an extra pop of color. Embroidery stitches are more complicated, but if done correctly, can really make your shirt stand out. There are various types of embroidery stitches you can use to add texture and interest to the shirt.
Raw Edge Hemming
Raw edge hemming is a great way to add a unique touch to a shirt. This technique is done by putting the raw edge of the fabric at the hemline of the shirt, rather than folding and stitching it. You can use a raw edge hem in a couple different ways. One is to leave the raw edge exposed and use a top stitch to finish the hem. This is a great way to add a unique look to the shirt. Another option is to serge the raw edge, which is a technique used to prevent the fabrics from fraying.
This technique is best used with thicker and heavier fabrics, as thinner fabrics tend to fray easily. If you are using a raw edge hem on a thinner fabric, make sure to take extra steps to secure the raw edge, such as pinking or binding.
Binding The Hem
Binding the hem is a great way to finish the shirt and make it look even cleaner and more polished. To do this, you will need to bind the edge of the fabric with bias tape. Bias tape is a type of fabric with a special curve cut on the edges that helps it to sit flat against the fabric.
To bind the hem, simply attach the bias tape around the raw edge of the fabric, using a zigzag stitch. The bias tape should overlap the raw edge and lay flat against the fabric. Once you have completed the binding, you can give the fabric one more press for a crease-free, neat finish.
Stretching The Hem
In some cases you may find that the hem of your shirt is slightly too narrow or too tight. This is a common problem and is easily fixed by stretching the hem. To do this, take a good look at the hemline first to assess whether it needs to be stretched and by how much.
Once you’ve determined how much the hem needs to be stretched, start by stretching it slightly then pinning it in place. Once the hem is pinned, you can use a zigzag stitch to secure it. The stretch of the stitch will help to keep the hem in place and keep it from bunching up when the fabric moves.
Conclusion
Hemming a shirt may seem like a daunting task, but if done with precision and care, it can be a rewarding project. When it comes to hemming, make sure to use the right tools and take your time. Hemming mistakes can be easily avoided if you measure and pin the fabric correctly and use the correct thread and needle for the fabric. Finally, add some decorative touches like top stitching and binding to make the shirt really stand out.
