How to Hem Pants with a Brother Sewing Machine
Hemming pants can seem daunting at first, especially if you are just starting out with a sewing machine. However, with the help of the user-friendly Brother sewing machine, even a beginner can learn how to hem pants for a professional look and finish. All it takes is a few simple steps and the right materials.
To begin, measure the pant leg length and turn the hem according to required measurement. Double-fold the hem on the wrong side of the pant fabric by folding an equal amount on each side of the marked line (about 0.5 to 1 inch). Once measured, pin the folded edges together with iron-on fabric tape and press down the folded edges with a hot iron.
Now it is time to stitch! With the help of the Brother Sewing Machine, there is a wide variety of stitching options, including the blind hem stitch, rolled hem stitch, overedge stitch, and straight stitch. It is important to select the right stitch for your pant hems in order to achieve the best look. Once you have chosen the stitch, use the zig zag width to adjust the length of each stitch and make sure the length is the same. Finally, adjust the tension of the thread to the best position when possible.
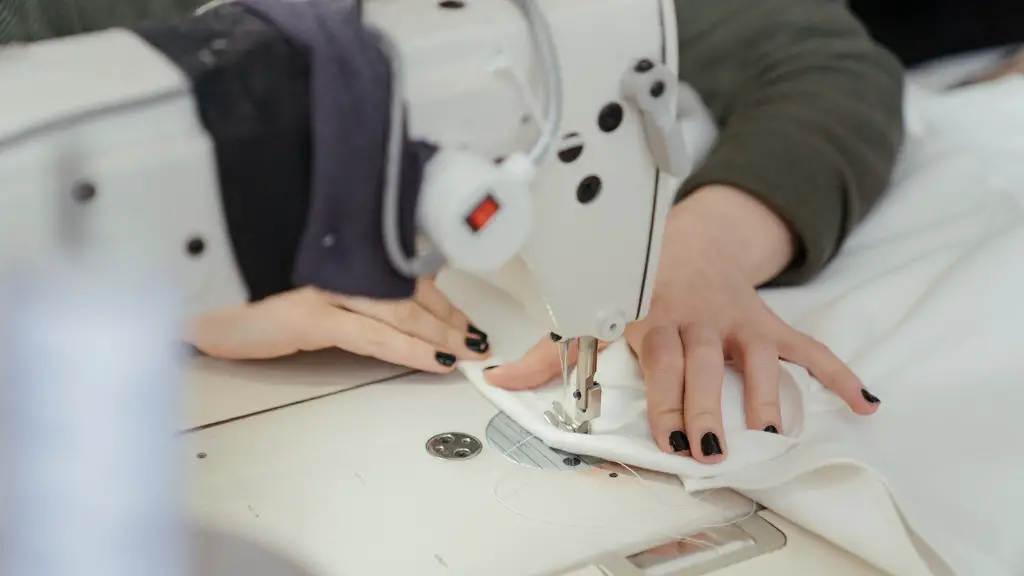
After making all the necessary adjustments, it is finally time to start the hem. Place the pants under the machine feet and begin stitching. Remember, it is imperative to keep the hem pressed during the stitching process in order to ensure a neat, uniform finish. As you stitch, use a seam ripper to trim away excess fabric for a clean finish. When you finish, make sure to turn the hem and press it with a hot iron, and voilà—you have successfully hemmed your pair of pants!
With a few basic instructions and the right materials, hemming pants is an achievable goal for even a novice seamstress. The user-friendly Brother machine offers a range of stitching options to choose from in order to create the perfect look for the pants. So take a chance, grab the fabric and a needle, and start creating that effortless and perfect pant hem!
Material to Use
When hemming a pair of pants, it is important to use the right tools and materials. To start, select a durable needle that can manage the thickness of the fabric, as well as a thread colour of your choice. If possible, choose a thread that matches the fabric—this will provide a subtle and professional-looking finish.
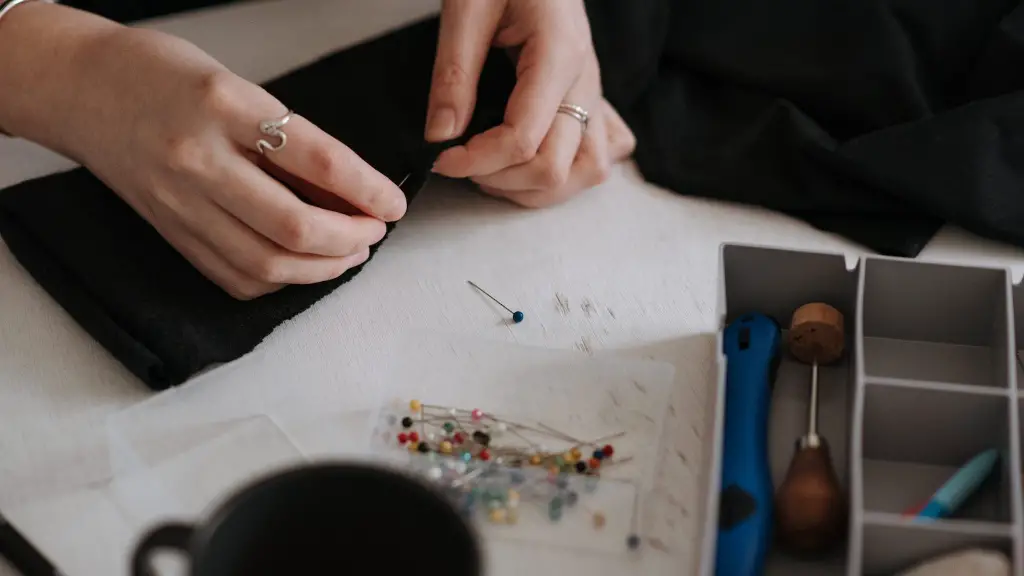
For a crisp, clean look it is important to use pins to hold the fabric together while stitching. A thinner material may require ordinary pins, whereas thicker fabrics would need heavier-duty pins to ensure the fabric is secured during the process. If the fabric is lightweight, opt for paperclips instead.
For added precision, it is helpful to use an iron-on hem tape. This not only ensures ease of use when trimming the excess fabric, but also gives the pants a polished and professional look. The iron-on hem tape is especially helpful if the fabric tends to slip and move and provides an extra layer of security.
It is also important to remember the amount of fabric that should be folded when turning the hem. Generally speaking, the amount should be equal on each side (about 0.5 to 1 inch). Anything less would be too shallow and might not hold, while anything too deep may cause the pant fabric to become bulky and take away from the overall look.
Adjusting the Brother Sewing Machine
Before you start the hem, it is important to adjust the settings on the sewing machine. A Brother sewing machine allows a variety of options when it comes to choosing what type of stitch to use. Besides a straight stitch, there is also the blind hem stitch, rolled hem stitch, and overedge stitch. Depending on the type of fabric and the desired look, it is important to select the appropriate stitch.
To ensure the stitches turn out even, adjust the zigzag width and stitch length to the exact measurements (for example, for thicker fabric, make sure the stitch length is long). Once the correct settings are selected, the machine is ready to begin hemming the pants.
When it comes to the tension, it is key to ensure the tension is set to the desired position before starting. Usually, the default tension will be on the highest setting; so, if needed, you can lower the position by turning the tension knob. For example, if the upper thread looks too loose, then the tension may need to be lowered.
Completing the Hem
Once the machine is set up and the fabric is prepared, it is time to finish the hem. Start by putting the fabric under the machine feet and beginning to stitch—all you have to do is follow the hem line while lubricating the machine with the presser foot. Keep in mind it is important to press the hem in place as you stitch in order to maintain a neat finish.
When finished, use a seam ripper to trim away the excess fabric for extra precision. After that, turn the hem and press it with a hot iron to make sure the fabric is smooth and in place. Your pant hems are complete!
Learning to Sew with a Brother Sewing Machine
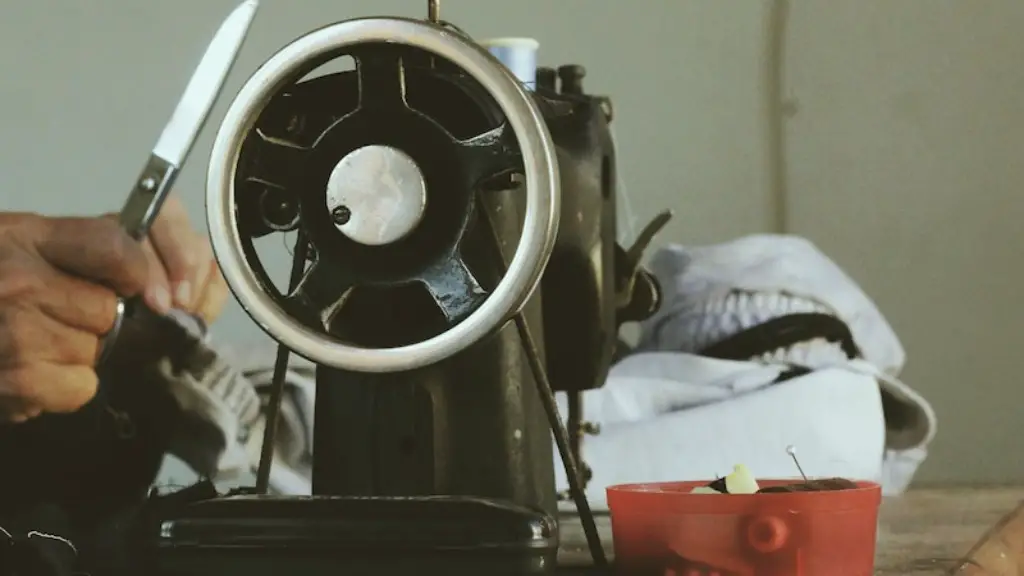
Produced by Brother Industries, LTD, the Brother sewing machine is one of the most popular in the market today. It is known for its user-friendly features, wide range of options, and modern design. This machine is perfect for both beginners and advanced sewers, creating the perfect look for any garment or accessory.
From essential supplies like thread, needles, and pins to various settings for stitching and tension, the Brother sewing machine takes out the guesswork when hemming pants. Before long, you can easily learn to use the machine and create a professional-looking hem to any pant leg.
The Brother sewing machine is an essential tool for both regular sewers and tailors. Whether you’re making a new pair of trousers or updating an old pair, you can find the perfect machine settings and complete the hem with no problem.
Extra Tips and Advice
The Brother sewing machine has a vast range of options available that can help improve the quality of your hem. For example, if your fabric is delicate, you can change the presser foot pressure to light; also, you can reduce strain on the fabric during the sewing process by using a reverse stitching option. Similarly, if you’re hemming a thicker type of fabric, try using the “zigzag foot” for improved accuracy.
Using the correct needle size is also essential when hemming, especially since it determines how the hem will look. For example, if you use a thin needle, the material may not be able to hold and break, whereas a thicker needle can prevent fabric from slipping and pulling and provide a neat finish. Therefore, it is important to select the right needle size for the fabric being used.
The user-friendly Brother sewing machine provides detailed instructions on how to adjust the settings for different types of fabric. So explore these settings and follow the instructions step-by-step—before you know it, you will be able to create that perfect pant hem!
Overview of Needed Materials
Hemming pants is a simple task that can be mastered with the help of the Brother sewing machine and the right materials. To start, find a needle that can handle the fabric, choose thread that matches, and gatherpins. Also, it is helpful to have an iron-on hem tape in order to keep the fabric pressed during the process.
Finally, keep in mind that it is important to adjust the machine settings and select the correct stitch for the fabric. Generally speaking, if the fabric is thicker, opt for a longer stitch length, whereas for thinner fabric, choose a shorter stitch. In the end, following all the steps and instructions will ensure a professional-looking pant hem.
