Tools
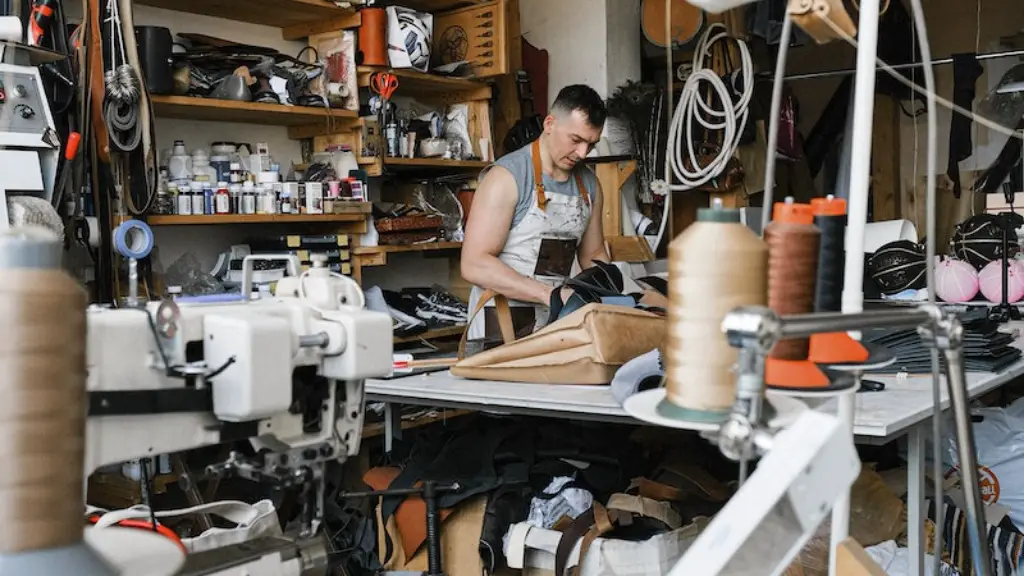
Before you can start hemming pants with a sewing machine, you need to make sure you have the proper tools. You will need a sewing machine, a pair of scissors, a measuring tape, tailor’s chalk, tailor’s chalk pen, an iron, and matching thread.
It is important to choose a quality pair of scissors that is meant for fabric cutting, as regular paper scissors will not be as precise. When choosing thread, make sure that it matches the color of the fabric. Tailor’s chalk is also a vital tool to mark out the length and line you need to follow with your machine. Lastly, an iron is needed to press out the hem.
Measuring and Marking
The first step is to mark the desired length of the pants with the tailor’s chalk. Place the forks of the pants between your ankle and knee, to get a sense of the desired length. It is also important to keep in mind that when hemming pants with a sewing machine, you will end up losing at least one inch of length.
Once you have marked the length of the hem, take your measuring tape and measure from the bottom of the pant leg to the mark.Write down this number and subtract 1-2 inches, depending on the desired length. This new number is the length that you will need to cut the fabric.
Lay your pants on a flat surface and use the measuring tape to ensure the pants are flushed even. Mark each pant leg with the tailor’s chalk at the newly calculated length. Once both pant legs have been marked, take your scissors and cut off the excess fabric.
Turning and Ironing the Hem
Before you can begin hemming, you need to turn and press the hem. Fold the cut edge up and pin it with straight pins; try to make the fold as even as possible. Once the fold is pinned, use the iron to press and flatten the fold. This will help to keep the edges in place when you sew.
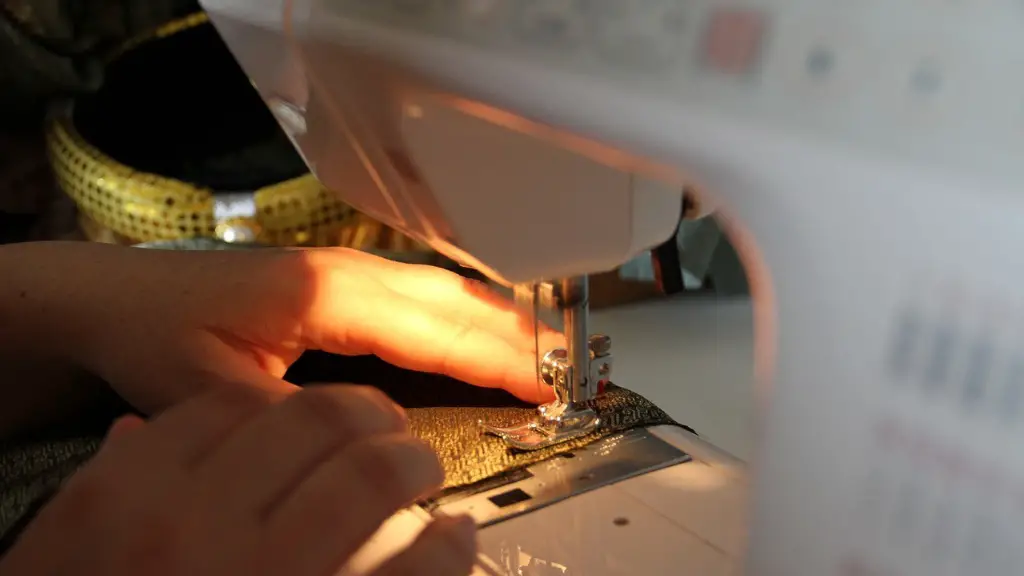
Now you are ready to start hemming with your sewing machine. Begin by attaching a blind hem foot. This specially designed foot helps you to sew a perfectly straight line and a perfectly even hem. It also helps to guide the fabric so you don’t have to worry about keeping it even as you sew.
After you have attached the foot, follow the marked line and start sewing your hem. Go slowly and keep a steady pace to ensure that the hem is even along the entire length. When you get to within 1 inch of where you started, pull up the foot and tie off the thread.
Finish the hem with an iron, pressing the fabric and pressing the hem into place. This will help to ensure that your hem is crisp, even, and looks professional.
Safety Tips
Whenever you are using a sewing machine, it is important to exercise caution, especially when working with fabric that is slippery or delicate. Make sure that your fingers and hands are kept away from the needle at all times. Make sure to always keep your pattern pieces and fabric securely pinned together to avoid accidents.
It is also important to take regular breaks so that you don’t become fatigued. Take the time to ensure that the fabric and thread colors match, as mismatched colors can ruin the look of the garment. Finally, always double-check the length before you start cutting to make sure the hem will be the proper length.
Unequal Length
In some cases, it may become necessary to hem a pair of pants with unequal lengths. This might be due to the nature of the fabric or the design of the pattern. If this is the case, it is important to measure the two pant legs separately and mark them both before cutting. This will ensure that the two pant legs are hanging at the right lengths.
When hemming pants with a sewing machine for unequal lengths, it is important to start with the shortest pant leg and work your way up to the longest. This ensures that both pant legs have the same re-hemmed length, as any fabric that is removed from the shorter pant leg can be added to the longer one.
Tools Needed to Alter Hem
When it comes to altering the hem of a garment, there are certain tools that are needed in order to do so properly. Aside from the sewing machine, it is important to have a pair of scissors, a measuring tape, tailor’s chalk, an iron, and matching thread. Some projects may require additional tools such as a serger, seam ripper, pattern weights, and an awl.
Having the right tools at your disposal makes all the difference when it comes to alteration projects. Investing in quality tools will not only save you time, but also help to ensure accuracy and precision when it comes to altering the hem of a garment.
Supplies Needed to Make Hem
In addition to the tools mentioned above, there are certain supplies that need to be purchased in order to make a hem. It is important to buy fabric and thread that matches the fabric of the garment. When buying fabric for hemming, it is important to buy slightly more fabric than is needed, as it is always better to be safe than sorry.
Other items that may be needed for certain projects are buttons, zippers, and other embellishments. Before starting a project, it is best to make a list of supplies needed and then purchase them from a fabric store or a specialty supplier.
Equipment Needed to Hem Pants
Aside from the common tools and supplies needed, there are speciality equipment that will help make the job easier. To begin with, it is important to have a sewing machine with a blind hem foot. This foot will help to ensure accuracy and a professionally finished look. It is also important to have the right needles and thread that is made for working with delicate and slippery fabrics.
Having a presser foot or a specialised hemmer foot might also be necessary in order to ensure that the fabric is kept in place as it is being hemmed. Some sewing machines may come with adjustable settings, which can help make the job easier and more accurate. Lastly, certain tools such as clamps, magnetic holders, and fabric clips can help hold various elements in place.
