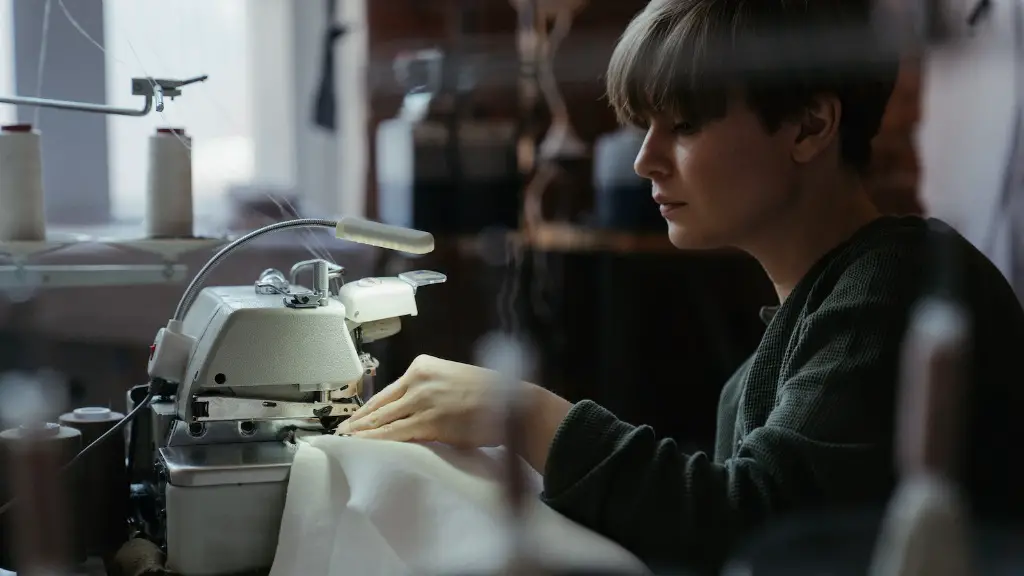
Getting the perfect stitch is often easier said than done. Threading a sewing machine is a key ingredient to tailoring garments or creating professional decorative projects. To help you thread any Singer model correctly, here is a step-by-step guide that will quickly have you sewing the perfect stitch in no time.
Before proceeding, be sure to research your machine’s manual to familiarise yourself with the relevant model. Many Singer machines have similar parts and functionality, in this article the names of parts are generic.
One of the most important tips for Singer sewing machine threading success is to always thread it when the machine’s in a lowered position. If the machine is up in the position it will be used for sewing, loosen the handwheel on the right side of the machine and turn it counterclockwise to lower it.
The first step of the threading process is never the most obvious: thread the bobbin the correct way leading into the machine. It should turn clockwise when properly threaded. To thread, work the thread under the bobbin tension spring, then thread in a counter-clockwise direction in-between the tension discs and through the take-up lever. The take-up lever is what captures the thread string, and pulls it up.
Thread the needle from the front of the machine leading onto the back of the machine. Run the thread on the groove, loop the thread through the take-up lever, lead the thread down to the right, and enter the first thread guide. Guide the thread up, over the first tension spring, followed by the second thread guide. Insert the thread into the thread guide closest to the needle. This may take several tries for the thread to actually enter the needle guides. Keep pulling the thread up to the eye of the needle.
Threading the Bobbin Holder
At this point, the needle should be threaded correctly. To thread the bobbin holder correctly, you’ll need to lower the bobbin plate and pull the thread up through the slot, then run it to the right, winding it around the bobbin holder inside the bobbin itself. Keep the thread tension light and turn the bobbin clockwise until it catches to the thread. Once secured, pull the thread end to the bobbin and cut off the extra thread.
Next, check the thread tension. To do this, sew a small stitch to ensure that the bobbin thread and top thread is even. If the tension is too high, then the stitching may be bunched together tightly, and if it’s too low, then the stitching may be loose. To adjust the tension, use the tension knob on the bobbin plate bar.
Raising the Bobbin Thread
Raising the bobbin thread is the last step in threading your Singer sewing machine. To do this, you will need to turn the handwheel towards you, check the needle to see if the bobbin thread has caught, release the needle down lever and the bobbin thread will appear on the needle plate. Raise the handwheel, pull the threads to the back and cut.
That’s it! You’re all done threading your Singer sewing machine. You can start sewing, but remember to practice proper tension control measures and ALWAYS test your machine first. Your threading process can now be finished and you can begin with the creative side of stitching garments or creating decorative projects.
Different Sewing Stitches
Sewing machines come in all different types and sizes, with a wide range of stitching functions to cater for both beginning and advanced sewers. It’s not just about threading the machine, but also knowing the function of each stitch, its uses and its limitations.
The most common stitches are straight, zigzag and stretch. Straight stitch is the most commonly used stitch on a sewing machine and is used for attaching seams. Zigzag stitch is the most versatile, able to be used for stay stitching, hemming, steaming, and gathering. Stretch stitch is ideal for knit fabrics, as it stretches and contracts just like the fabric.
Both beginning and experienced sewers should also be aware of the different presser feet and their uses. Standard straight stitch sewing machines come with a presser foot and a zipper foot, and some machines may also include a specialty foot that can be used for buttonholes and hems.
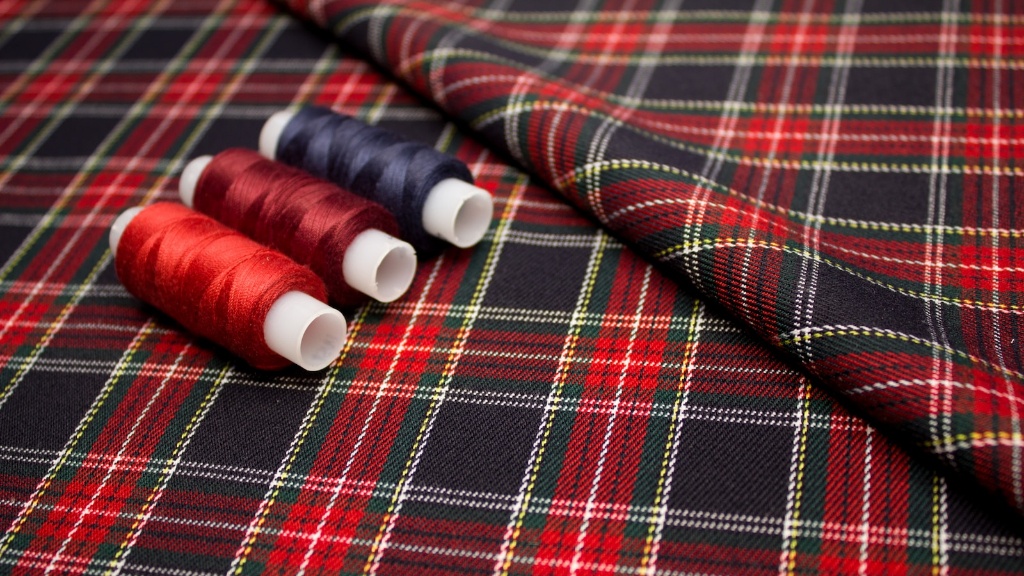
It’s also important to be aware of fabric types which will have an impact on the stitch type and sewing machine settings you choose. Lighter fabrics with less structure such as polyesters, silks and fine wools may require a lower tension setting and a straight stitch, while thicker fabrics such as denim and twill may require a higher setting and a thicker stitch.
Sewing with Different Threads
Another important variable when sewing is the type of thread. Different threads are made from different fibres and the type of thread you choose will determine the look and feel of the finished product.
Cotton threads are strong and durable making them a great choice for day-to-day sewing. They don’t stretch and provide good seam strength. Polyester threads are also strong and durable, but they have more elasticity, making them better suited to stretch fabrics.
Silk threads are delicate and lightweight, making them a great choice for lightweight fabrics and decorative stitching. Nylon threads are a great all-rounder, providing strength and stretch for all types of fabrics. And metallic threads can give garments a unique, eye-catching look.
Maintenance and Cleaning
To ensure your Singer sewing machine runs smoothly and produces great results, regular maintenance and cleaning is key. Always check for oils and lint build-up. Lint collects on the side of the machine, near the bobbin and along the bobbin case. Clean these areas with a lint brush or soft cloth as needed.
Check for thread residue on the bobbin, too. If thread residue is present, it could interfere with the smooth running of the machine. Clean it by running alcohol soaked cotton swabs around the bobbin a few times and allowing the alcohol to evaporate.
Keep the machine dust free and lubricated with the right lubricant – mineral or synthetic oil. Avoid silicone-based lubricants as they can cause curling or puckering of fabric and thread.
Finally, check the needle. If the needle breaks or becomes bent, it won’t work as well as it should. Replace it with a correctly sized needle for the fabric you’re using.
Tools and Accessories
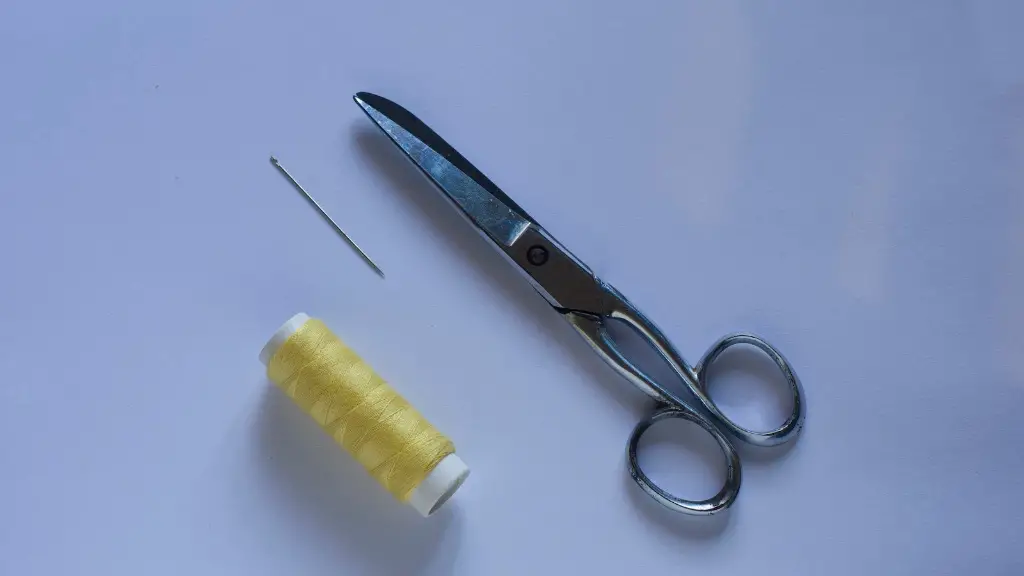
As the saying goes, “the right tool for the right job”. Having the right tools and accessories will make threading a Singer sewing machine much easier and quicker. Among the tools and accessories you’ll need are marking tools such as a tailor’s chalk, ruler and measuring tape. Presser feet, a buttonhole foot, and a binder foot can help you achieve a professional look. Having a selection of scissors, seam rippers, pins, and needles will help you get the job done neatly and easily.
Also ensure you’ve got a reliable seam guide for accurately placing your stitching. This can be a simple plastic ruler that provides a guideline for stitching in-between seam allowances. If you have an embroidery machine, then stabilisers, needles, and bobbins are also great accessories to have.
Knowing how to thread a Singer sewing machine is only half the job. Now you’ll need to make sure you have the right tools and accessories on hand to ensure your projects come out looking professional!
